
General bag-sewing guide · 12-stage worked example
How to sew a handbag
This guide uses the Traditional Chinese-Style Handbag as a complete worked example. Build the outer shell and install its hardware first, then make the lining. Add the two support boards, close the top and flap with ladder stitch, and finish with the bamboo handle, side hardware, and tassel.
Outer shell → bag feet and snaps → leather tabs → lining → support boards → ladder stitch → handle and charms
Read before sewing
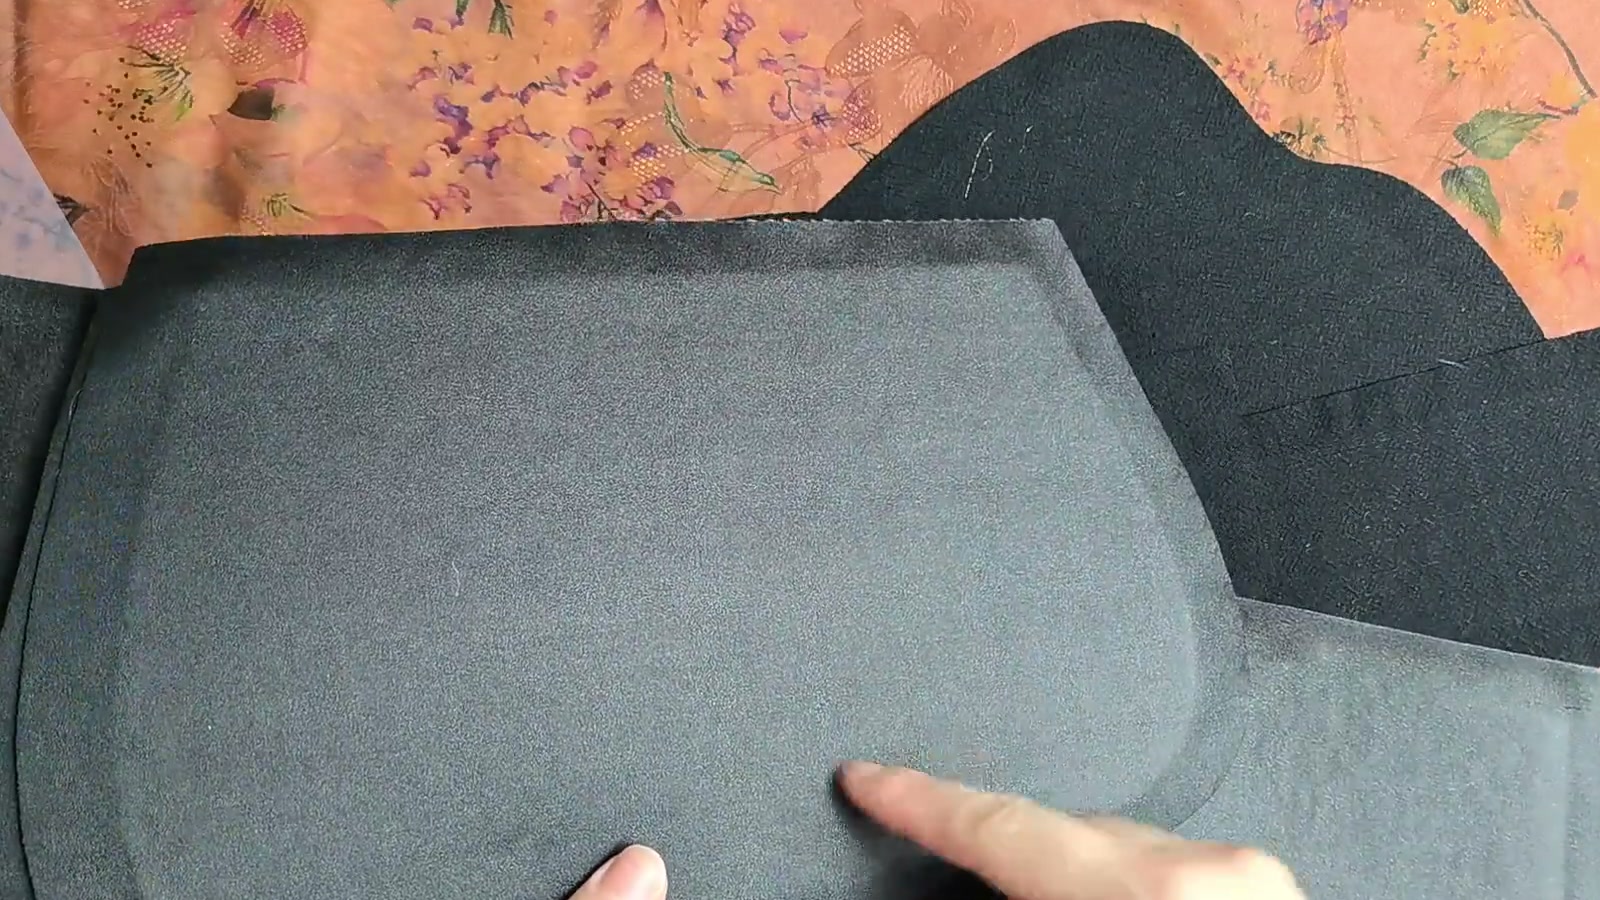
Use the stabilizer edge as your stitching guide
The fabric allowances left during cutting wrap around the batting or interfacing. When you align and stitch the pieces, use the white stabilizer edge as your guide; the raw fabric edge is not the seam line.
No numeric seam allowance, stitch length, or presser-foot width is specified here. Use short, closely spaced hand stitches. Ease and smooth curved seams as you work instead of guessing the stitch line from the raw fabric edge.
Check the layer direction
For structural seams in both shells, place the fabric right sides together with the batting or interfacing facing outward.
Keep curves aligned
Match the center marks on the side/gusset panel and flap first, then stitch from the center toward each end to distribute hand-sewing variation.
Keep stitches smooth
Gently tension the thread without puckering the fabric. Keep the stitches especially close around curves.
Preserve your working space
Sew on the leather U-ring tabs now, but wait until the bag body is complete before attaching the bamboo handle.
Complete sequence
Review the full workflow first
Install the magnetic snaps and bag feet before nesting the shells. Insert the support boards before closing the top, and leave the bamboo handle until the end so it does not obstruct the folding and stitching.
- Join the flap
Attach the floral flap to the outer back panel—the panel without magnetic-snap openings.
- Sew the outer shell
Join the gusset to the front and back panels from the center toward each end, then turn the shell right side out.
- Install the first hardware
Add four bag feet, two raised magnetic-snap halves, and two leather U-ring tabs.
- Make the lining
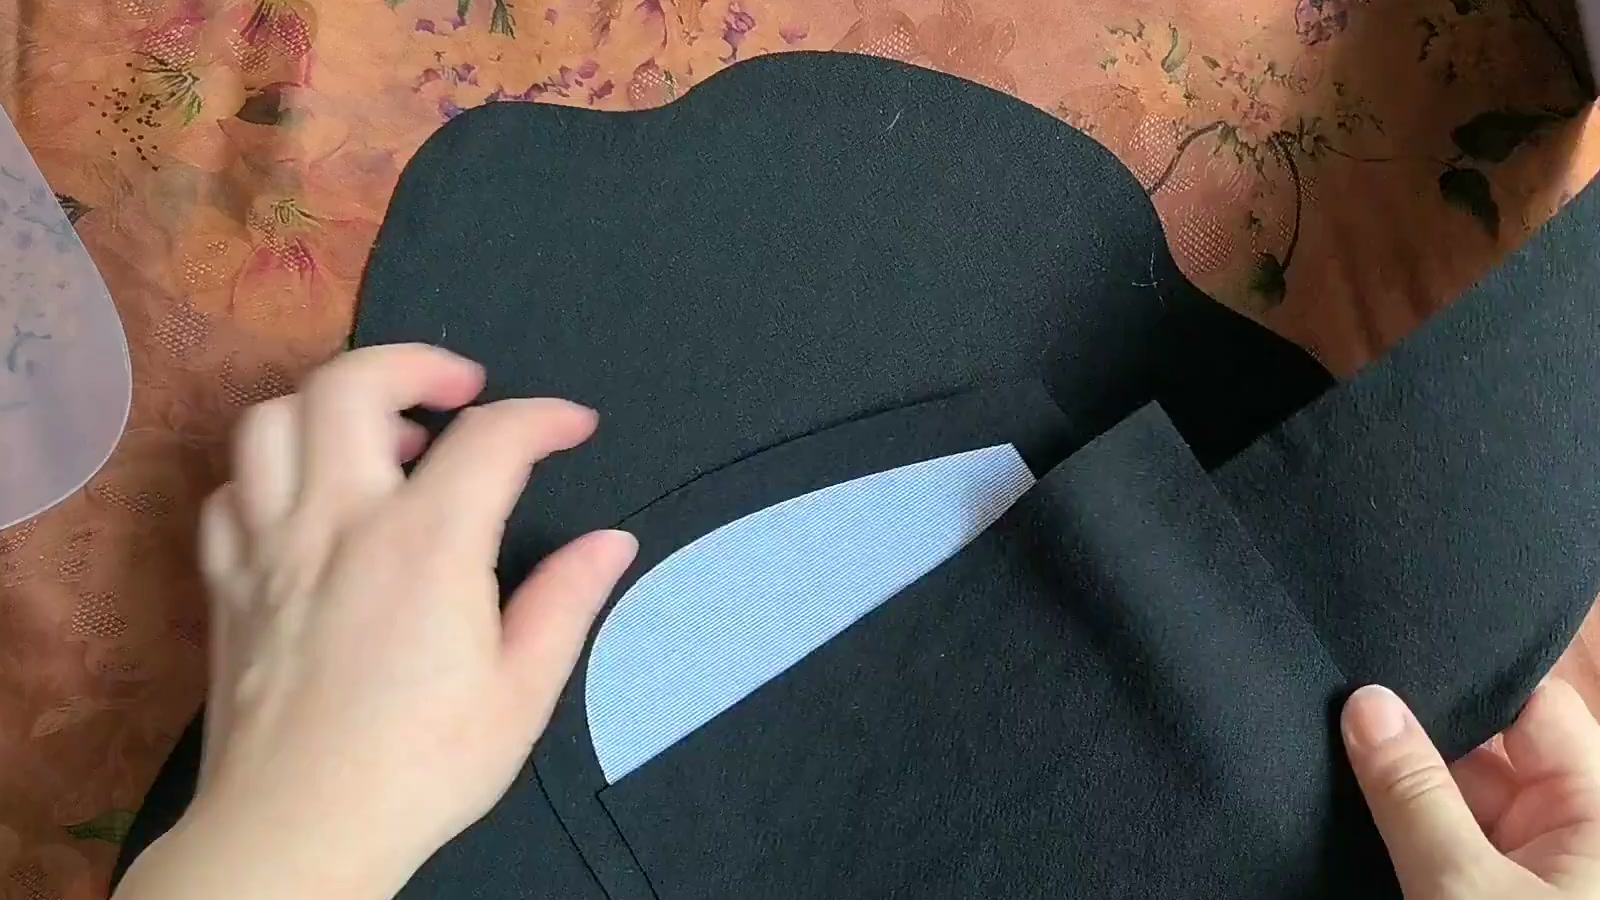
Add the optional patch pocket, assemble the lining shell, and install the recessed snap halves.
- Nest and reinforce
Place the lining inside the outer shell and slide one support board into the front and one into the back.
- Close with ladder stitch
Close the bag opening first, then finish the flap while it is held in its closed position.
- Add the final hardware
Attach the bamboo handle, side fitting, and tassel, then shape the finished bag.
Stage 1
Join the floral flap to the outer back panel
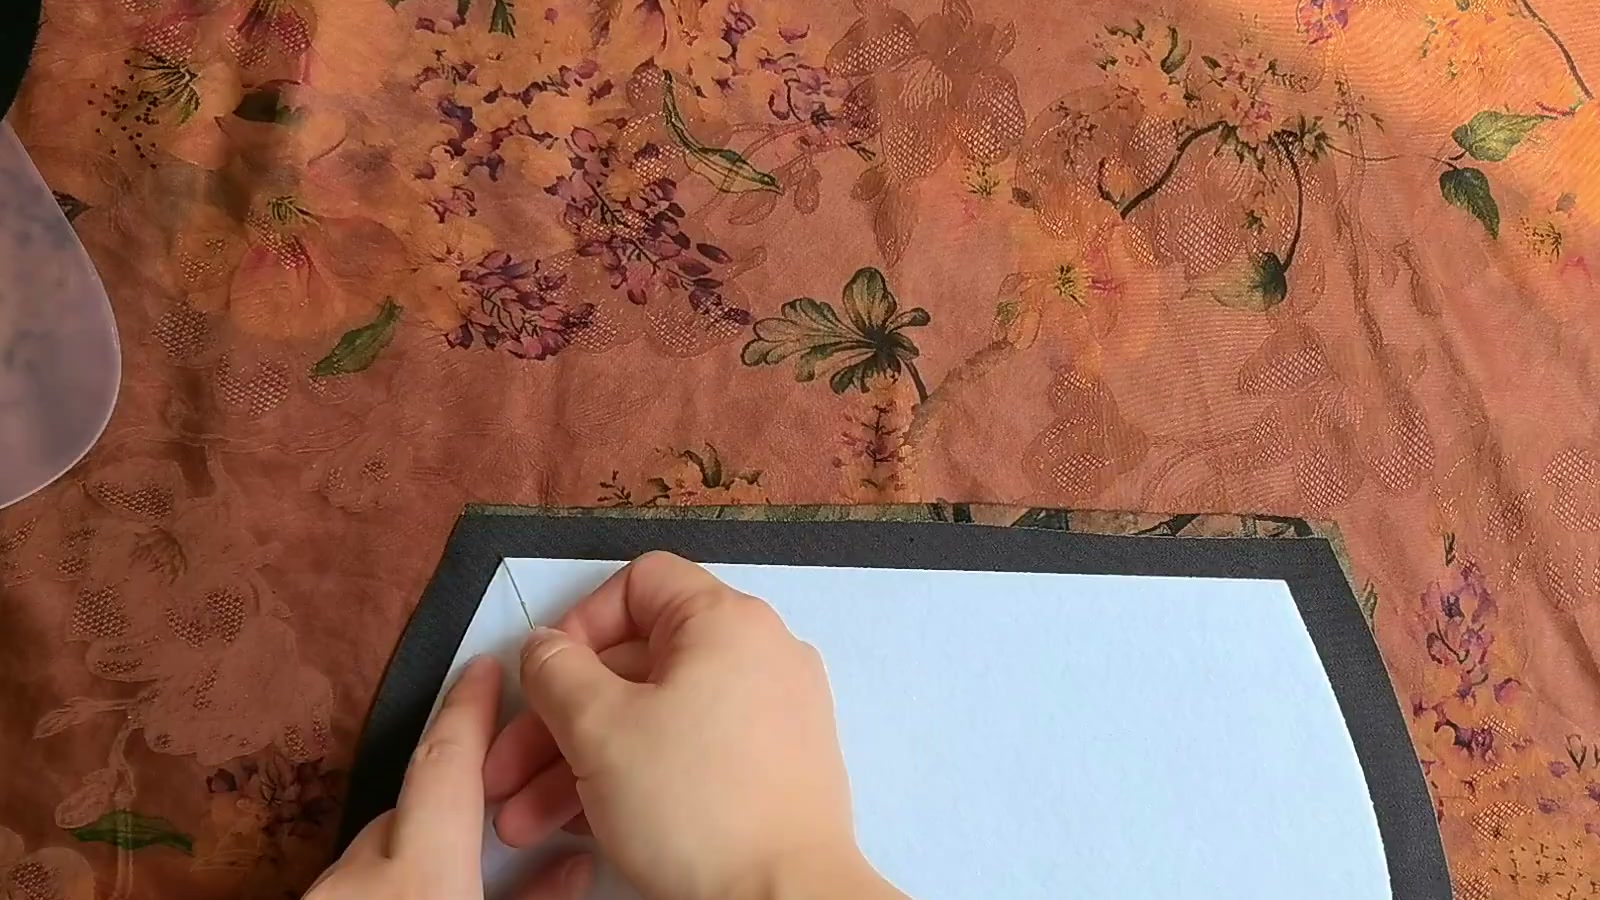
Select the outer body panel without magnetic-snap openings. Place the flap and body panel right sides together with the white batting facing outward, then align their straight batting edges accurately.
Stage 2
Sew the outer shell from the center outward
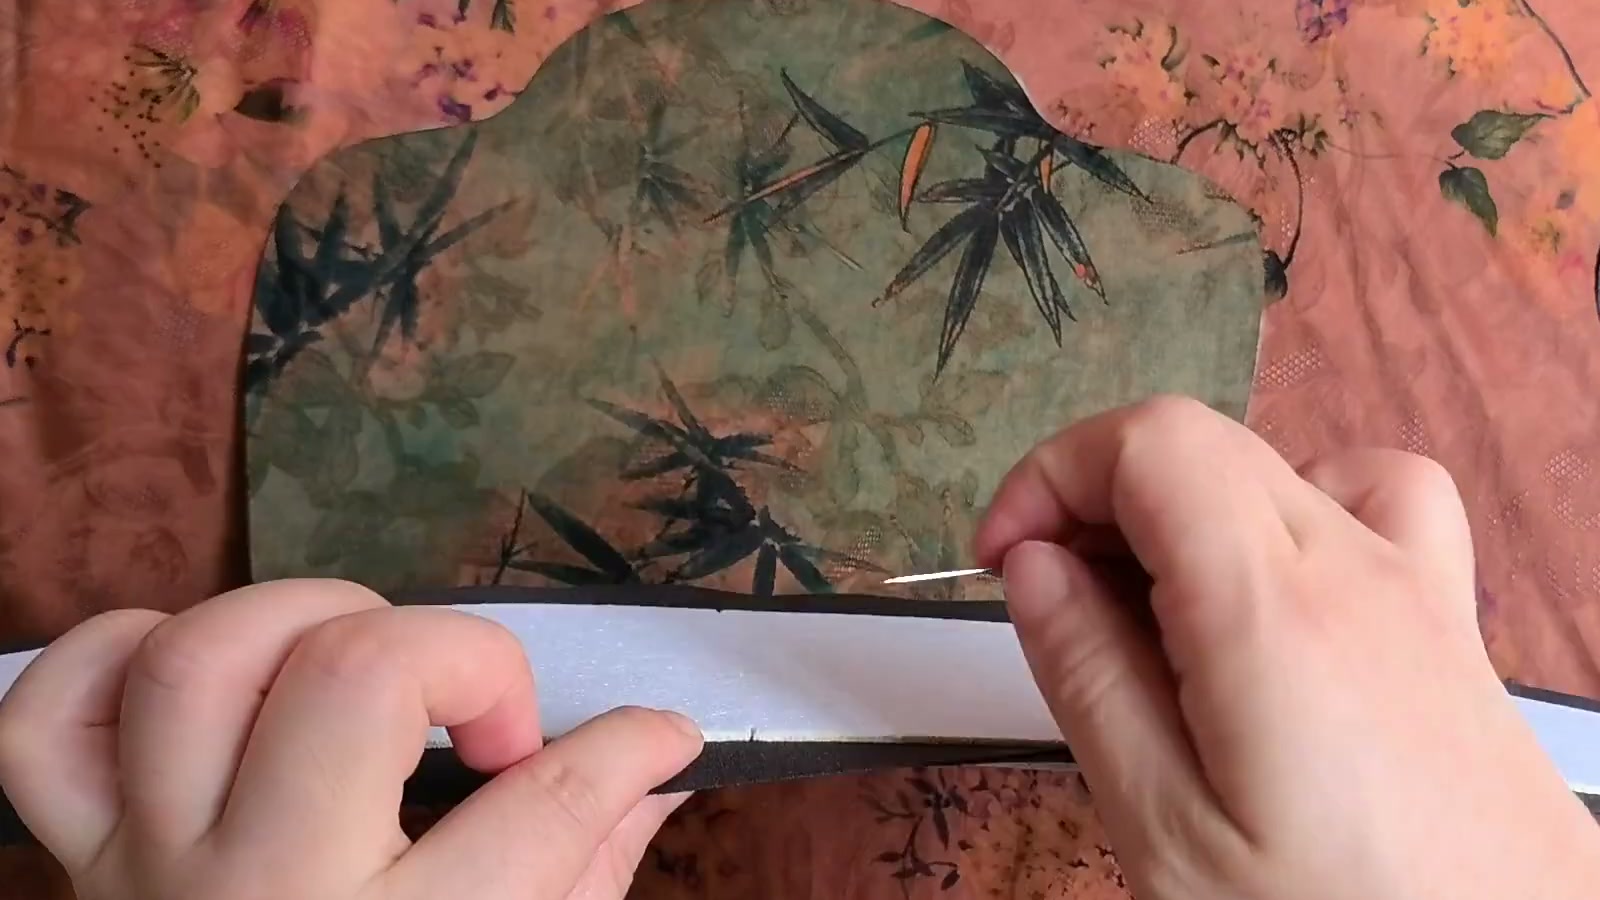
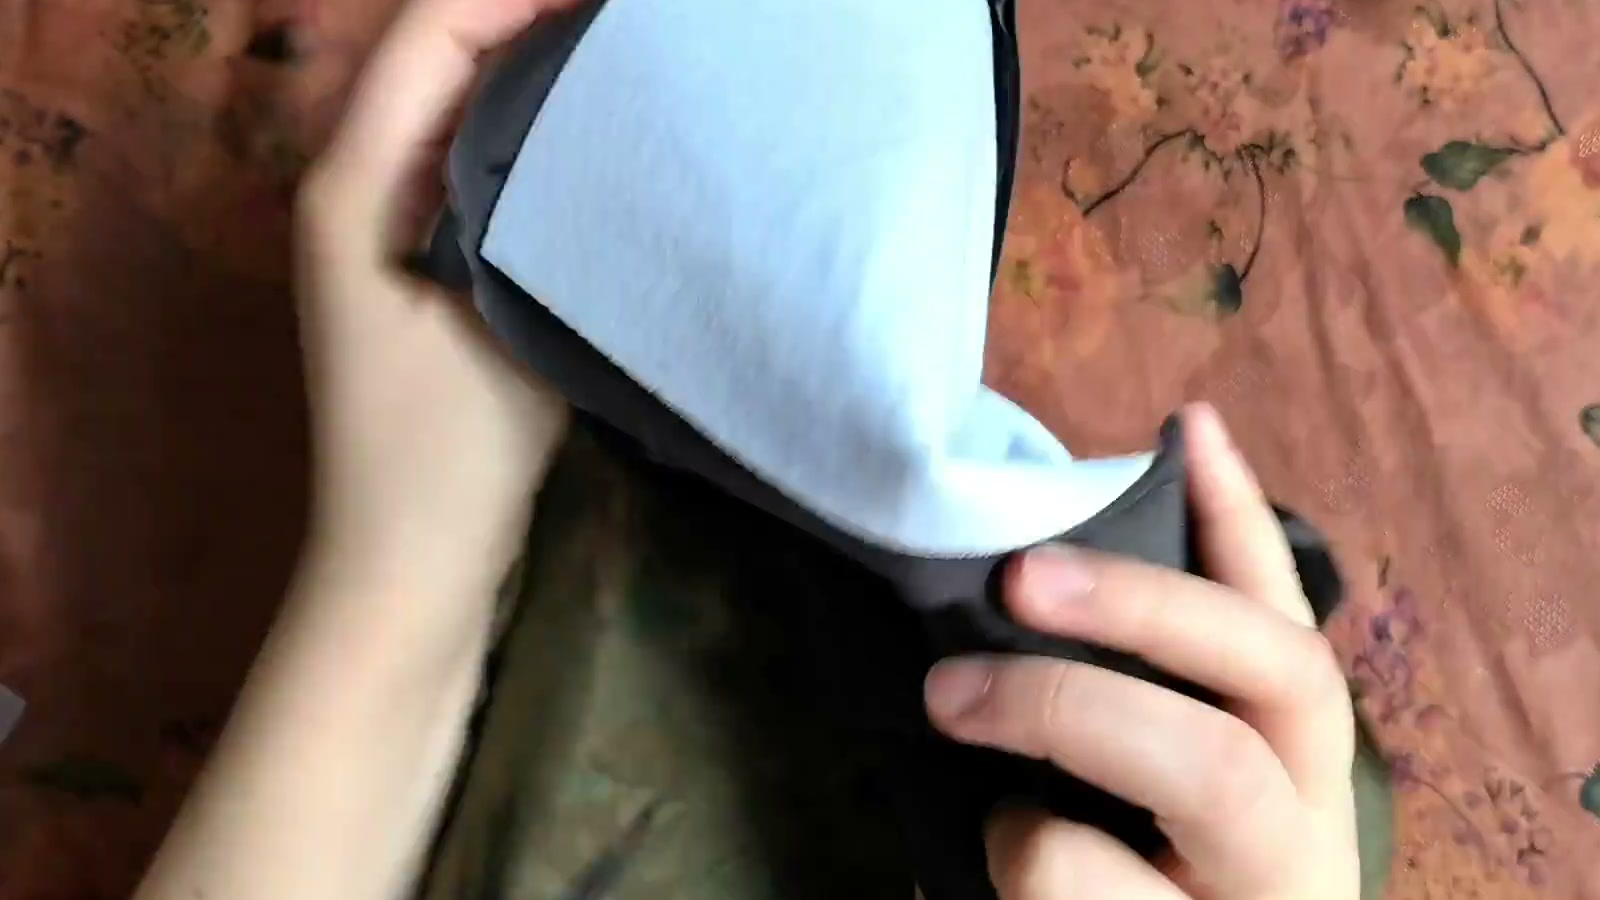
Use the batting-backed outer gusset. Match its center mark to the center of one body panel, stitch from the center toward both ends, and repeat with the second body panel.
What if the curved ends differ slightly?
Hand sewing a curve can leave a small difference at the two ends. If the center marks match and the seam is smooth without an abrupt twist, a slight variation should not affect the finished result. Do not stretch one fabric layer just to force the ends even.
Stage 3
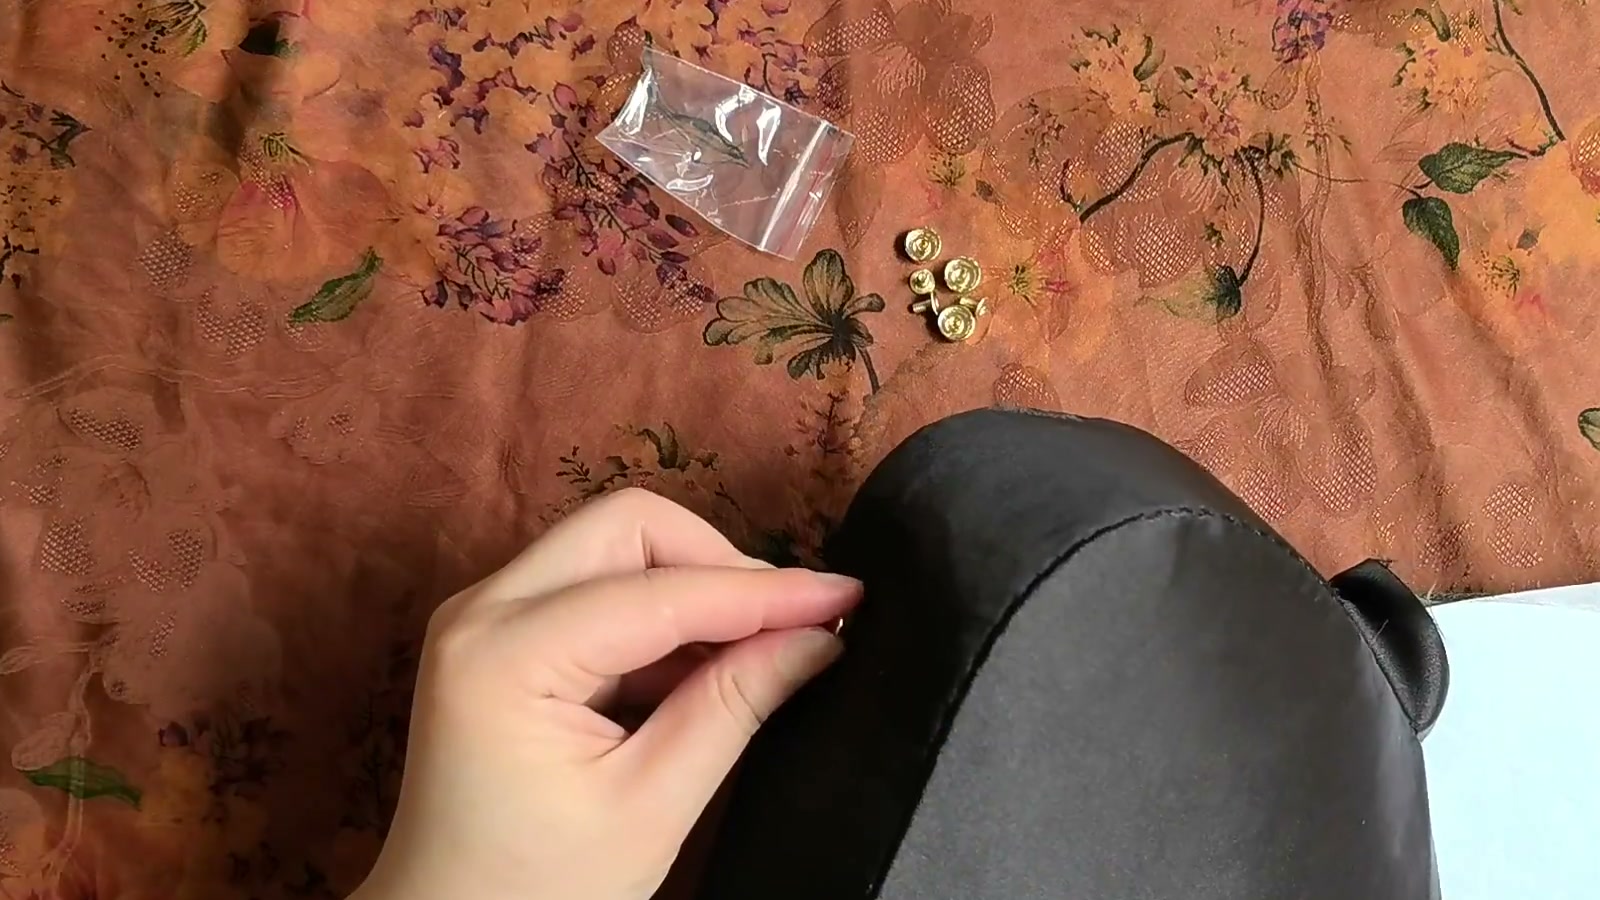
Install the four screw-back bag feet
Find the four marked positions on the bottom batting. Twist a small screwdriver through each position to open it, insert the foot from the outside, and tighten its fastener inside the bag.
Stage 4
Install two raised magnetic-snap halves
At each of the two snap positions, pierce the two transferred marks with a small screwdriver, then enlarge each slit slightly with scissors. Make each slit only large enough for one prong.
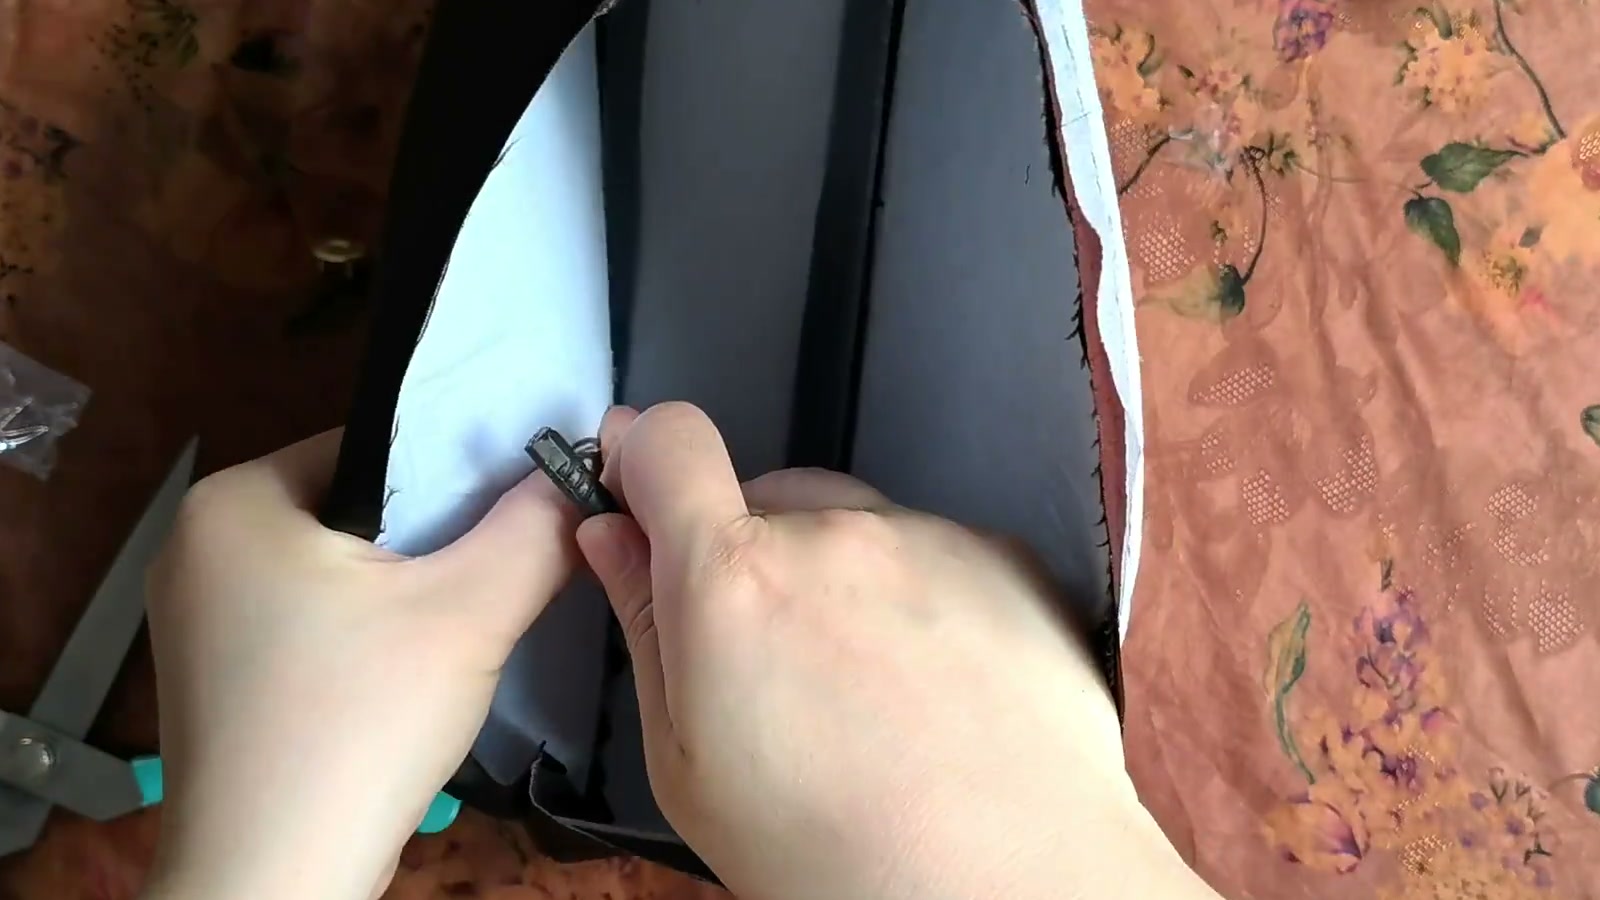
Keep the scissors away from your fingers and do not overcut the openings. An oversized opening weakens the fabric layers and may allow the snap to move during use.
Stage 5
Sew on the two leather U-ring tabs
Fold each leather tab around a U-ring, align it with the placement marks on the floral flap, and keep it level. Sew only the tabs at this stage; do not attach the bamboo handle yet.
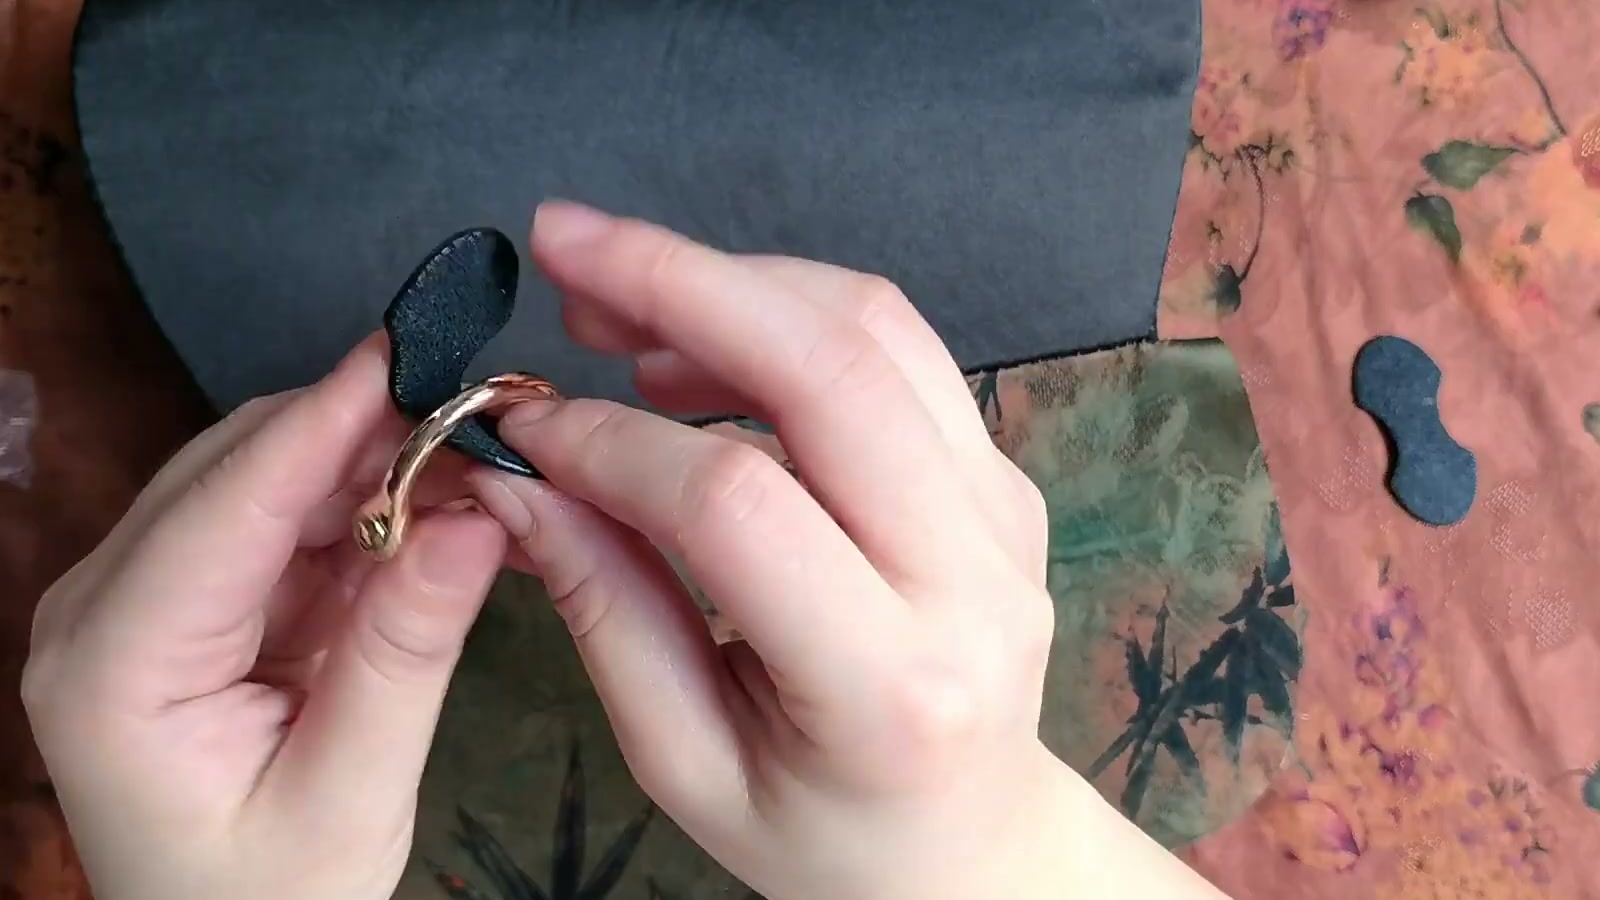
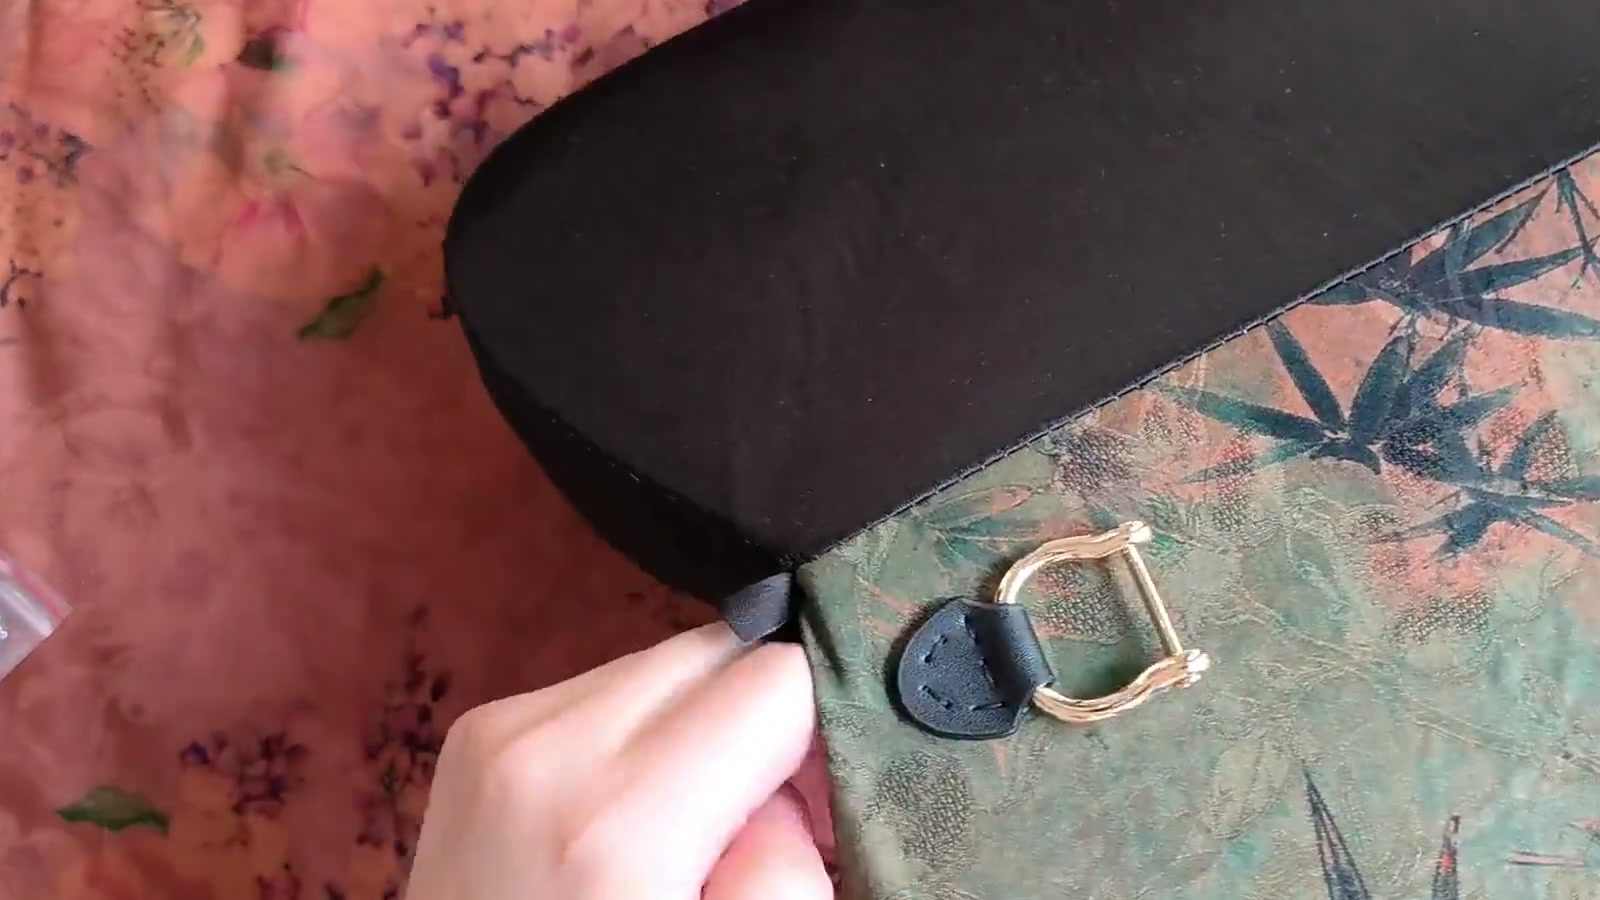
Stages 6–7
Add the optional pocket, then make the lining
The patch pocket is optional. Assemble the lining shell like the outer shell: right sides together, center marks matched first, and stitching worked from the center toward each end.
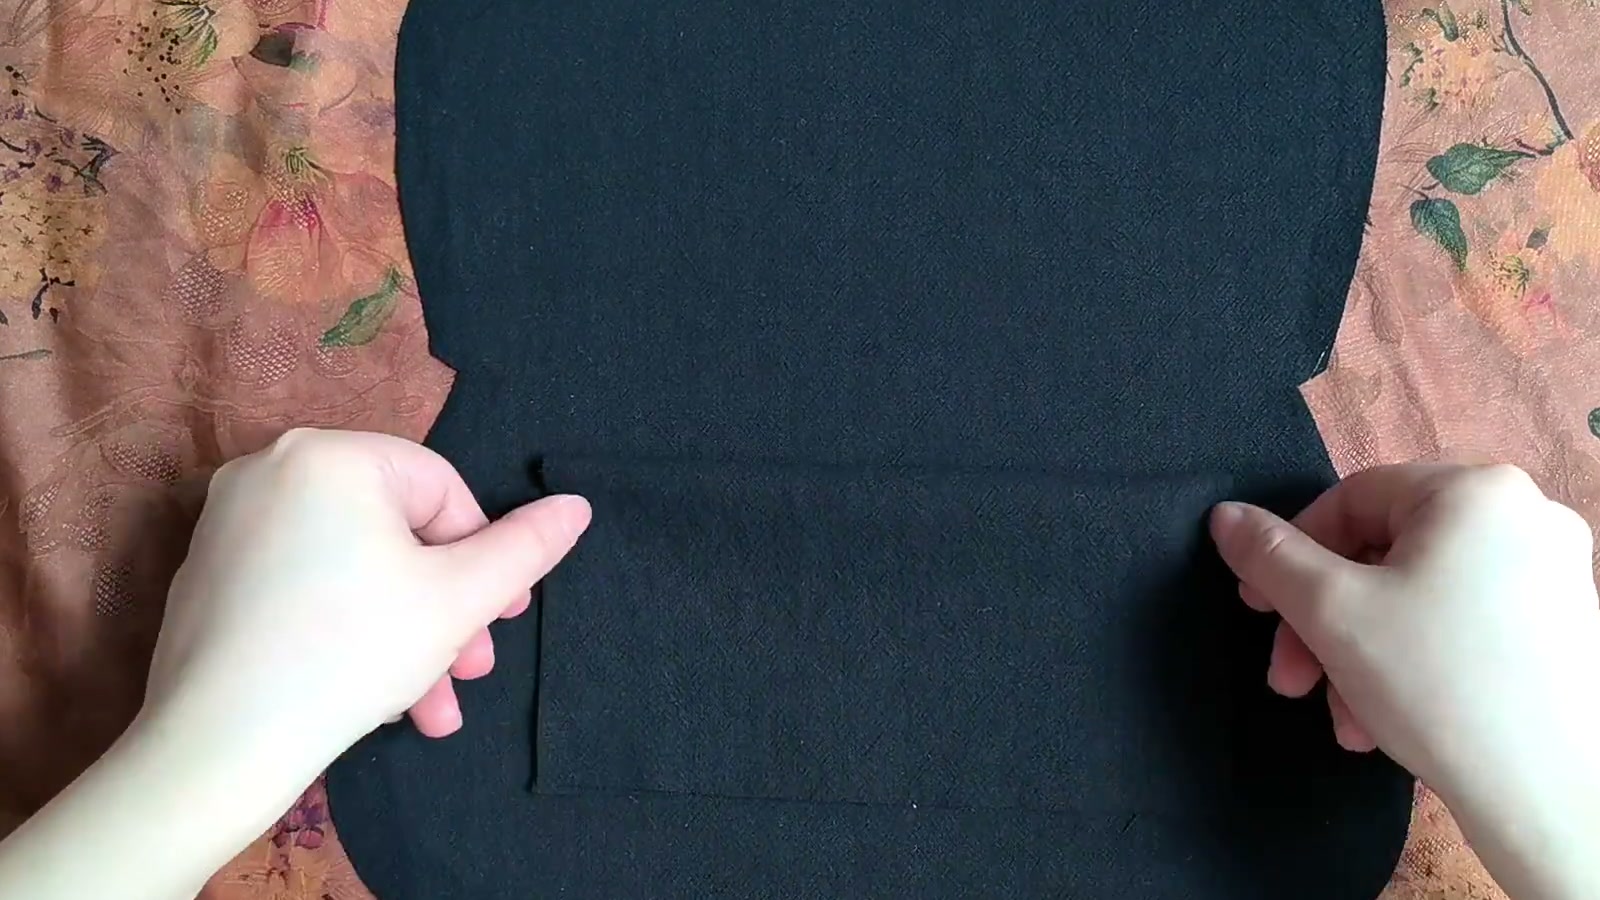
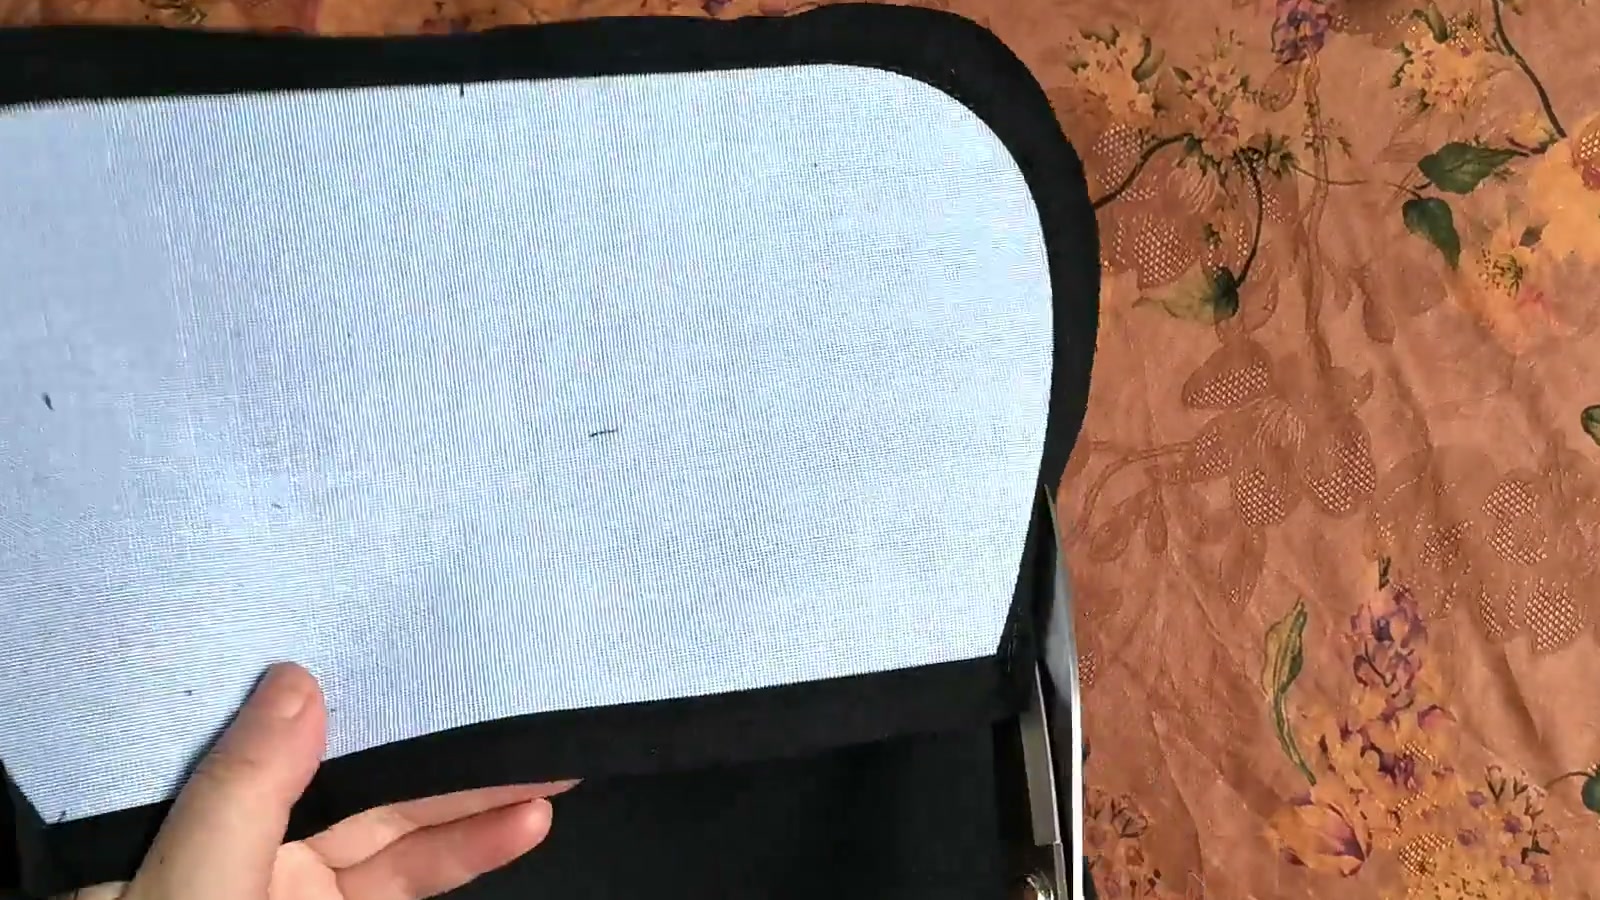
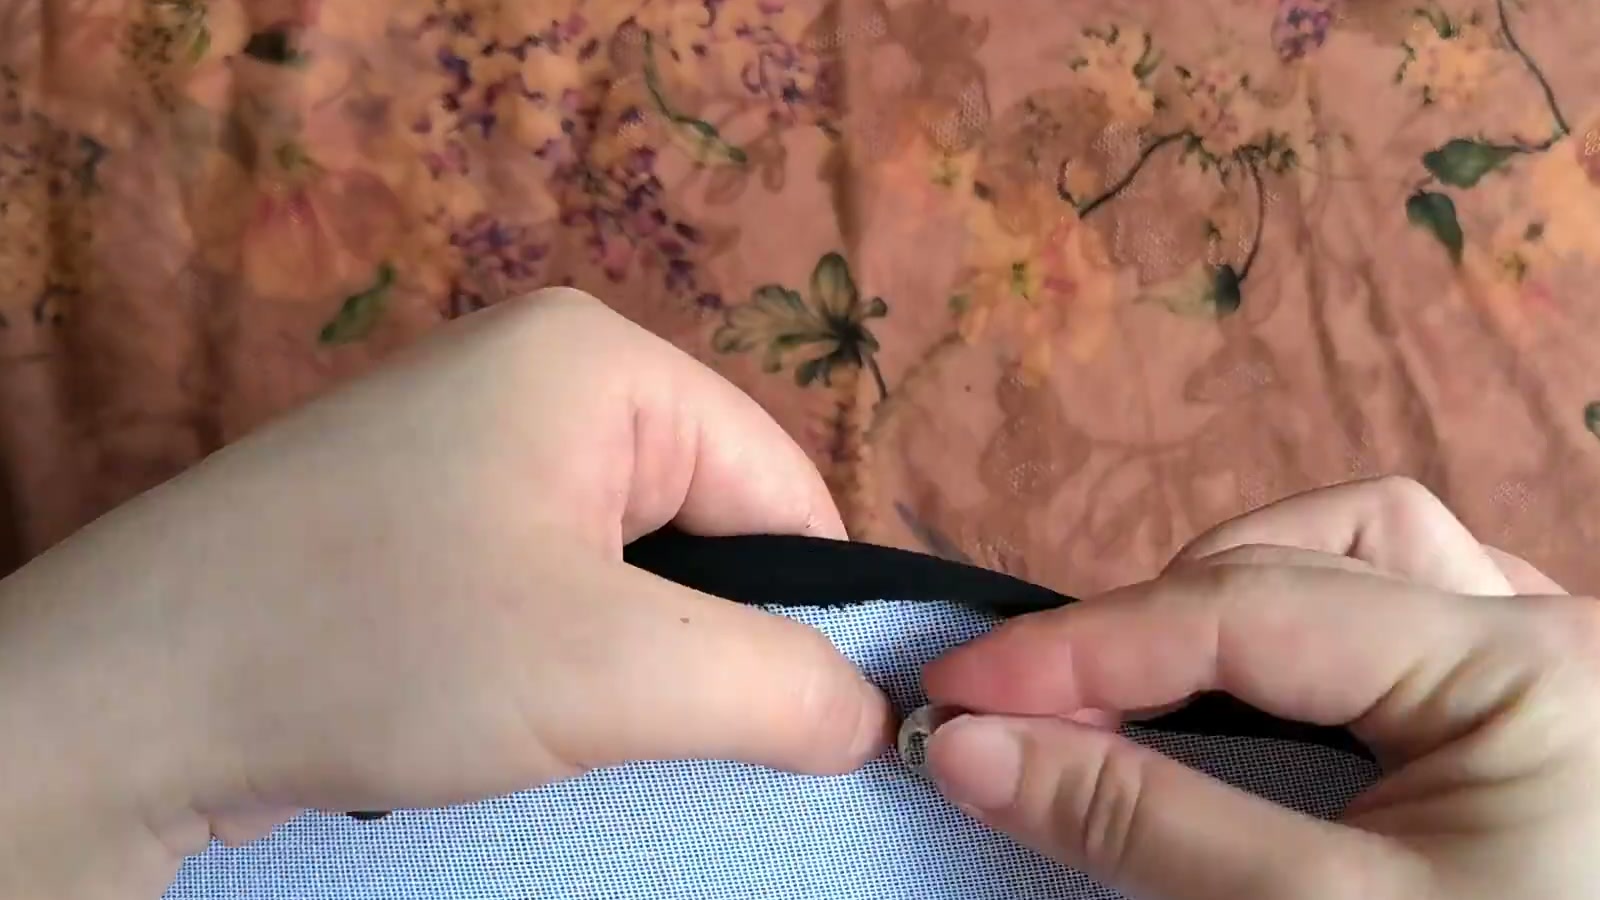
Stage 8
Nest the shells and add two support boards
Insert the lining into the outer shell with wrong sides together, so the stabilizers face each other inside the hidden interlayer. The outer fabric should show on the outside, and the lining right side should show inside the open bag.
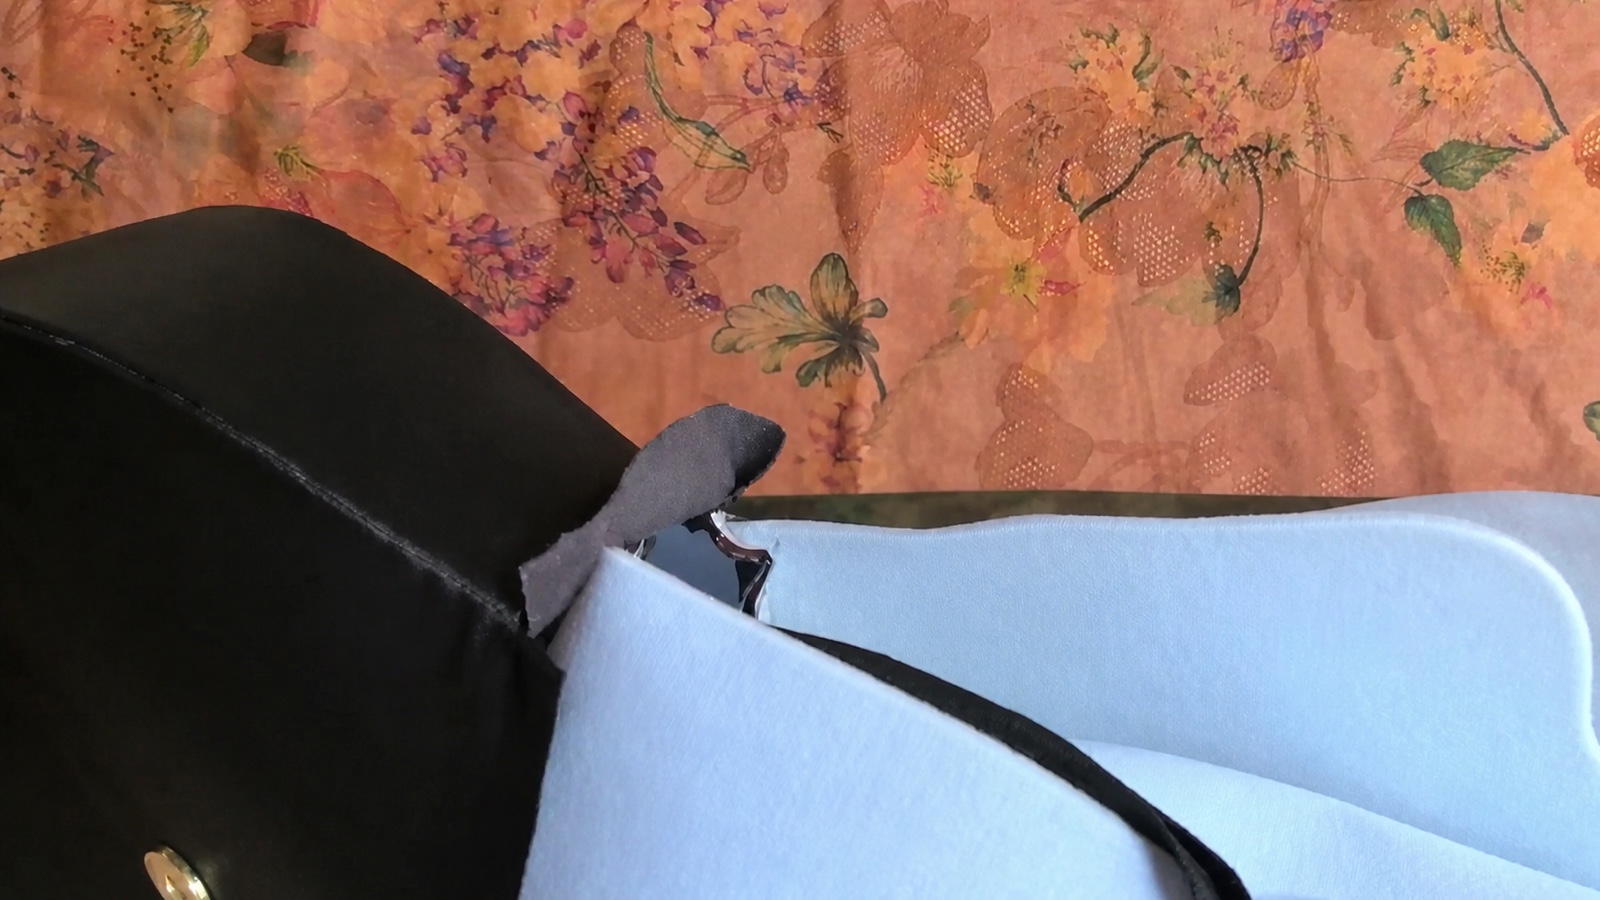
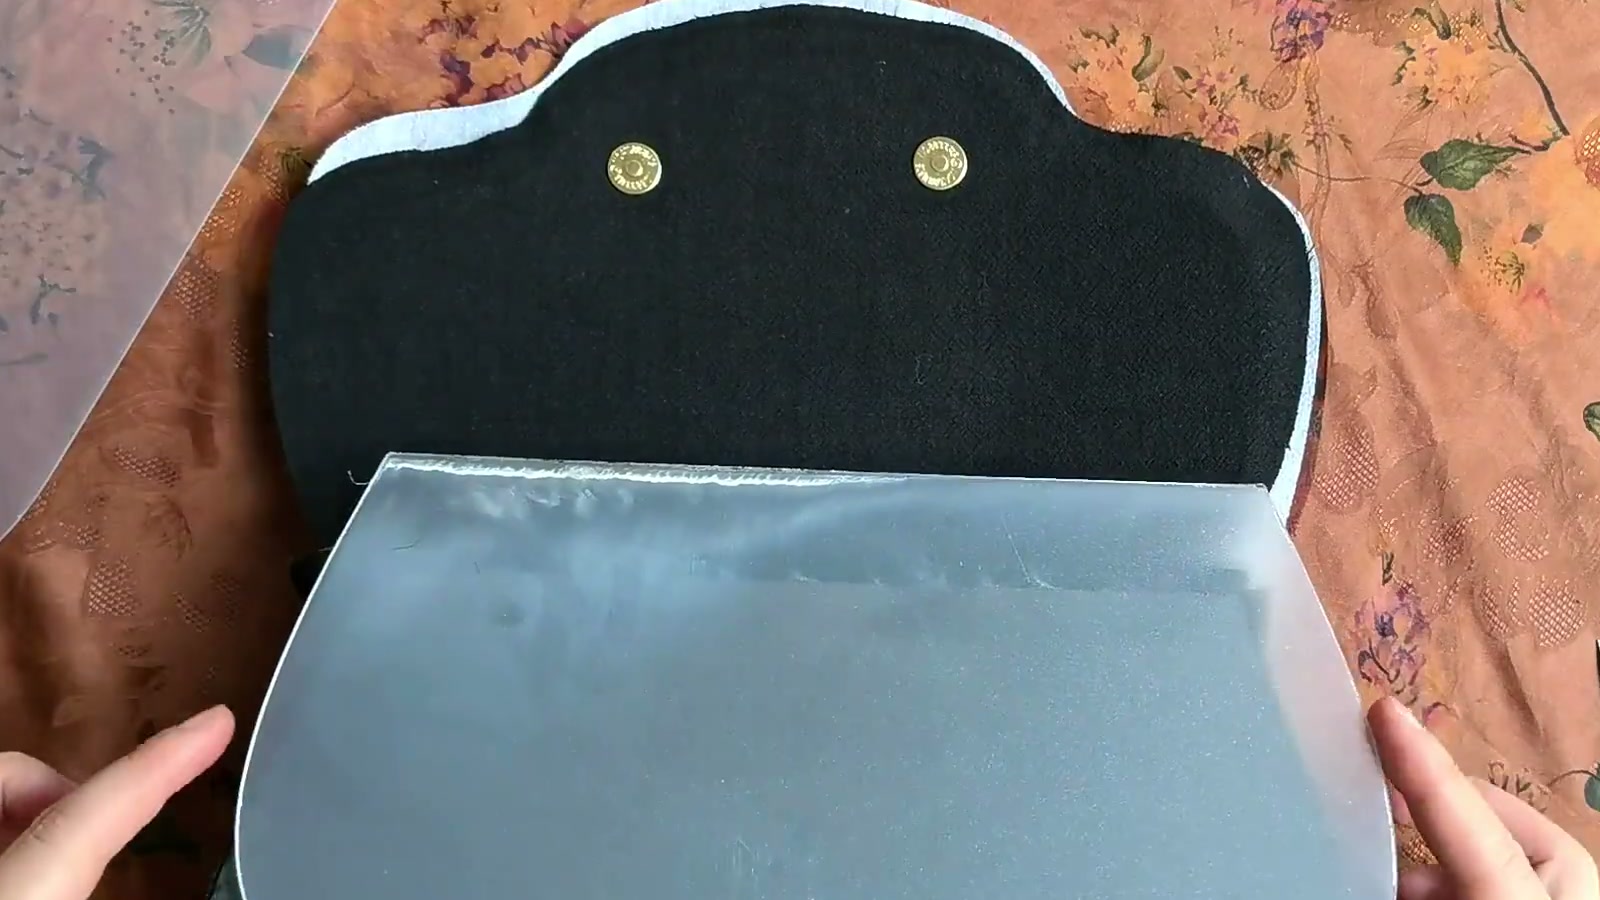
Stage 9
Turn in the top edges and close them with ladder stitch
Fold the extra outer and lining fabric into the interlayer and match the center marks first. The lining is intentionally slightly smaller than the outer shell, so smooth it into place without pulling it out of shape.
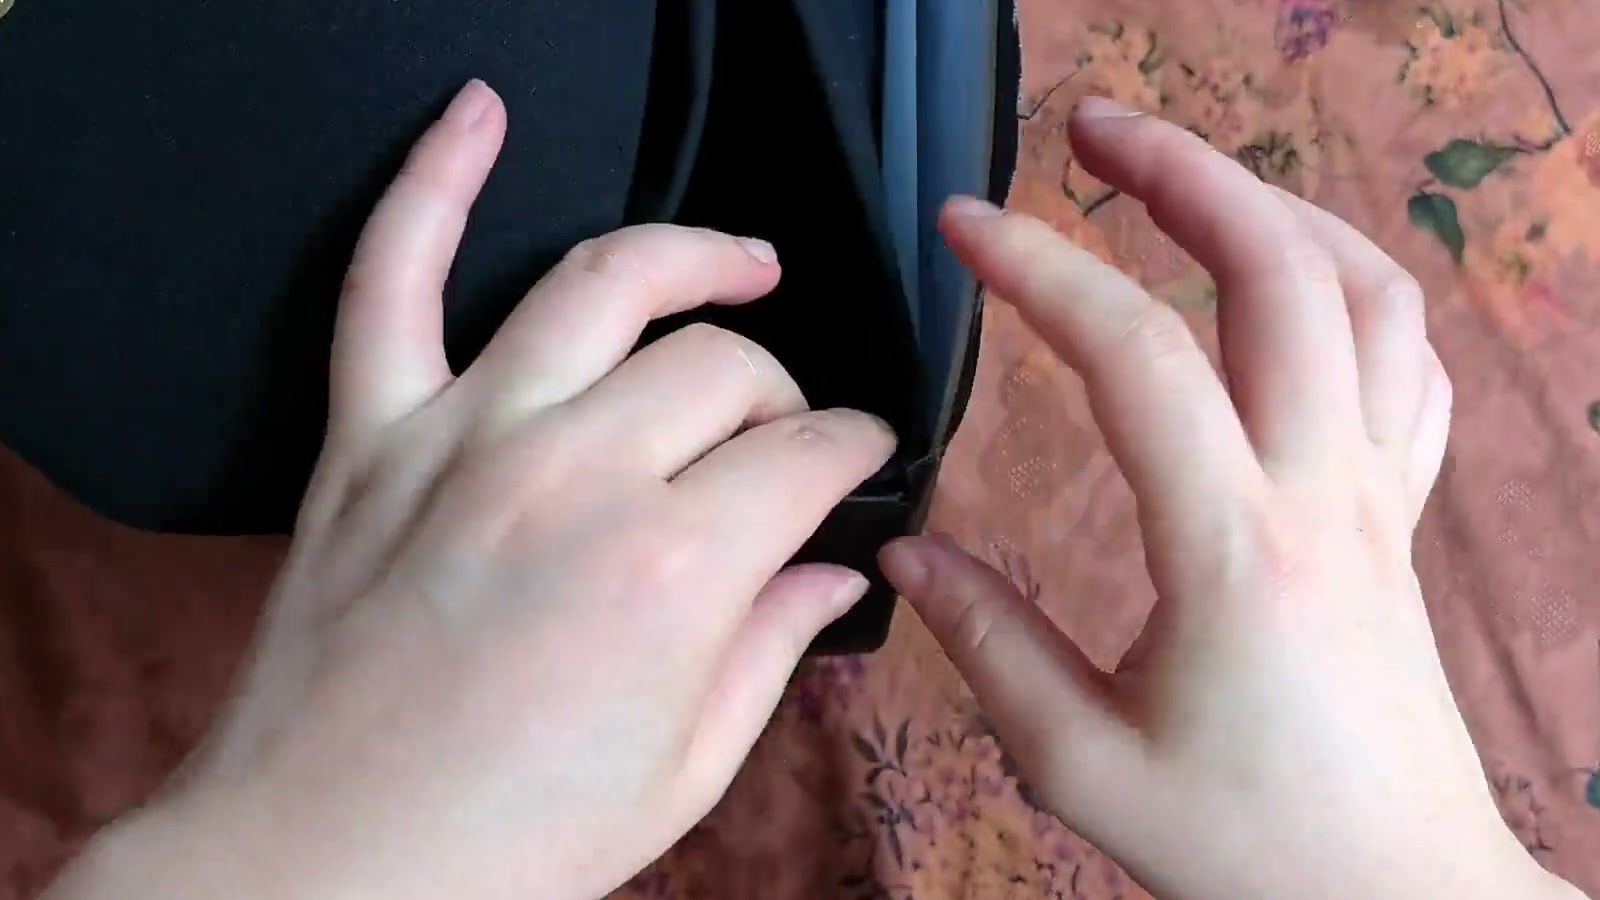
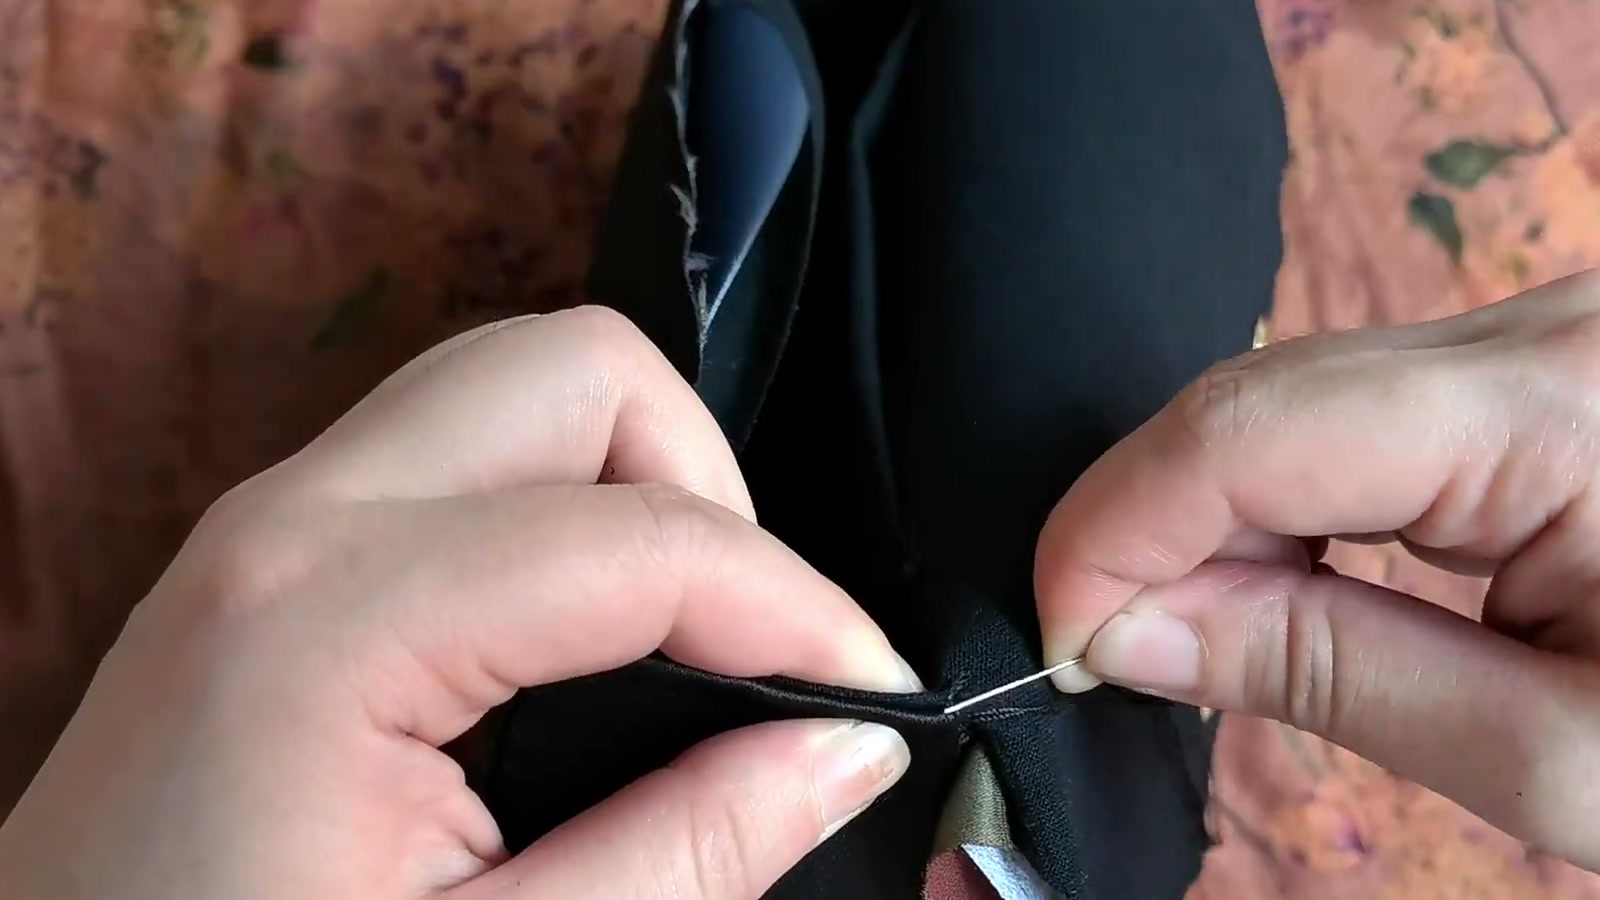
Ladder-stitch rhythm
- Bring the needle out from inside the outer-fabric fold.
- Take one small forward stitch inside the opposite lining fold.
- Return to the outer-fabric fold for the next stitch.
- After every few stitches, draw the thread up gently so the edges meet without puckering.
What a finished top should show
- Both raw edges are completely hidden inside.
- The outer and lining center marks remain aligned.
- Almost no crossing thread is visible from the right side.
- The needle has not pierced a support board, and neither board is exposed.
Stage 10
Close the flap, then ladder stitch from the center outward
The stiff interfacing on the lining side of the flap is deliberately shorter than the batting on the outer side. This offset lets the finished flap curve downward naturally. Hold the flap in its final closed position before aligning and sewing it.
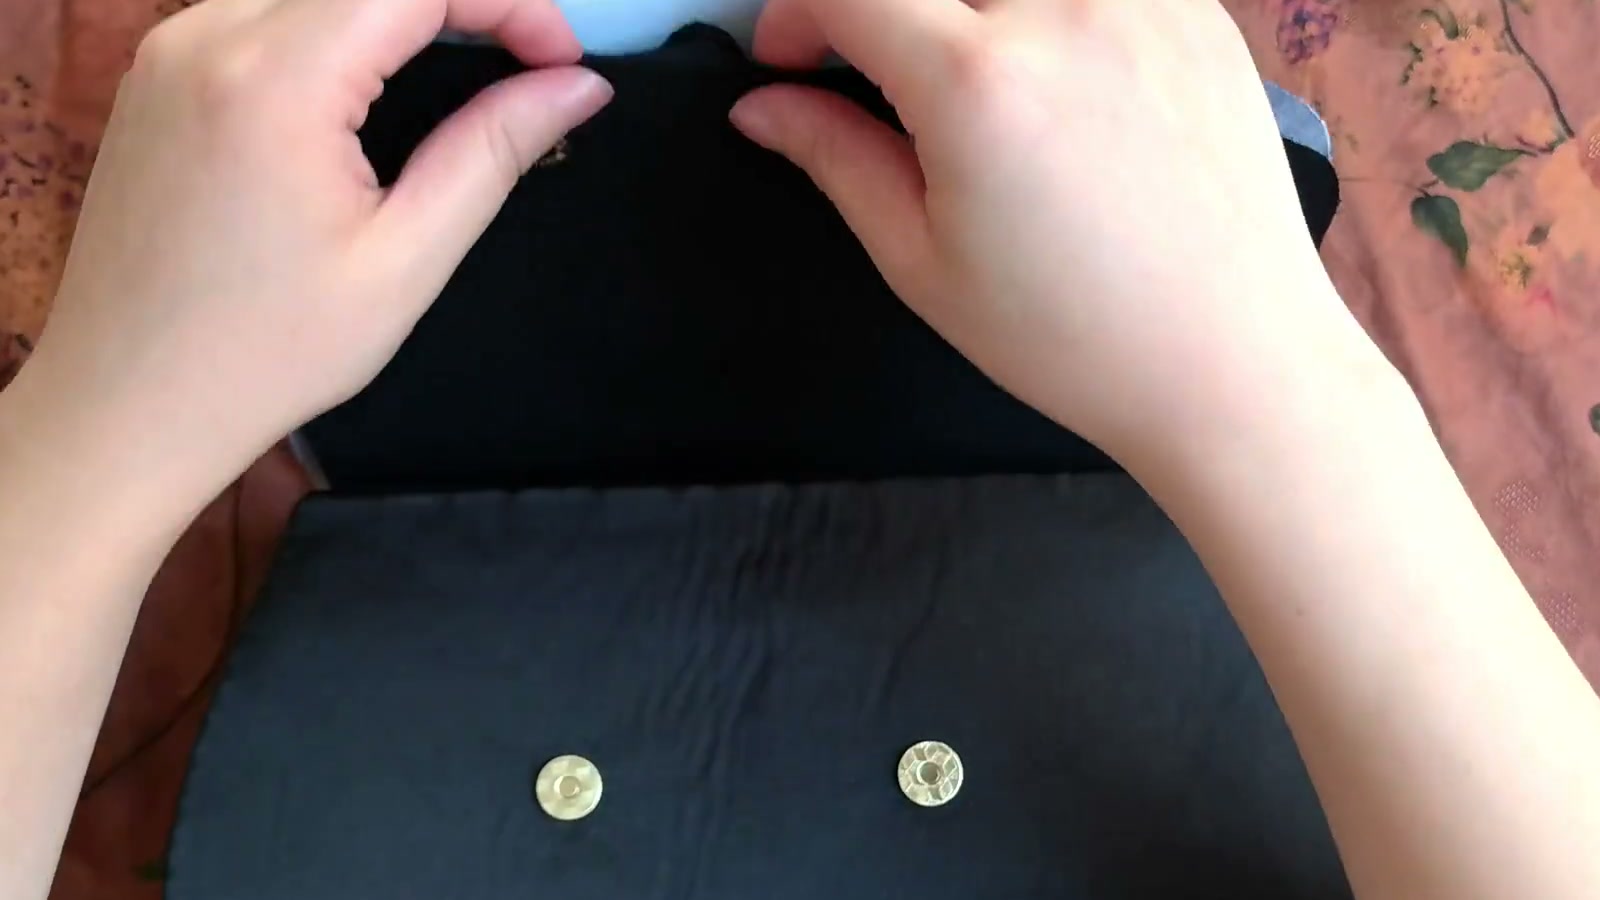
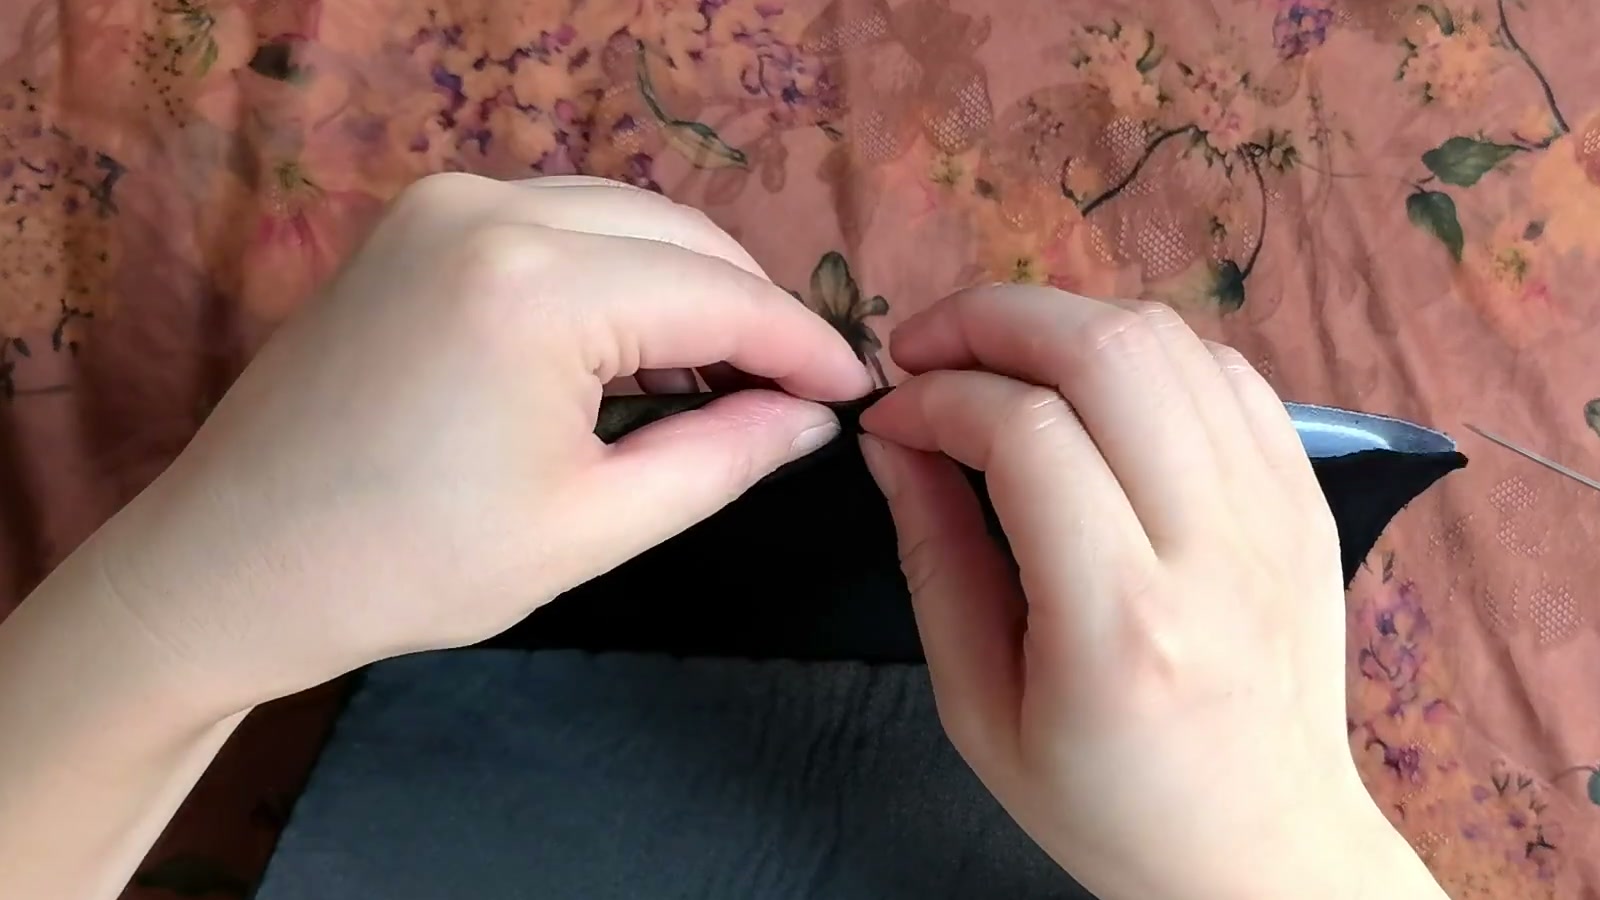
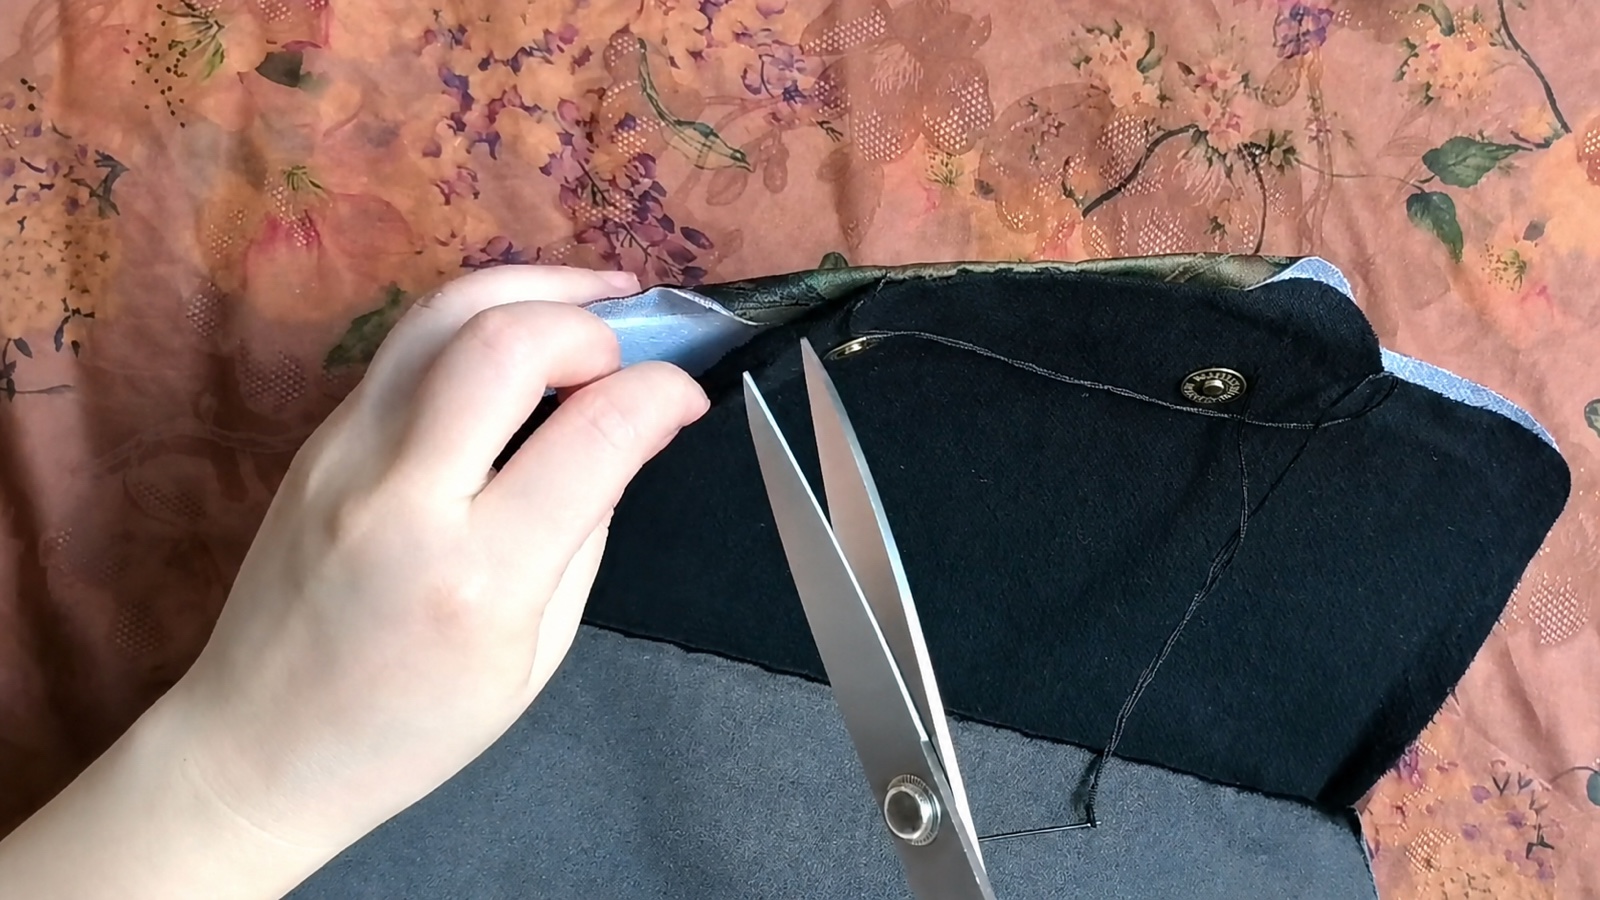
Cut the V-shaped notch in the fabric seam allowance only. There is no fixed notch depth or spacing. Start small, check whether the curve relaxes, and enlarge it only if necessary.
Stages 11–12
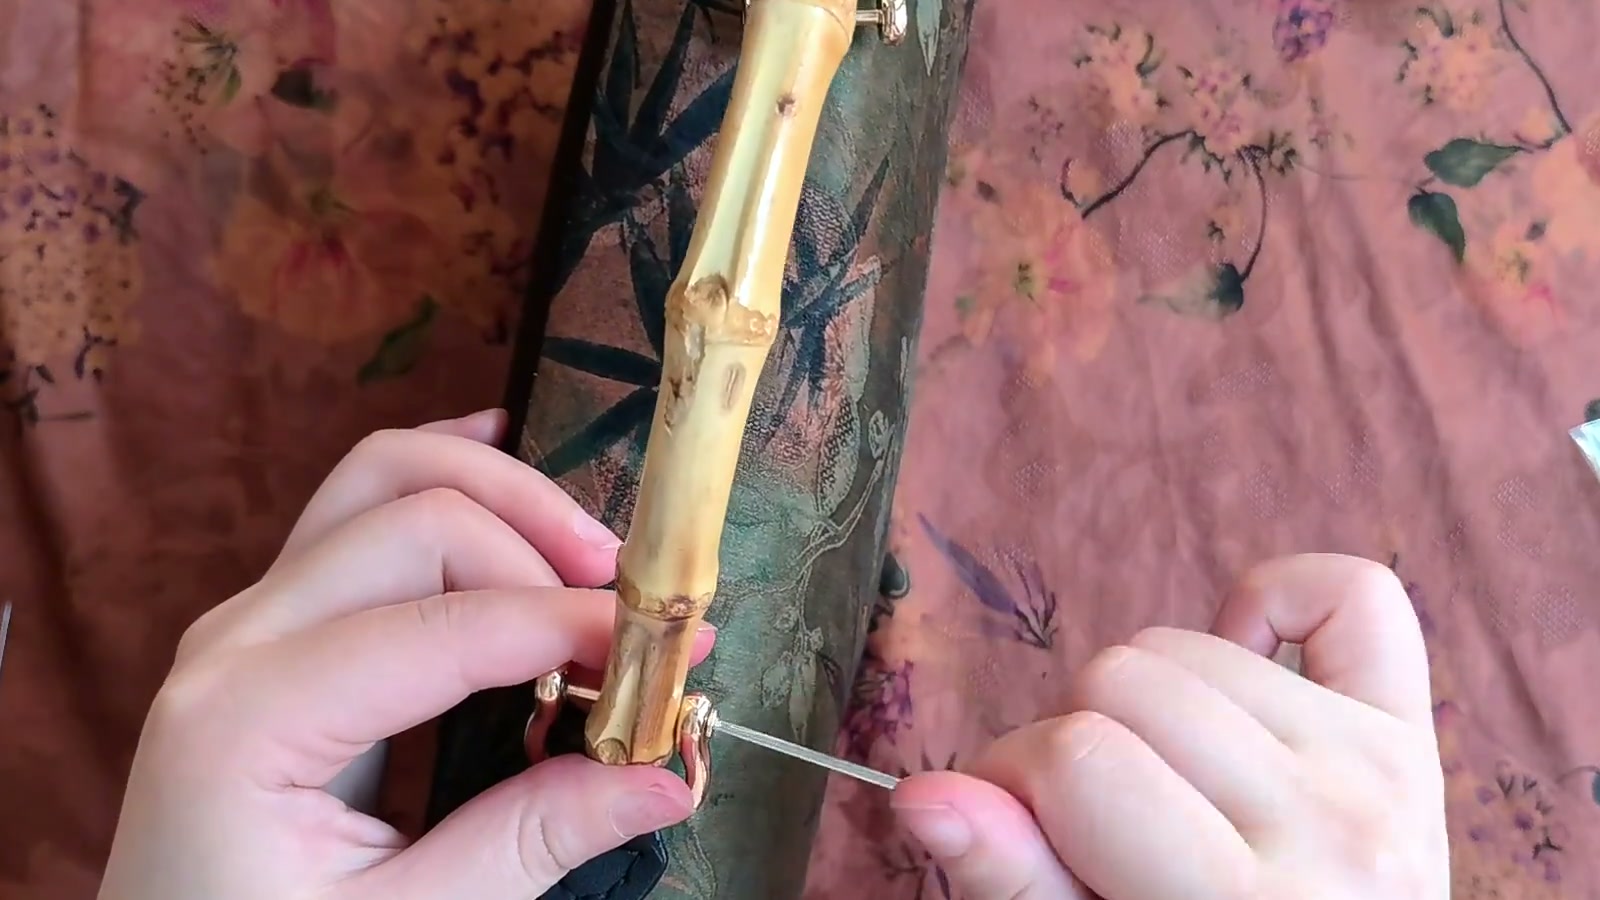
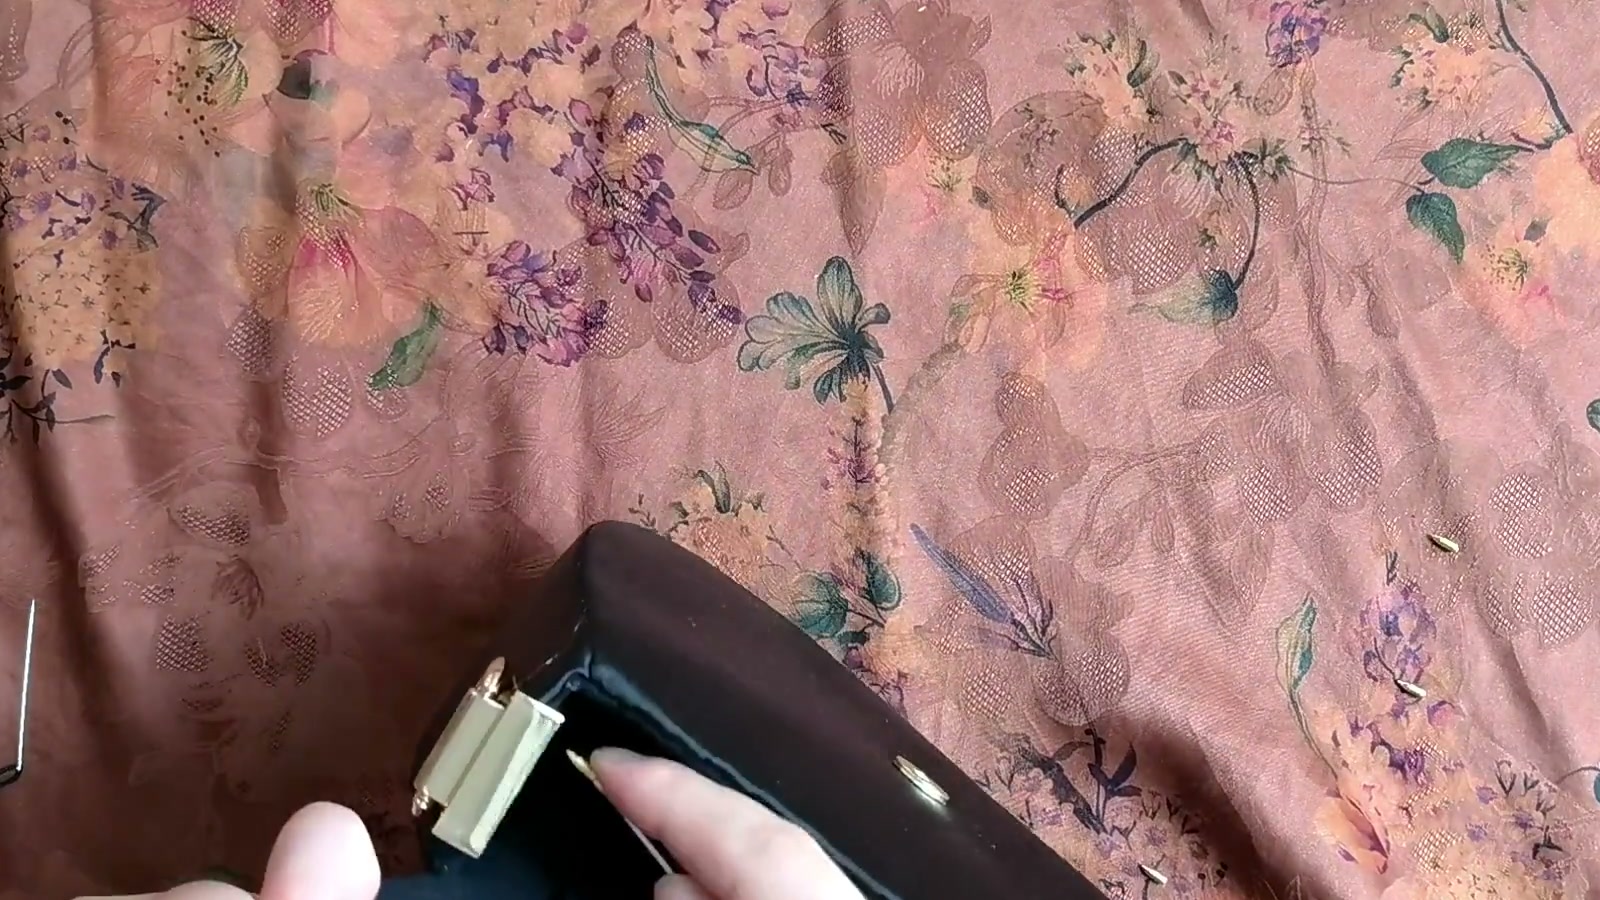
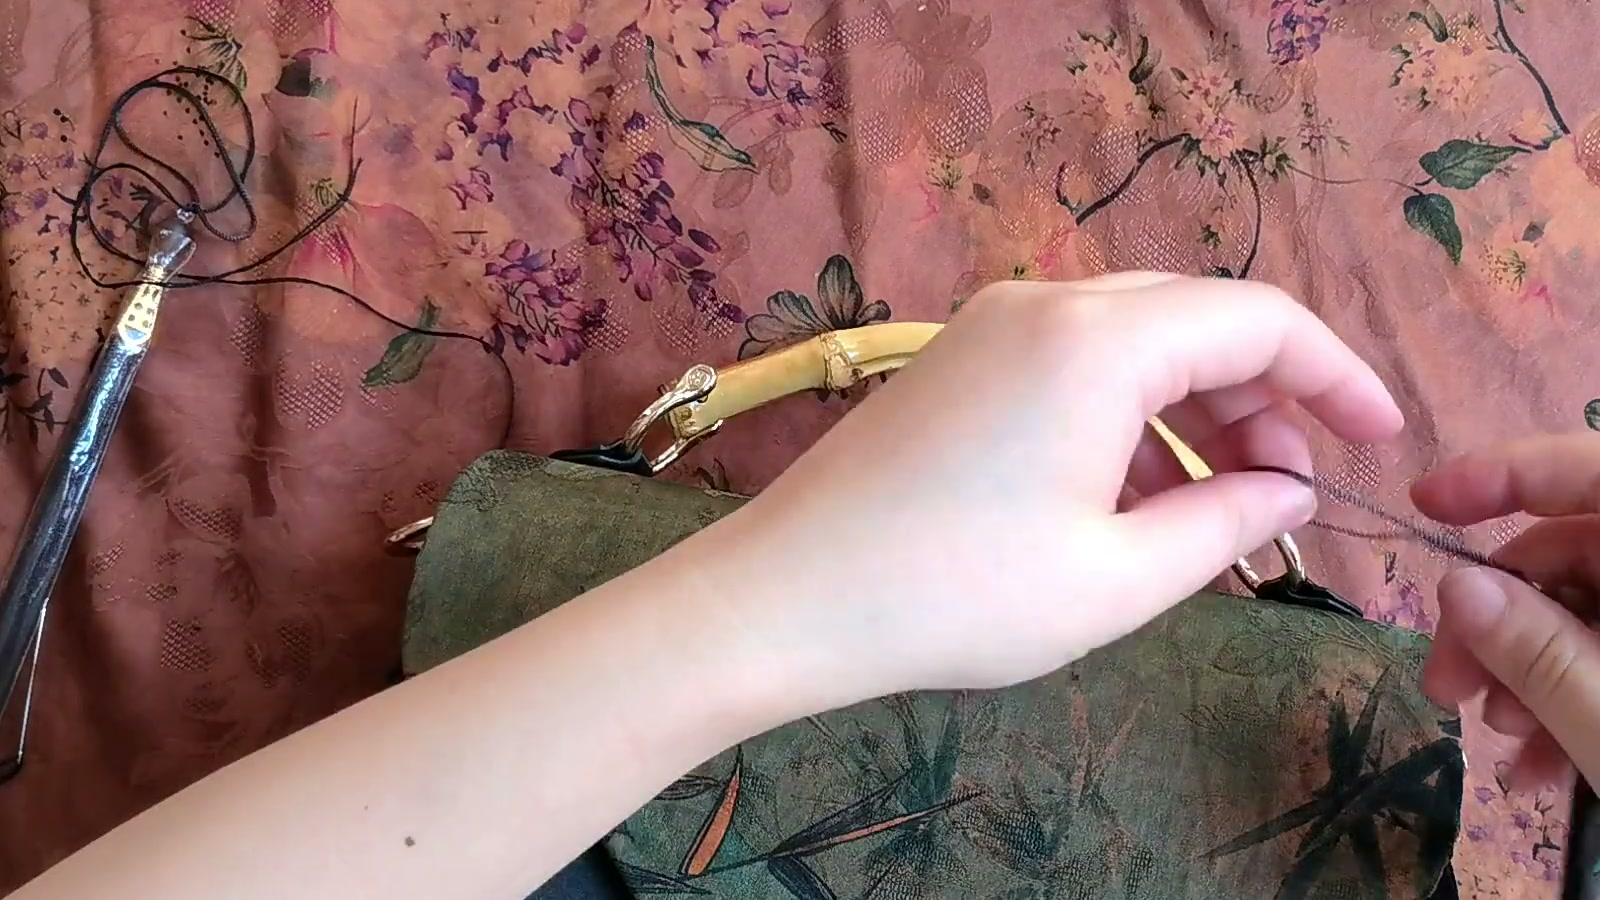
Attach the bamboo handle, side hardware, and tassel
Finish all stitching around the opening and flap before adding exposed hardware. This keeps the handle out of the way while you fold, ladder stitch, and secure the thread ends.
10 checks before you finish
- The outer and lining pieces face the correct direction, and neither gusset is twisted.
- Structural seams use short, closely spaced stitches with no obvious skips around curves.
- All four bag feet are straight and firmly tightened.
- The two pairs of magnetic snaps match, close securely, and do not wobble.
- Both leather tabs are level, firmly attached, and sewn with two complete passes.
- One support board lies flat in the front interlayer and one in the back.
- All raw top edges are enclosed, with almost no ladder-stitch thread visible.
- The flap is centered in its closed position and curves downward naturally.
- The inner-curve notch has not damaged the batting or the stitch line.
- The bamboo handle, side fitting, and tassel are secure, and every screw has been rechecked.