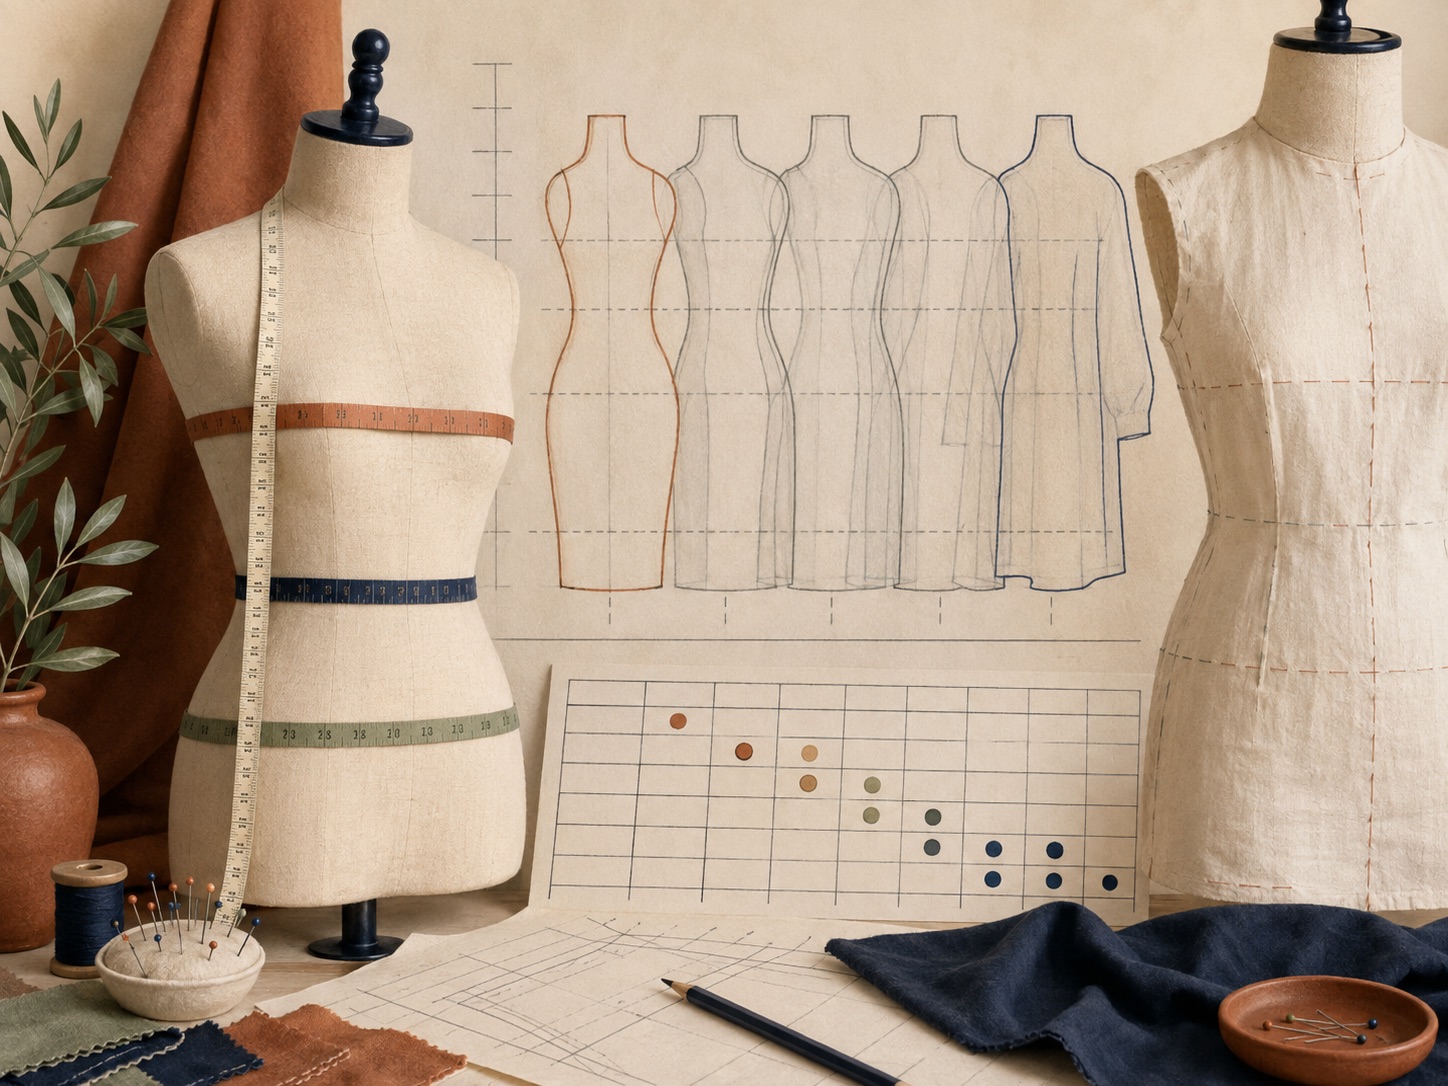
S-19052 Camisole and Shorts: A Before-Cutting Checklist
Sort the shoulder pieces and record the top's elastic positions before cutting S-19052. The shorts checks below help keep the pockets clear while joining the legs.
Patternly Learning Center
Start sewing with beginner tutorials on choosing a pattern, printing files, and selecting fabric. Build your skills with bag and clothing project guides.
Choose your route
Browse the library
Sew the pattern
Check materials, construction choices and known limitations alongside the matching pattern.
Sort the shoulder pieces and record the top's elastic positions before cutting S-19052. The shorts checks below help keep the pockets clear while joining the legs.
Make a piece-and-layer list for the unlined-skirt version of 2510. Keep the neckline's second layer on that list, and prepare the original 3 cm elastic cuff before considering alterations.
Choose the back fastening, label the extra sleeve-cap pieces and prepare separate samples for the neckline and sleeve gathers. Keep this plan with the 2565 pattern.
Prepare a two-face piece list and mark the joins that need a construction diagram before cutting 2529. Keep that plan beside the complete pattern as you sew.
Prepare the collar and V opening, label both skirt hems and record the waist details needed before cutting 2521. Keep the waist layers accessible until that route is confirmed.
Label the hood, facing and open-ended hem band before assembling 2537. Use the seam checklist to keep the inner layers accessible while you align the zipper.
Prepare the pocket and rib bands, then make a hood-marking checklist for 2525. The baseline here is a plain hood opening without a drawcord.
Plan the pocket placement, sleeve fold and collar alignment for 2566. Keep the sleeve-edge question on your cutting checklist before starting the assembly checks below.
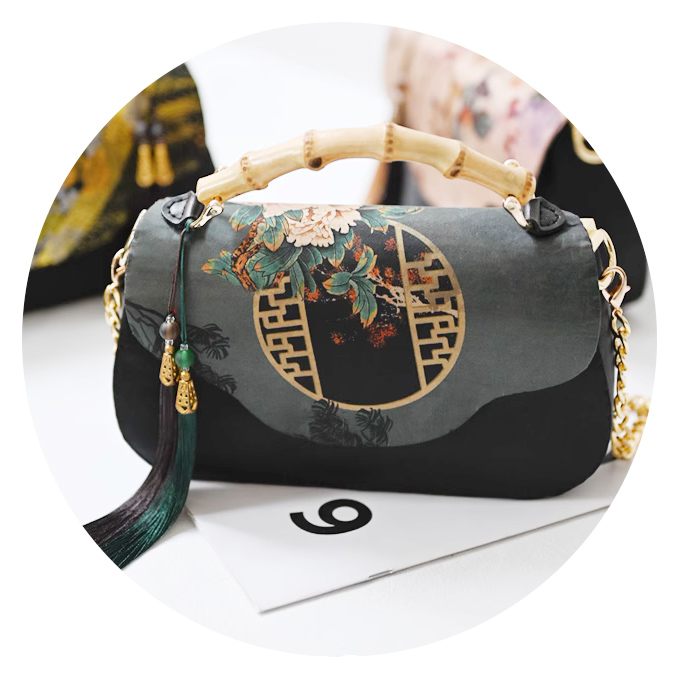
Make a small, lined tote with one fabric handle, a zip closure and bound inside seams. Follow the Sugar Cube pattern through printing, cutting and assembly, then compare two other tote pattern formats.
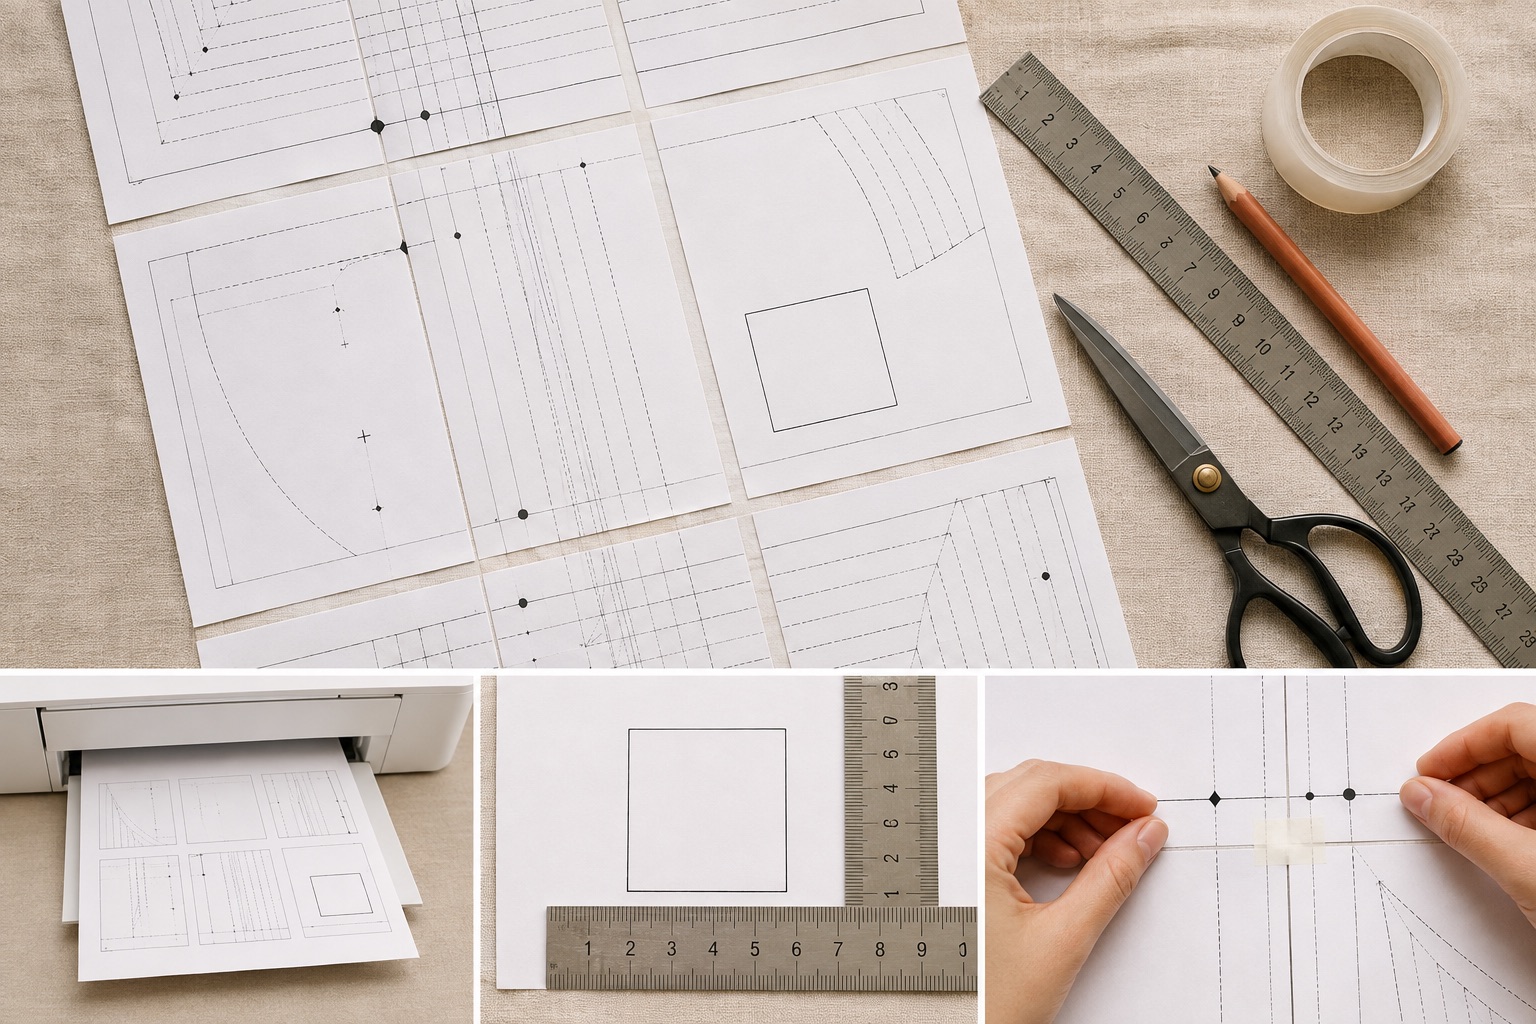
TutorialsPrint and Assemble a PDF Sewing Pattern at the Right ScalePrint one test page first. Once the scale is correct, assemble a small section before committing to the whole tiled pattern.Open tutorial TutorialsSew a Two-Pocket Card Wallet Practice SamplePractise interfacing, turning corners and edge stitching with four rectangles. These dimensions have not been verified by a sewn sample; use scraps first and test access with your own cards and fabric.Open tutorial TutorialsPrepare and Check Curved-Pleat TrousersCurved pleats depend on a specific piece shape and fold route. Use this guide to organise the pieces, test the pleat and check the waist construction before sewing the final trousers.Open tutorial TutorialsPlan a Bouclé Jacket: Fabric, Fit and Finishing OrderUse a complete jacket pattern alongside this construction guide. Bouclé needs careful handling at cut edges, seams and pressing points; the details depend on the chosen jacket.Open tutorial TutorialsPlan a Lined Dress with Gathered Skirt LayersThis guide is for a sleeved dress with a fitted bodice, gathered skirt layers and a back zip. Lolita-inspired dresses vary widely; use the instructions for your chosen pattern to establish the actual construction.Open tutorial TutorialsSew a Folded V-Neckband: Control the Centre PointUse a pattern with a shaped, double-layer knit neckband. The critical checks are the band's front join, the garment's stitching-line intersection and the fabric beneath the needle at the pivot.Open tutorial TutorialsCheck a Separate Collar Stand and Front AlignmentCheck how the outer and inner stand enclose the neckline allowance. Prepare the front opening first so both finished edges are available for comparison.Open tutorial TutorialsPlace and Sew Ears into a Hood's Marked SeamsUse this guide with a hood pattern that has designated ear insertion points. Check the ears while they are basted, before the hood lining or neckline hides their bases.Open tutorial TutorialsLined Cape Hood: Assembly and Trial-Attachment ChecksUse a cape pattern with a matching two-layer hood. Assemble the layers and baste the neckline so you can check fit before completing the pattern’s final attachment.Open tutorial TutorialsSew a Folded Knit Neckband in the RoundStart with a completed round neckline and a closed, double-layer neckband. Match both band raw edges to the garment and spread the required band stretch between the marks.Open tutorial TutorialsAdd an Even Ruffle to a Two-Layer Flat CollarThis guide adds a gathered strip to the outer edge of a flat collar. Keep the neckline attachment edge open and use the original collar pattern for its later attachment.Open tutorial Save this for the cutting table
Complete project series
Read the pattern and prepare every piece, then follow the complete sewing and finishing sequence.
Keep learning