
General bag-pattern guide · A4 example · practical workflow
How to use a bag sewing pattern
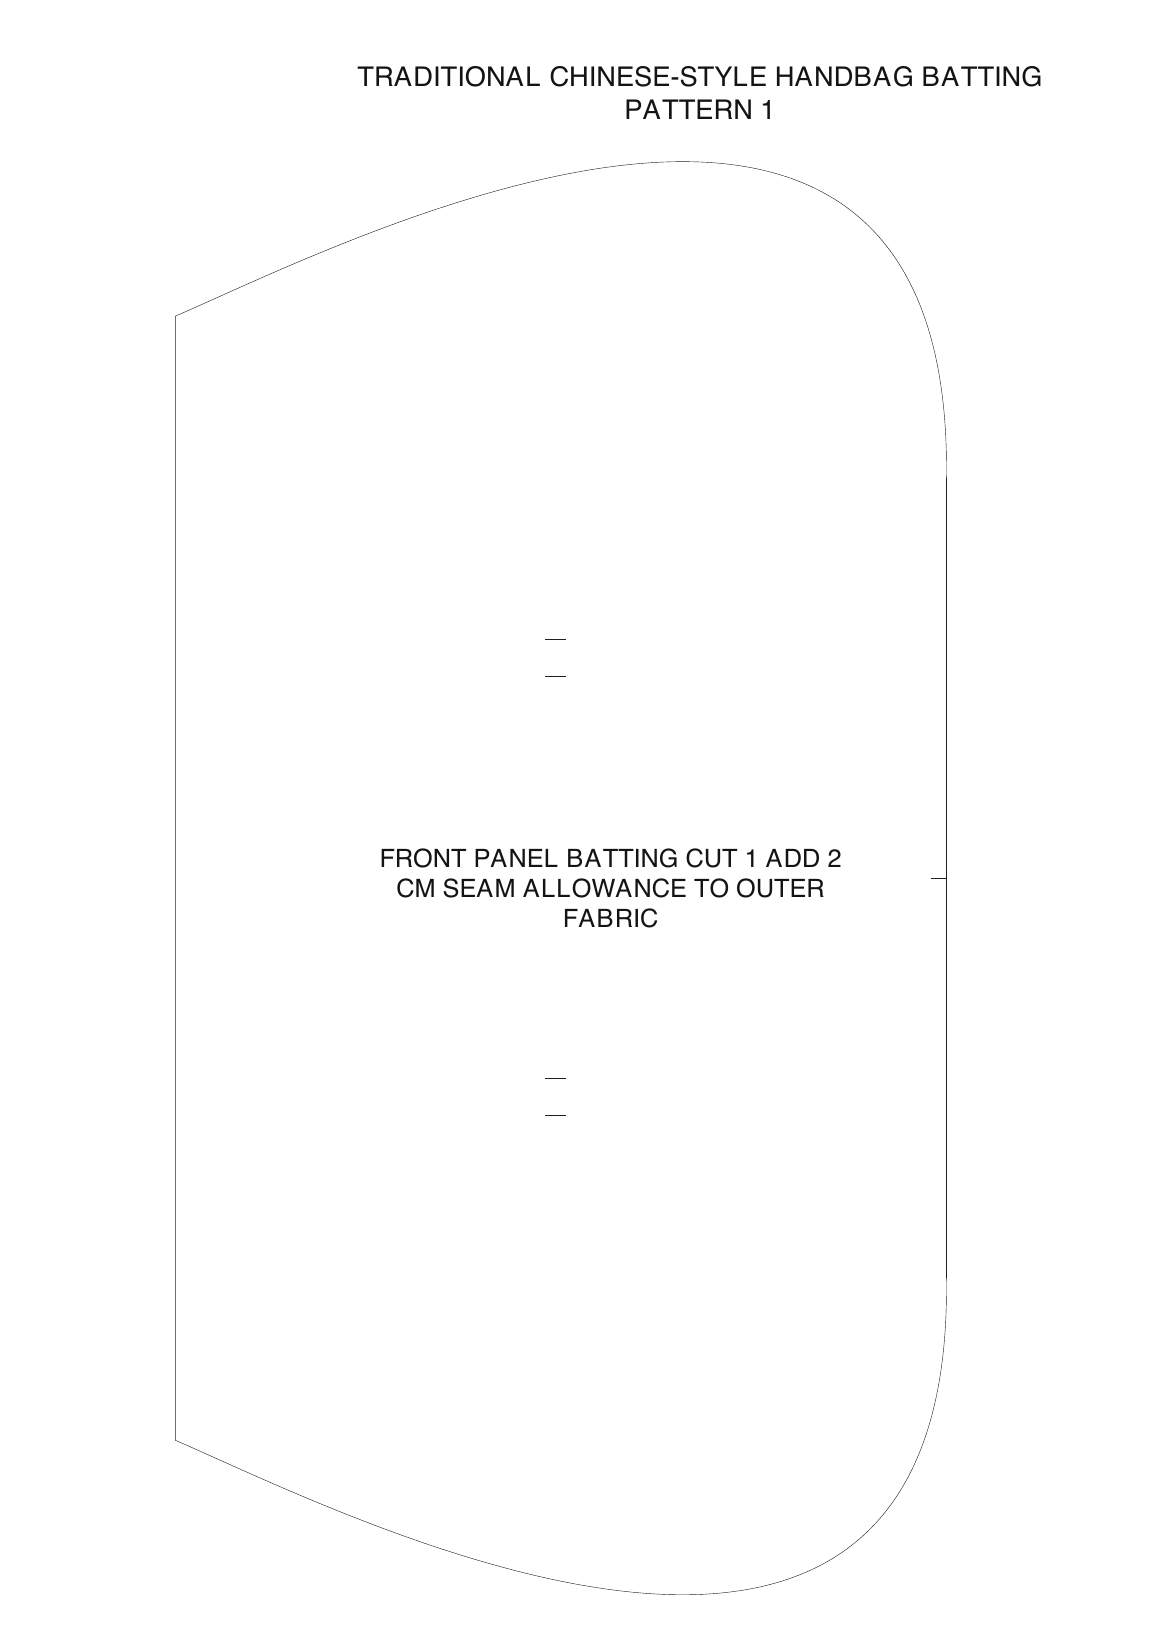
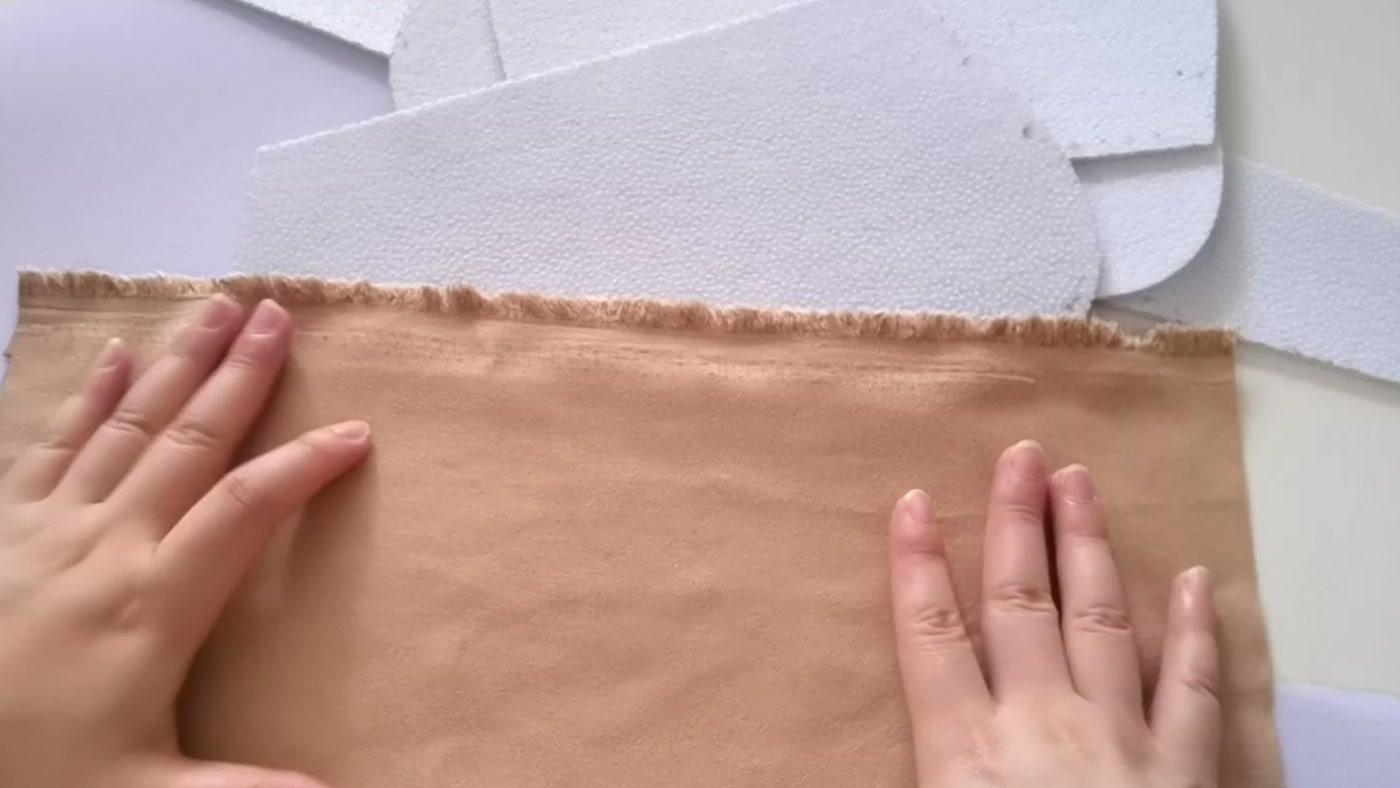
This guide uses the Traditional Chinese-Style Handbag as a worked example. Read the labels and complete each shape first. Cut the batting or stiff interfacing, fuse it to the wrong side of the fabric, and only then cut the fabric 2 cm beyond the stabilizer.
Cut paper → flip-trace or join pages → cut stabilizer → fuse → add 2 cm to fabric
Remember this order
The 2 cm belongs to the fabric after fusing
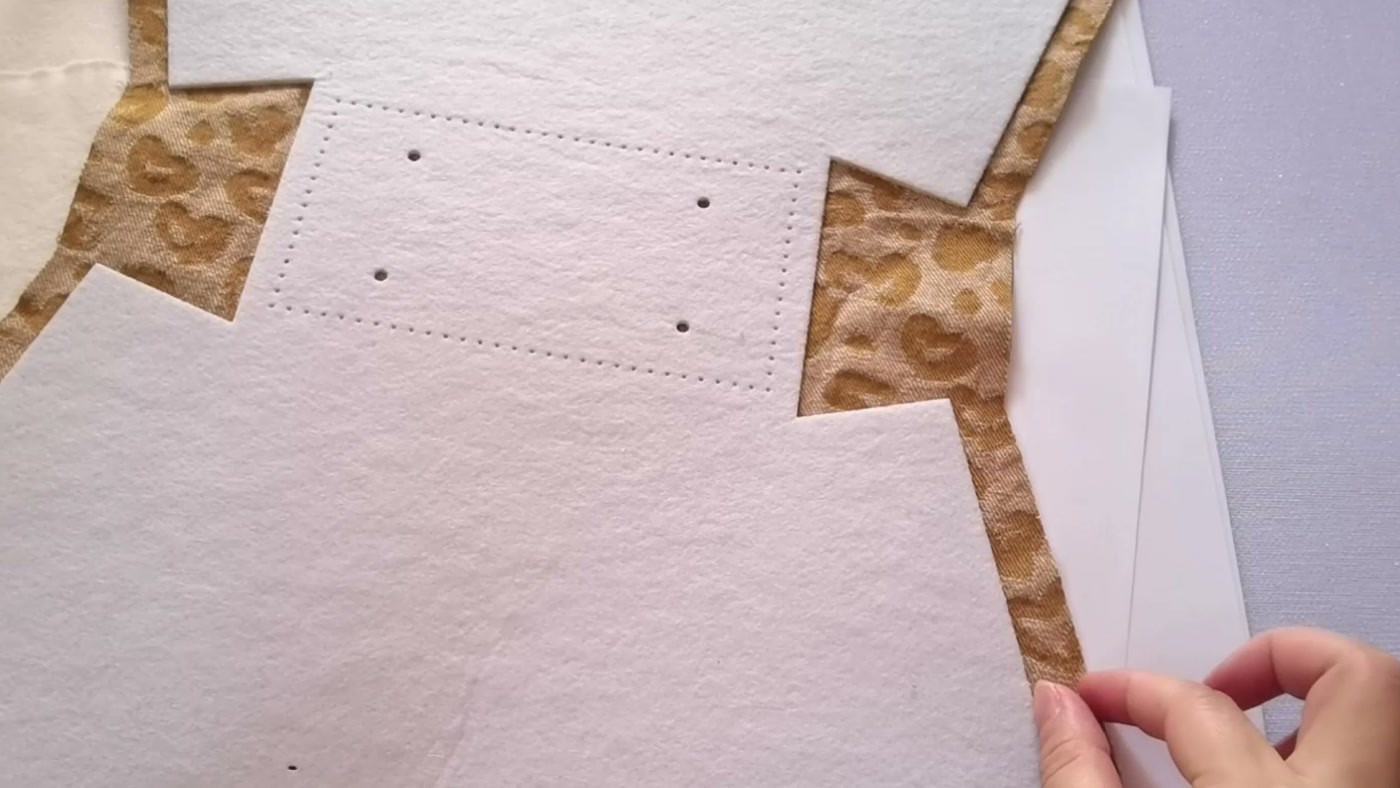
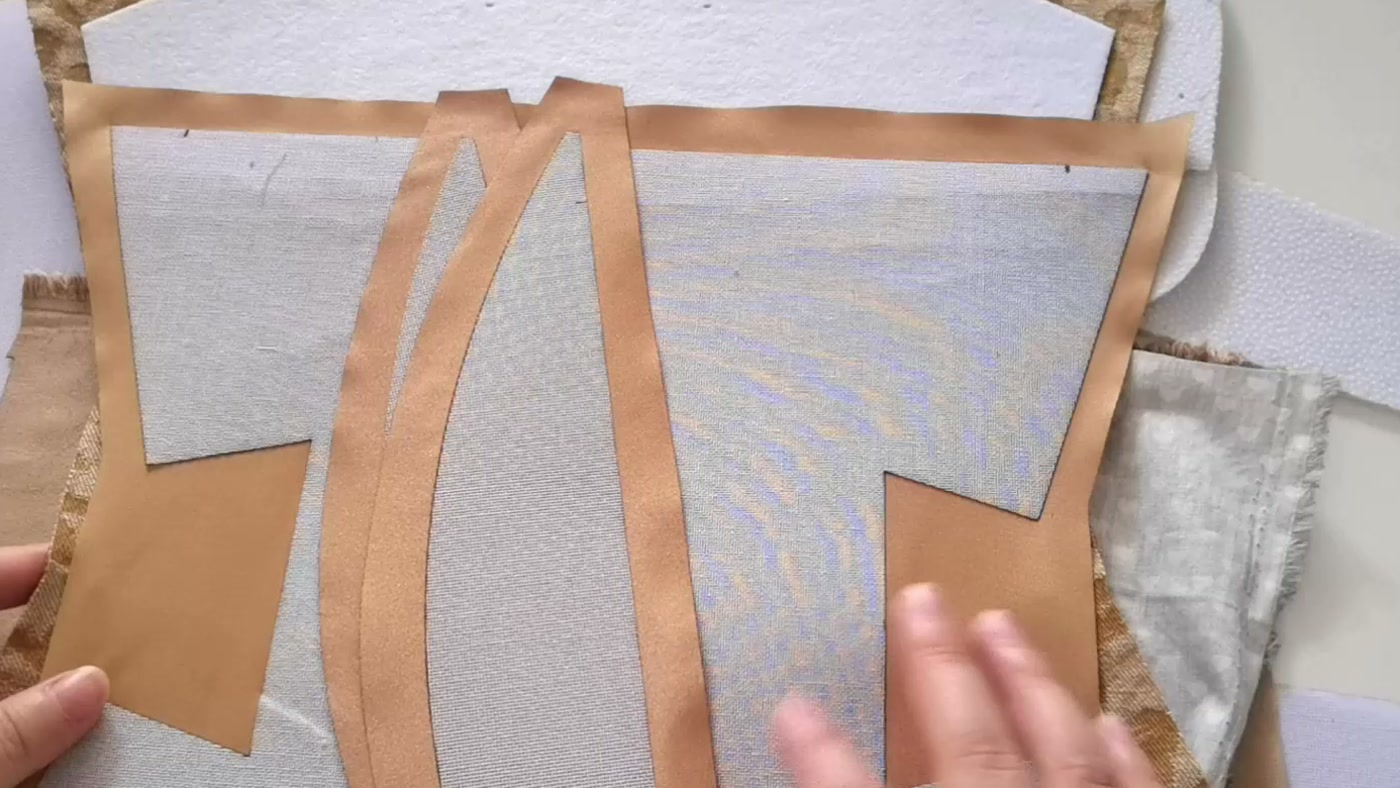
The solid pattern outline sets the exact batting or stiff-interfacing size. Fuse that stabilizer to the fabric first, then measure 2 cm beyond its outer edge and cut the fabric.
Do not enlarge the paper template and do not leave a 2 cm gap between paper sections. The extra 2 cm goes only around the named outer fabric or lining after the stabilizer has been fused.
Paper and stabilizer edge
Cut the paper on the outer solid line, then trace and cut the stabilizer to the same shape.
Cut 1 / Cut 2
Cut 1 means one complete piece; Cut 2 means two. These are not PDF copy counts.
Fraction of the full shape
Move the same template into two or four positions to complete one full outline.
Read the nearby note
It may be a flip axis or a cross-page join. The two instructions are different.
Open the pattern package
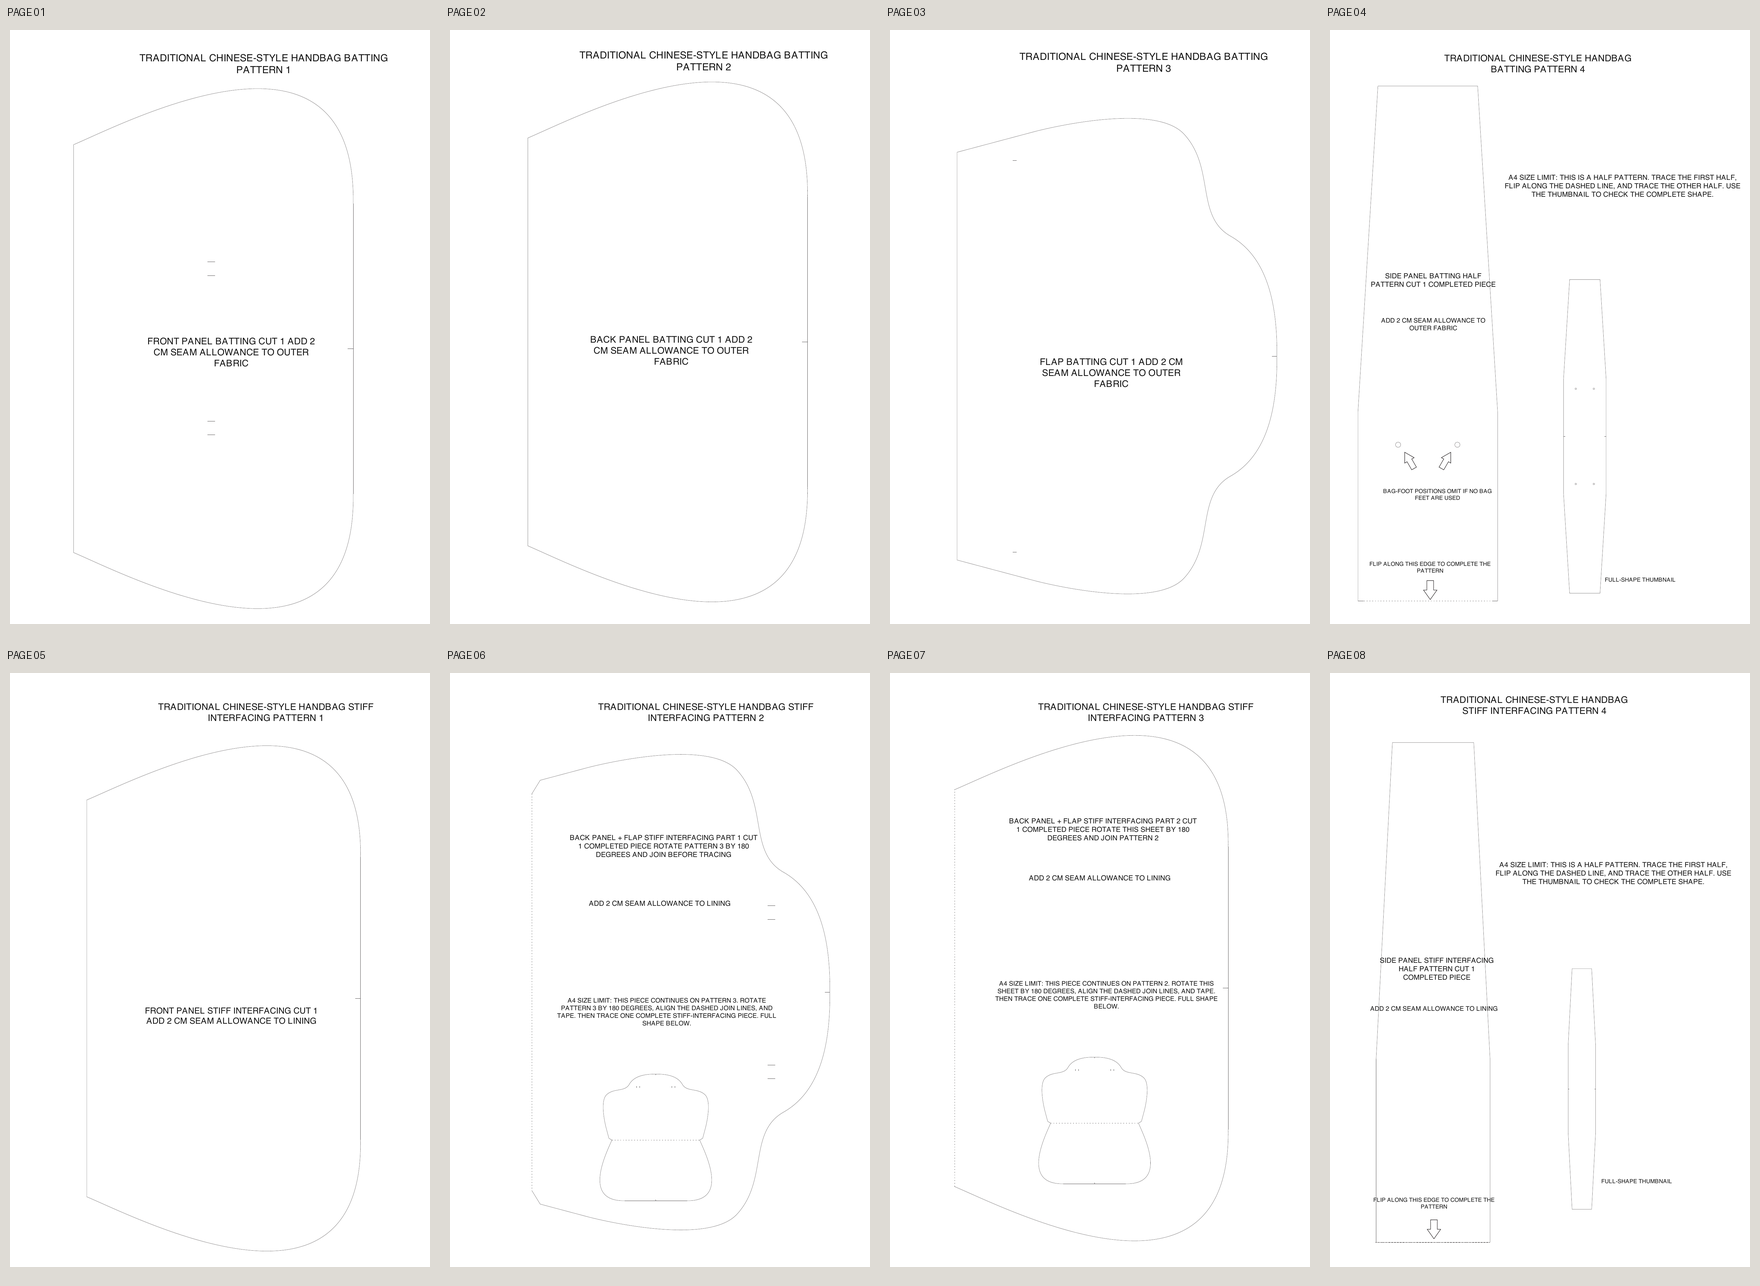
Use the overview to check; print the A4 PDF to cut
The reduced overview helps you recognize the complete set of pieces. You do not need to print it. The full A4 pattern PDF is the working template.
Quick print check
- Print the complete eight-page A4 pattern PDF, not the reduced overview image.
- Keep the PDF at its original size; turn off Fit, Shrink, or other automatic scaling.
- Print one-sided and confirm that no pattern outline or instruction is clipped.
- Print the full set once; Cut 1 and Cut 2 control material quantity, not paper quantity.
Cut quantity
Cut 1 / Cut 2 count complete material pieces
Complete any half, quarter, or cross-page shape first. Then reuse the template until you have the stated number of full pieces.

Fraction patterns
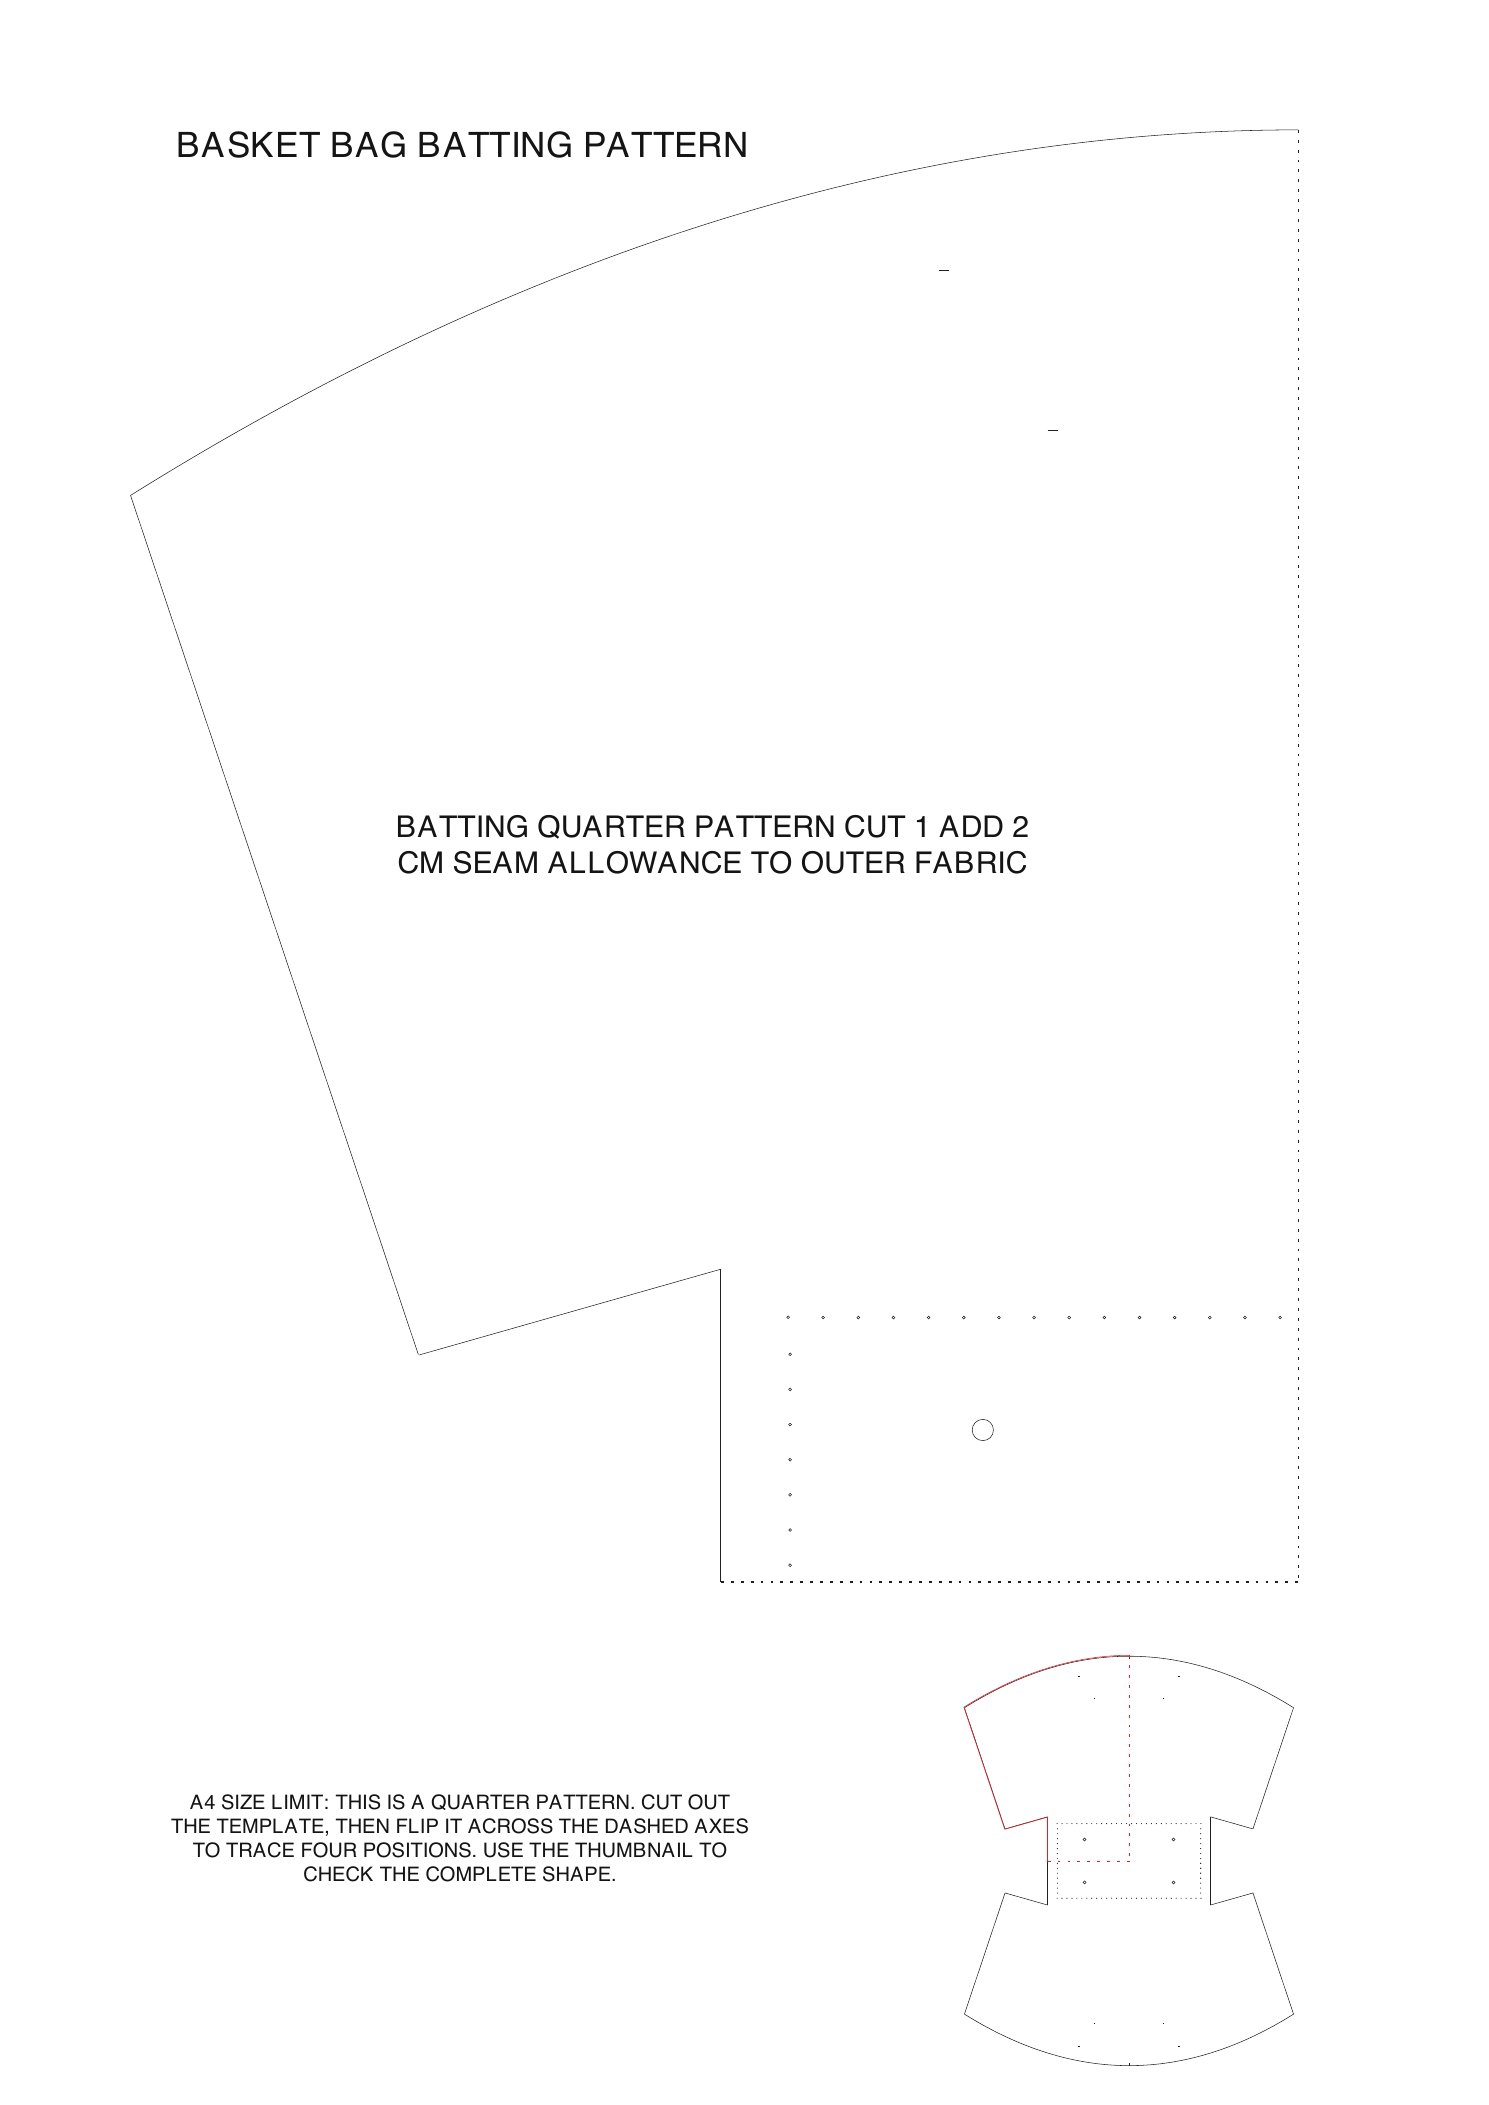
Trace a half in two positions and a quarter in four
The fraction describes how much of the full shape is printed. Reposition the same paper template; you do not need two or four printed paper copies.
Two kinds of dashed line
Read the note before you flip or join
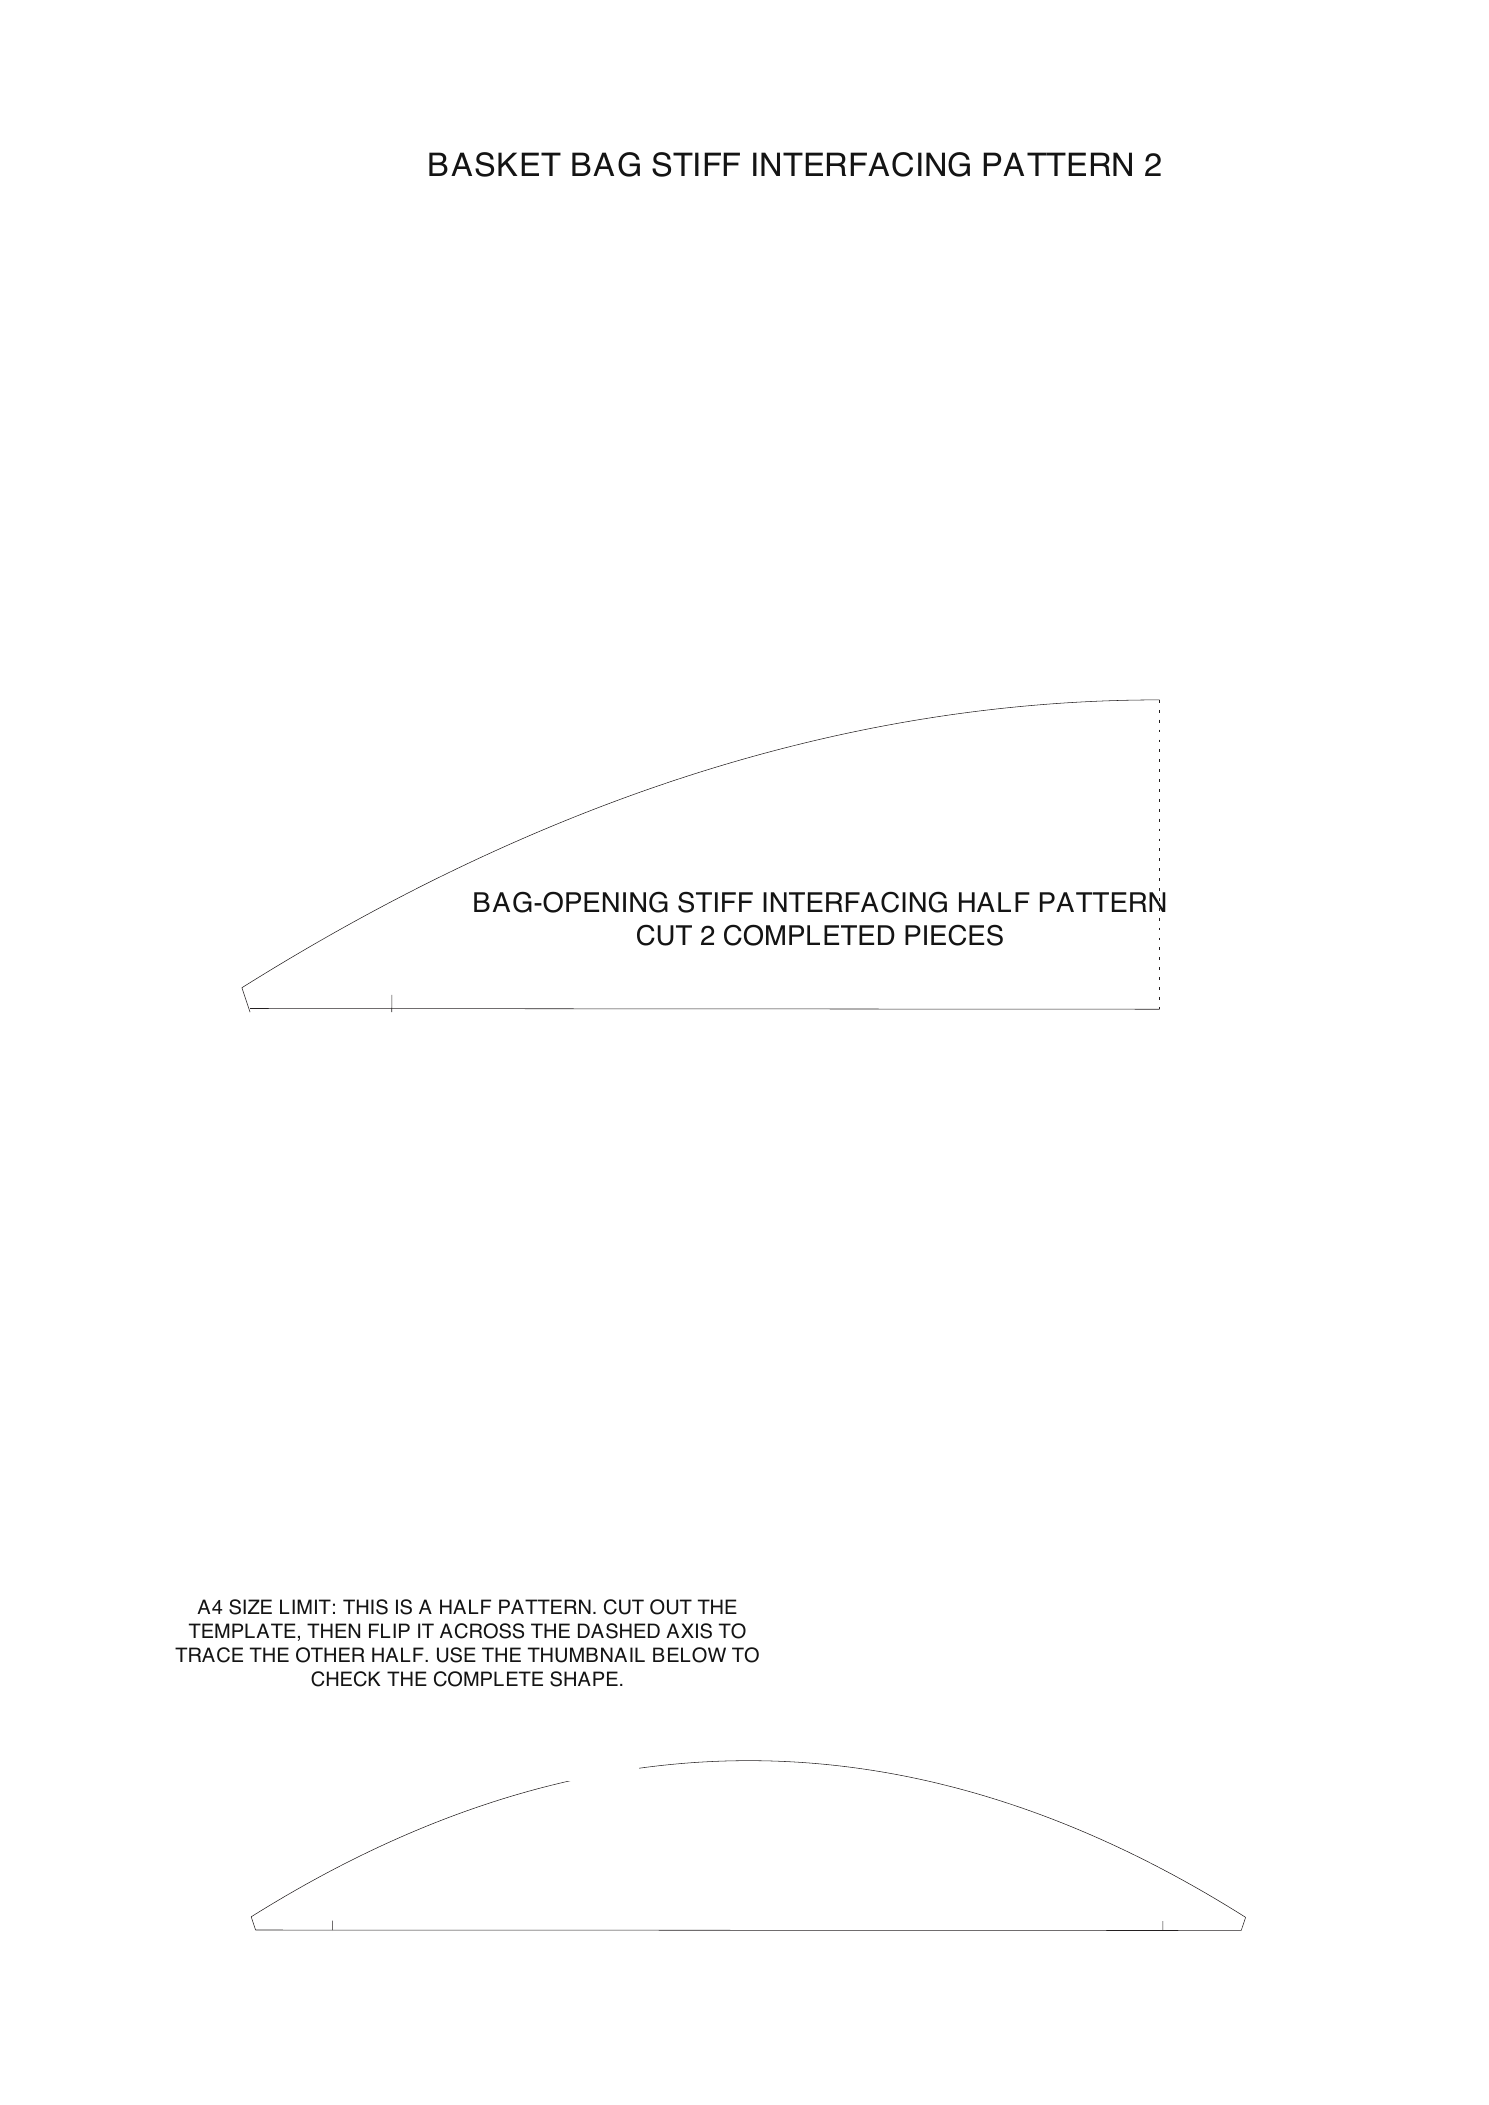
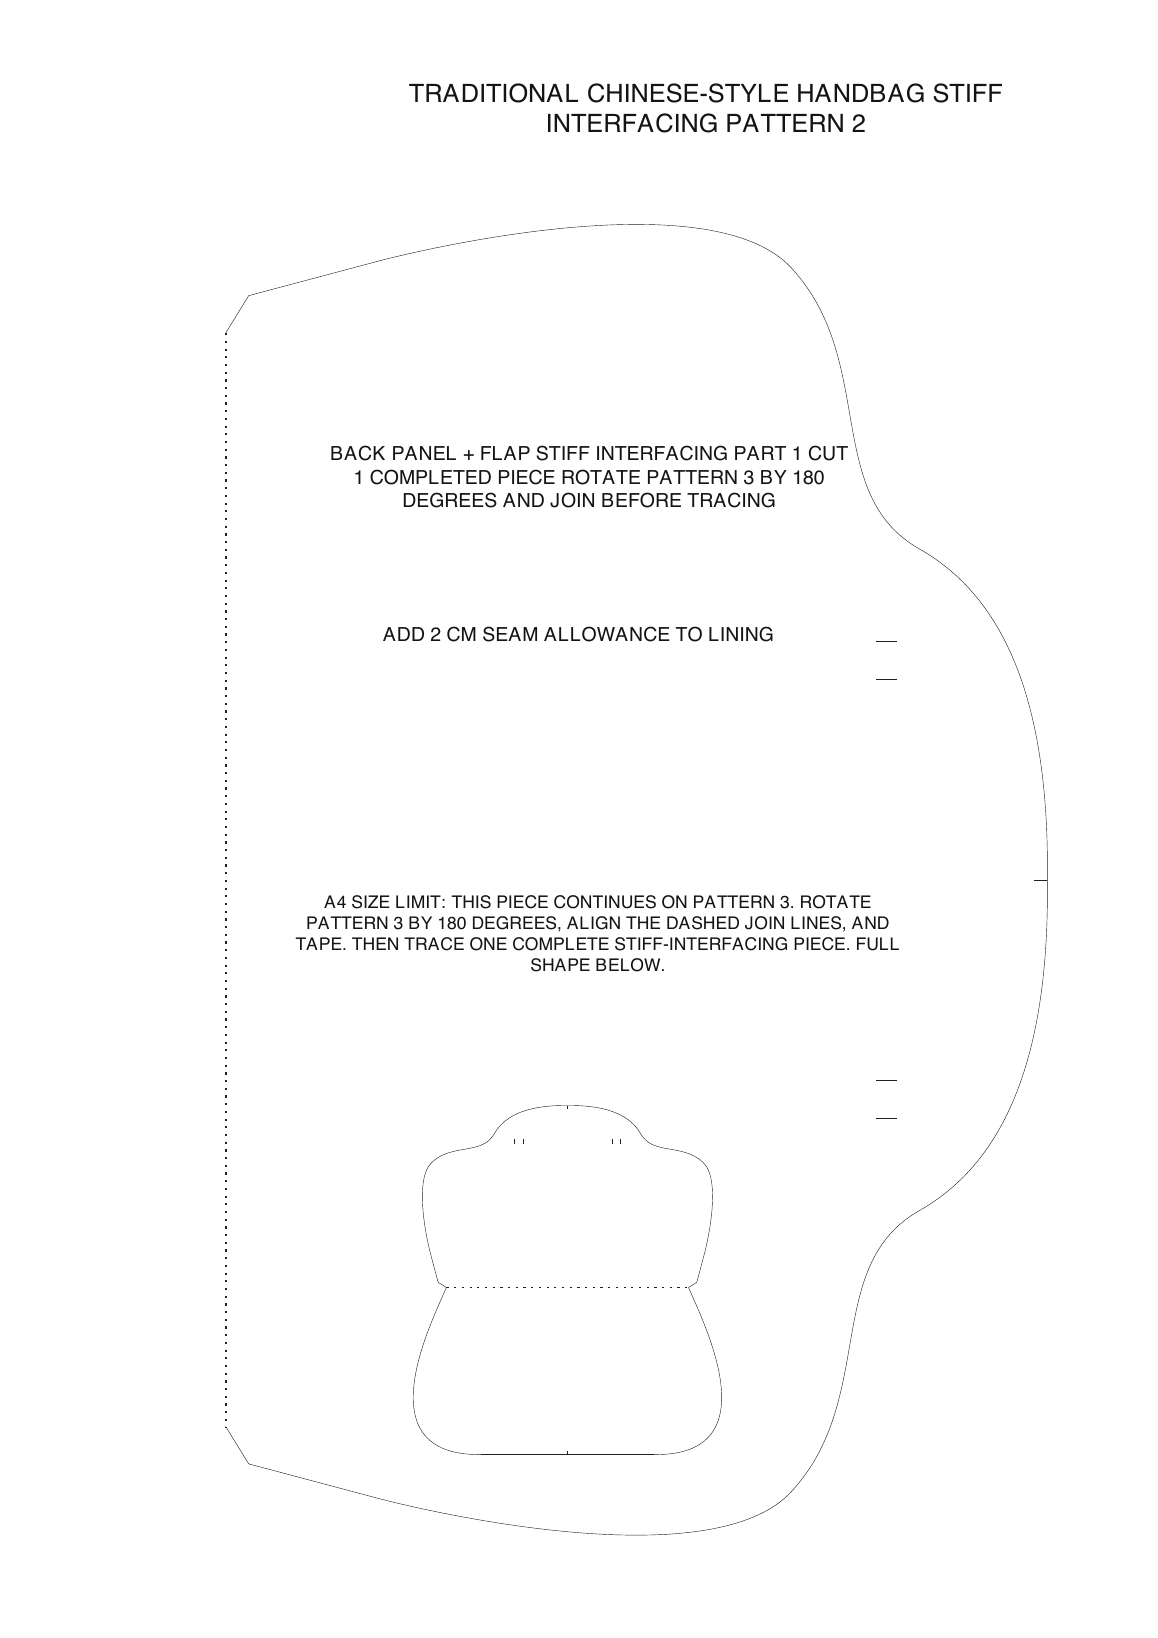
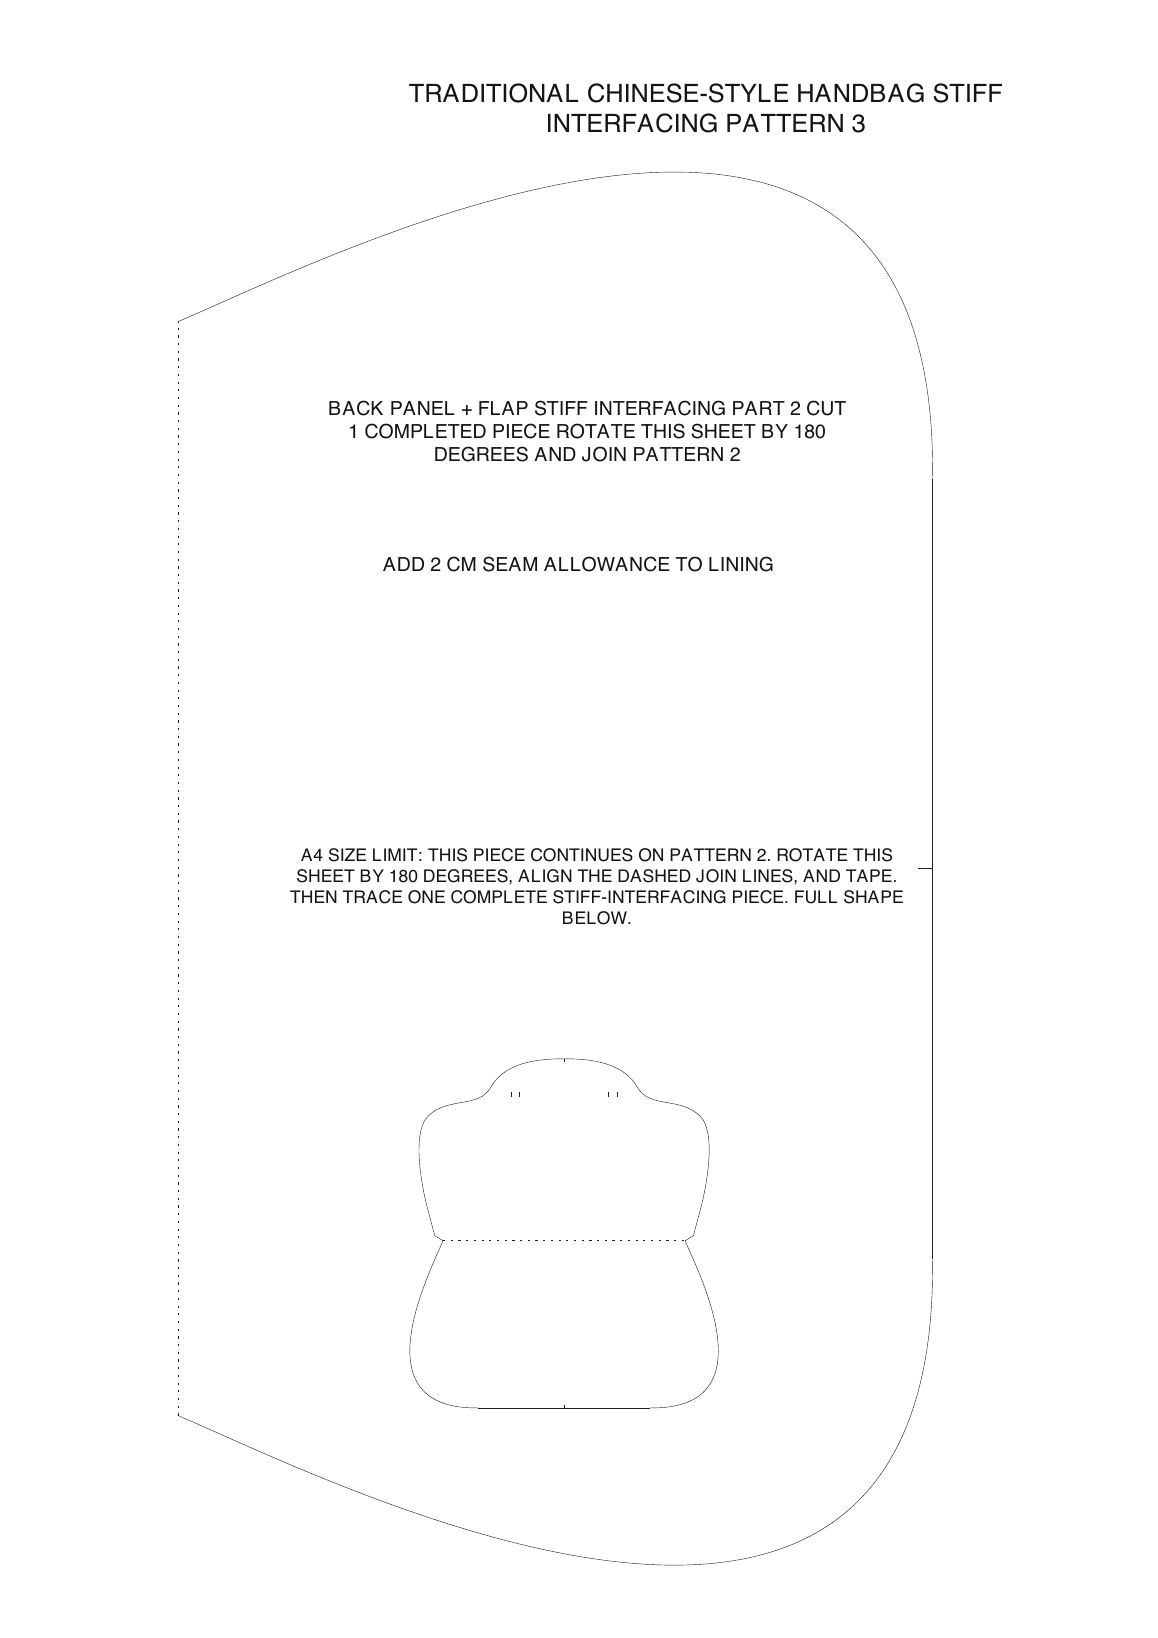
A dashed line is not a material cutting edge. On a fraction pattern it is a flip axis; on a long piece split across A4 sheets it is a paper join.
Type 1: flip axis
- Used on patterns labeled 1/2, 1/4, Half, or Quarter.
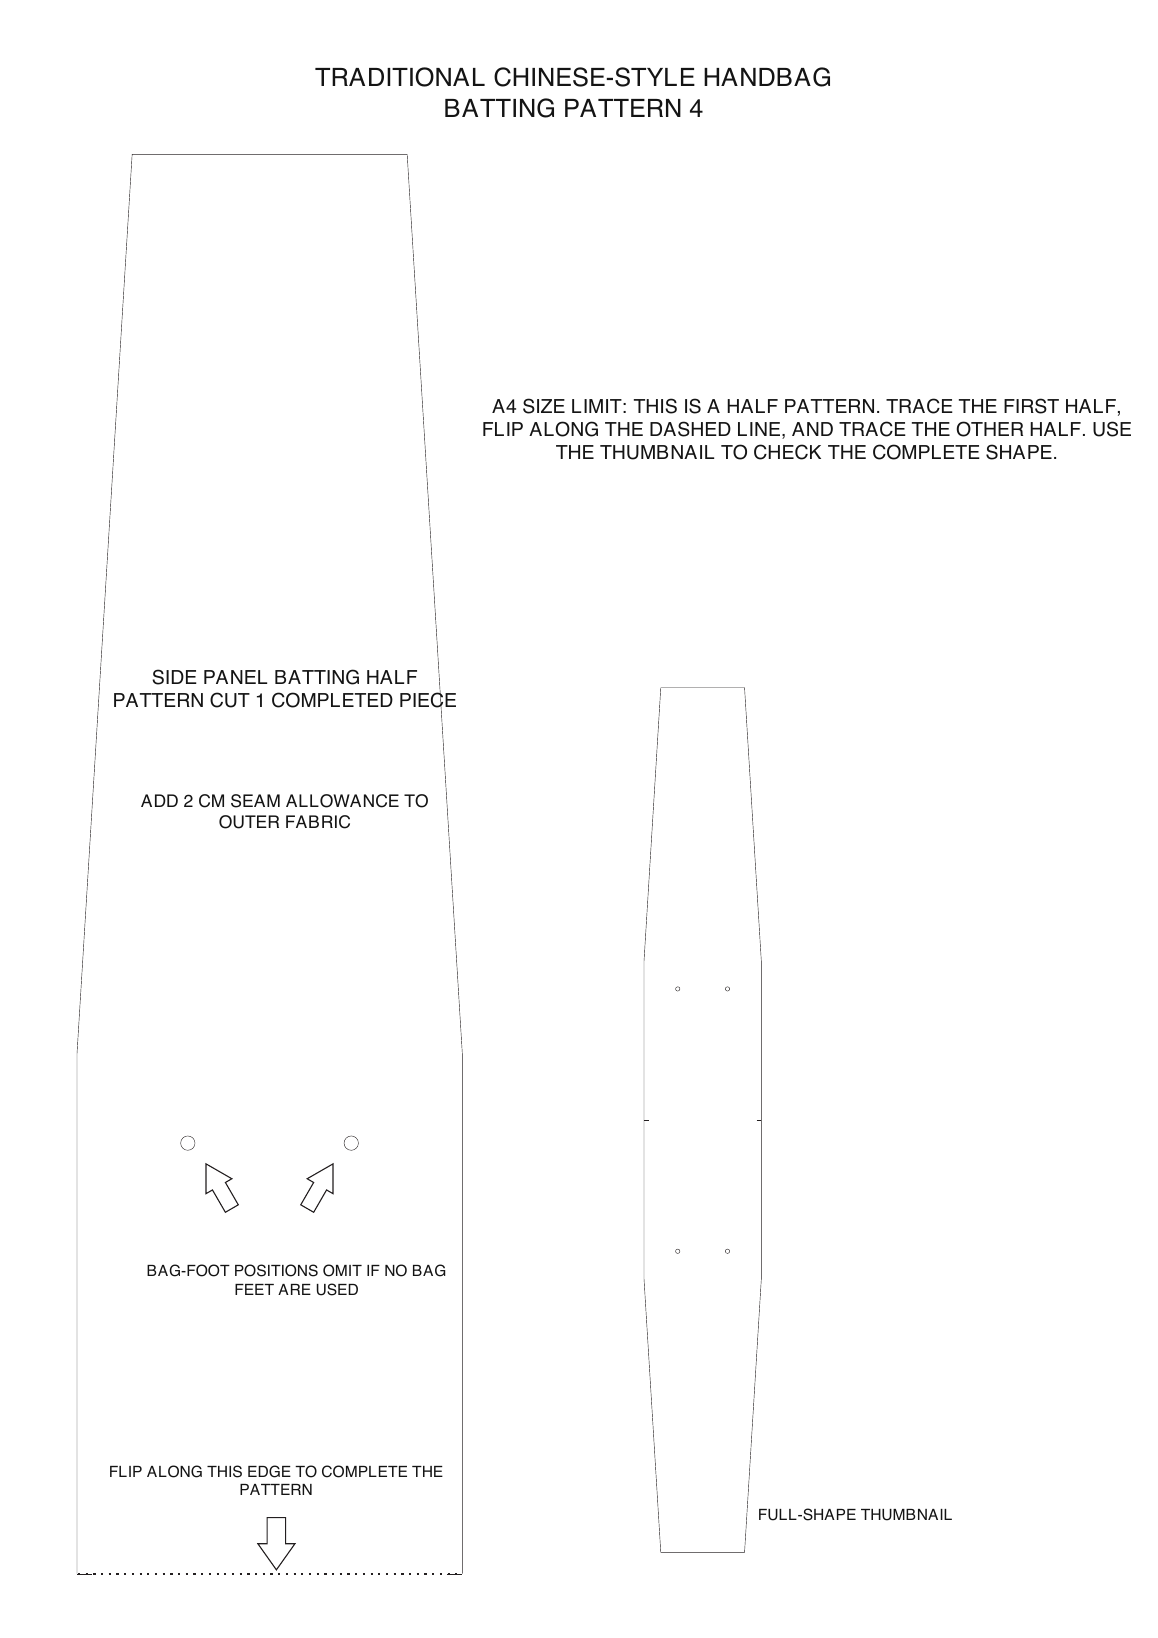
- Trace the first position, then flip the template at the dashed edge.
- Join the tracings exactly at the axis without a gap.
- Cut the completed outside outline; keep the middle continuous.
Type 2: cross-page join
- Used when the text names another pattern page to join.
- Rotate the named sheet as instructed and align the dashed lines.
- Check that both outside contours continue smoothly, then tape.
- Trace one continuous piece; never cut the stabilizer at the internal join.
Stabilizers and fabric
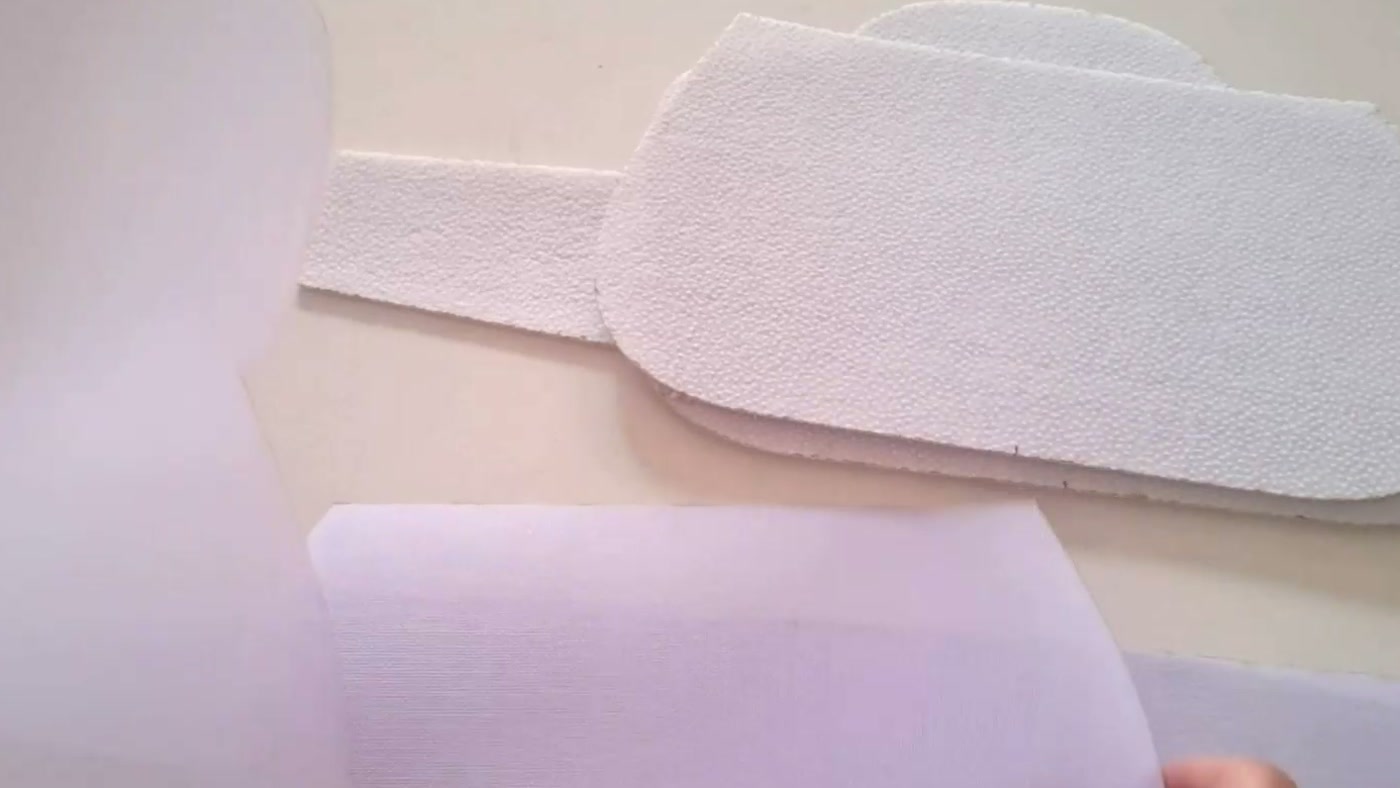
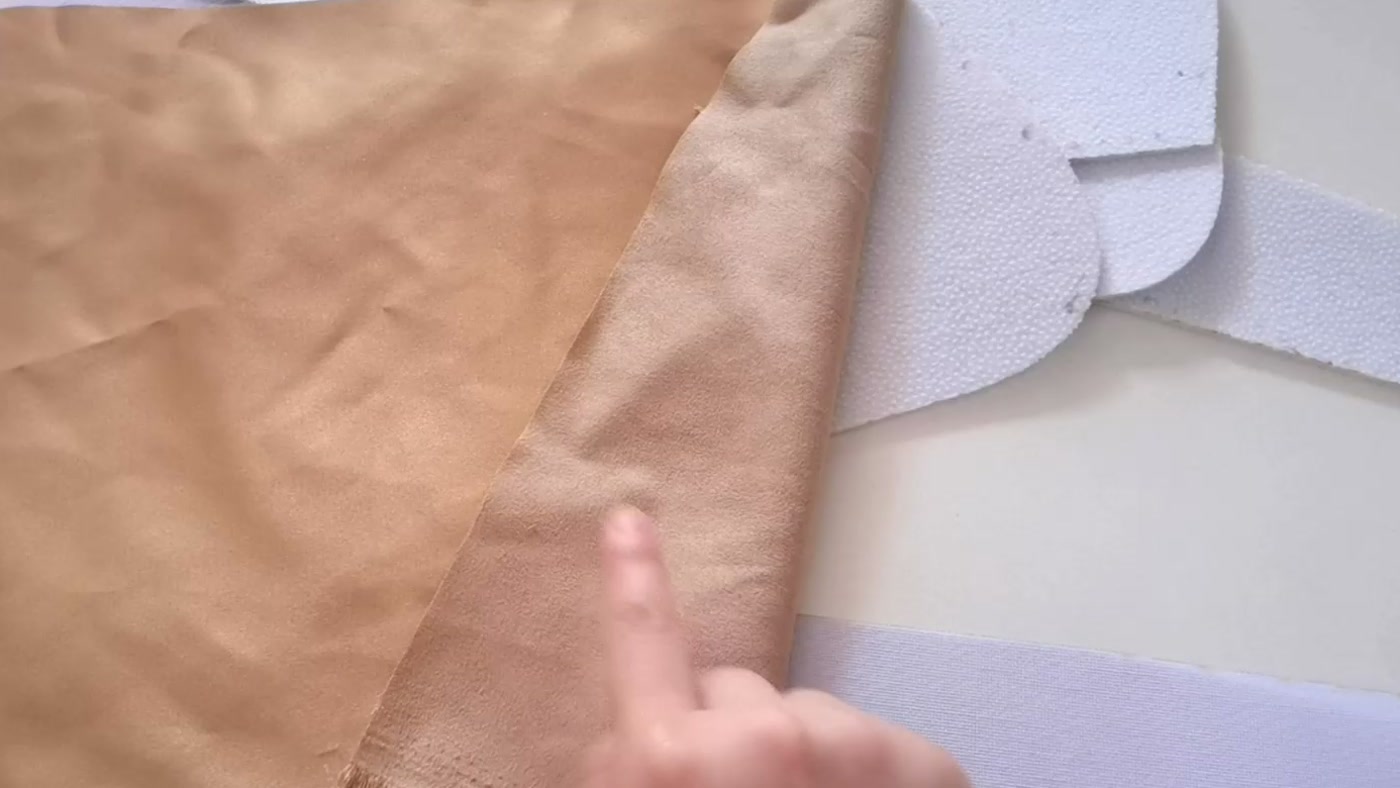
Cut the stabilizer first, then fuse it to the wrong side
Batting normally supports the outer fabric; stiff interfacing normally supports the lining. A softer fusible or sew-in interfacing may be substituted when the project calls for a softer bag.
Pairs with outer fabric
Adds body and soft structure. Cut it from the complete solid outlines on pages 1–4.
Pairs with lining
Adds firmness to the interior and overall shape. Cut it from pages 5–8.
Optional alternative
Choose a softer interfacing only when you want less structure and the project allows it.
Complete working order
From downloaded file to sewing-ready pieces
Following this order keeps material counts, fraction patterns, cross-page joins, and the 2 cm fabric allowance separate.
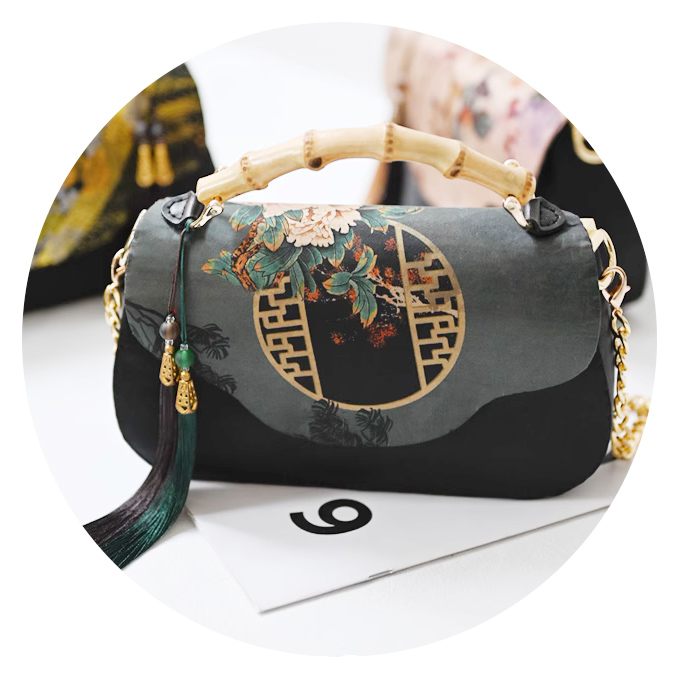
- View the finished bag and reduced overview.
Identify the complete set and keep the overview for the final check.
- Print the complete A4 pattern PDF.
Keep the original size and confirm that all eight pages are complete.
- Read the piece, material, and cut quantity.
Separate the batting pages 1–4 from the stiff-interfacing pages 5–8.
- Cut paper on the solid line and identify every mark.
Locate the snap, alignment, and any required bag-foot positions.
- Complete every shape and transfer the marks.
Flip-trace half and quarter templates; align named pages at cross-page joins. Copy required marks to the stabilizer before moving the paper.
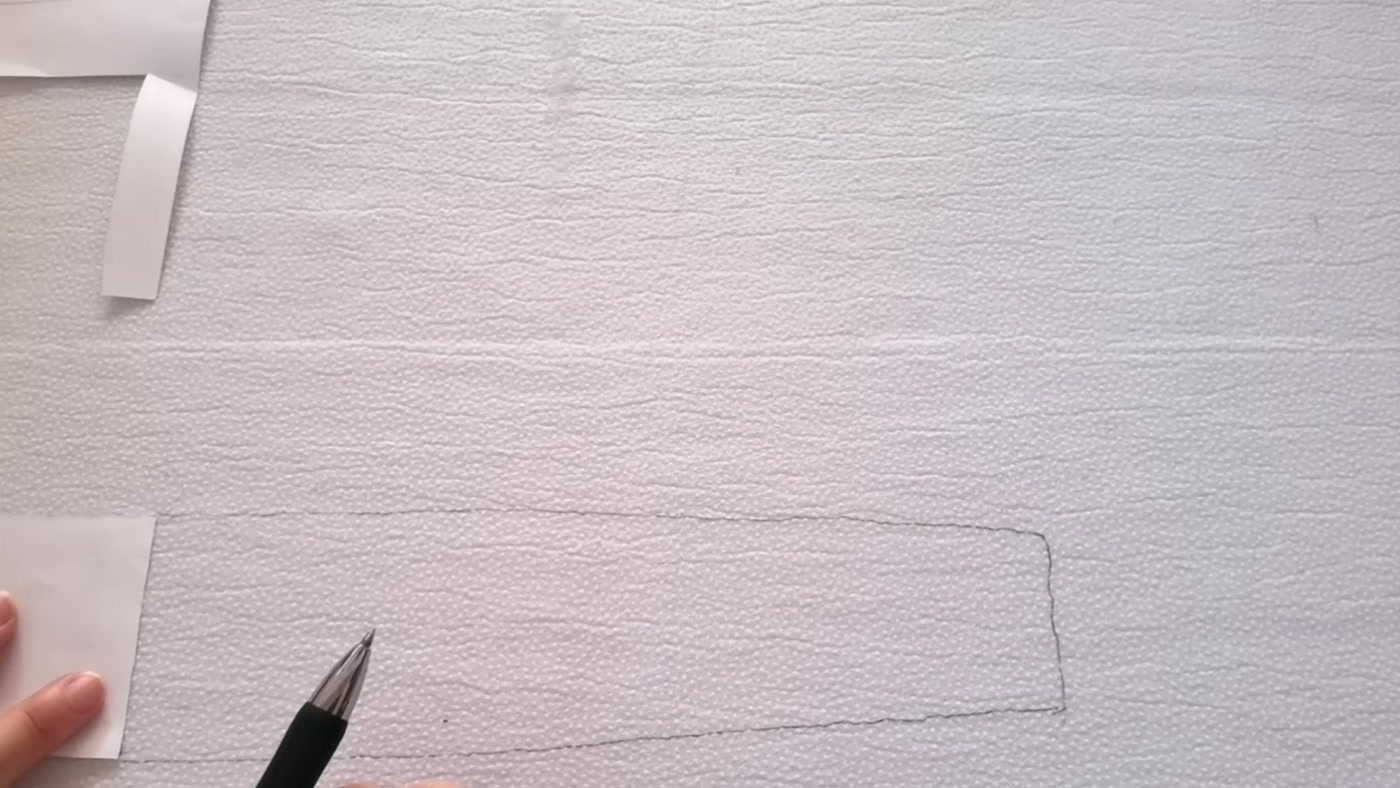
- Trace Cut 1 or Cut 2 on the named stabilizer.
Make the required number of complete pieces and cut their outside outlines.
- Compare the stabilizers with the overview.
Check every material group, complete shape, count, and placement mark.
- Fuse the adhesive side to the fabric's wrong side.
Pair batting with outer fabric and stiff interfacing with lining; follow the material directions.
- Add 2 cm beyond the stabilizer and cut the fabric.
Follow the complete outer perimeter; add nothing at internal flip axes or paper joins.
- Continue to the construction guide.
The pattern preparation is complete. Follow the project's sewing order and stitch lines.
Treat the marked 2 cm first as fabric cutting and handling allowance. It does not mean that every seam is stitched exactly 2 cm from the fabric edge.
This eight-page handbag example
What to do with each page
Quantities always apply to complete shapes. Even when a template must be flip-traced or joined across two sheets, Cut 1 still means one finished material piece.
| PDF page | Material set | Piece | Paper action | Material action |
|---|---|---|---|---|
| 1 | Batting | Front panel | Use the full page | Cut 1 batting piece on the solid line; fuse it, then cut outer fabric 2 cm beyond it. |
| 2 | Batting | Back panel | Use the full page | Cut 1 batting piece on the solid line; fuse it, then cut outer fabric 2 cm beyond it. |
| 3 | Batting | Flap | Use the full page | Cut 1 batting piece on the solid line; fuse it, then cut outer fabric 2 cm beyond it. |
| 4 | Batting | Side / gusset | Half pattern: flip at the bottom dashed edge and trace the second half | Cut 1 complete batting piece; transfer any bag-foot marks; fuse it, then add 2 cm to outer fabric. |
| 5 | Stiff interfacing | Front panel | Use the full page | Cut 1 stiff-interfacing piece; fuse it, then cut lining 2 cm beyond it. |
| 6 | Stiff interfacing | Back + flap, part 1 | Join to page 7 at the dashed line | After joining the full shape, cut 1 stiff-interfacing piece; fuse it, then cut lining 2 cm beyond the complete perimeter. |
| 7 | Stiff interfacing | Back + flap, part 2 | Rotate 180 degrees, then join page 6 | |
| 8 | Stiff interfacing | Side / gusset | Half pattern: flip at the bottom dashed edge and trace the second half | Cut 1 complete stiff-interfacing piece; fuse it, then add 2 cm to lining. |
Seven checks before sewing
- You printed the full A4 pattern, not the reduced overview.
- Cut 1 and Cut 2 were counted as complete material pieces.
- Every half or quarter pattern was flip-traced into one complete shape.
- Cross-page pieces were joined as instructed and remain continuous.
- Batting, stiff interfacing, and any softer interfacing were kept in the correct groups.
- Every fusible adhesive side faces the fabric's wrong side and is securely bonded.
- The 2 cm margin appears only on the outer fabric or lining after fusing.