
Size and fabric reference
The detailed chart covers XS–4XL. At 140 cm width, main-fabric references are 1.5 m for XS–M, 1.6 m for L–2XL and 1.7 m for 3XL–4XL. Check your layout, shrinkage and any print direction. Prepare the five listed buttons and test their size against a sample buttonhole.
File note: the maker's worksheet header gives S–2XL, while the detailed table covers XS–4XL. Confirm the package against the current product chart and file list.
Choose comfortable fabric of the specified type and test the seam stack against the skin. Measure binding from the designated pocket and sleeve edges once the pieces are identified.
Resolve the sleeve finish before cutting
The original drawing and M cutting pages show a turn-back extension within the sleeve outline, with a fold mark. This is not a separately cut cuff in the reviewed M version. The notes place binding on the sleeve edge before the fold is turned outward.
The remaining gap is the final securing route: the notes do not show exactly which layers and allowance receive those stitches. Obtain that sleeve detail before cutting, including the bound edge, fold, underarm join and final attachment. Send the selected-size sleeve page through account messages. The seam map below helps identify the pieces but does not resolve that missing attachment.
Bind and place the pocket
Lay the front flat and transfer the pocket position. Bind the pocket opening, then press the remaining edges around the template. Set the pocket on its marks and compare its centre line with the shirt's centre front. Check the opening against the placement line, then baste.
Stitch down one side, around the lower edge and up the other, leaving the top open. Secure the upper corners. Smooth the shirt front on the table and check for pulling around the pocket.
Join shoulders and sleeves
The maker’s seam map identifies three distinct pairs:
- A: front shoulder to back shoulder.
- B: sleeve head to the corresponding body armhole.
- C: front-to-back side seam, continuing through the sleeve underarm.
A: shoulder / B: armhole
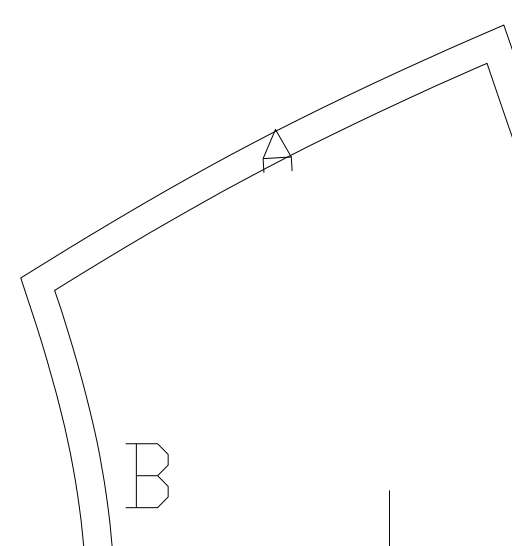
Page 4: A joins the other shoulder; B receives the corresponding sleeve head.
C: body side
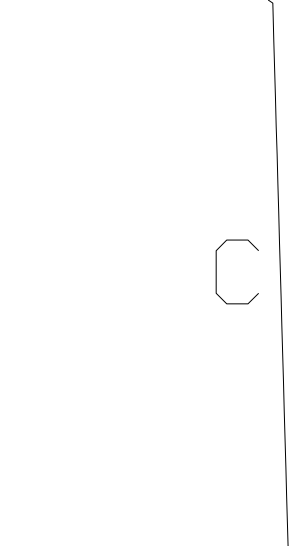
Page 5: the body side joins front to back at C.
C: sleeve underarm
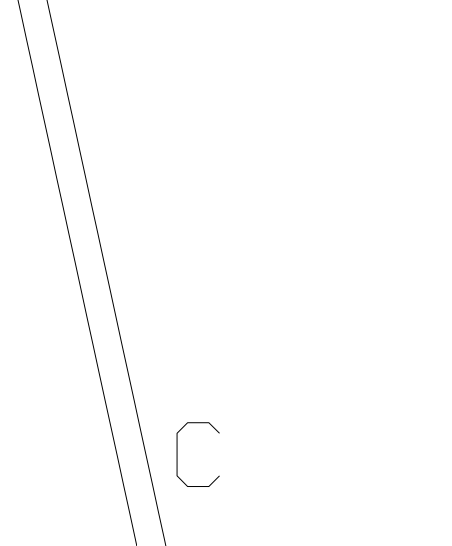
Page 17: the same continuous side/underarm operation continues along the sleeve C edges.
The notes place the turned sleeve-edge operation between B and C. Once its missing securing detail is confirmed, follow that sequence and compare both cuffs before enclosing their allowances.
Compare the collar ends before finishing
Mark the collar's neckline edge, outer edge and front ends. Prepare and turn the collar with the lower allowance needed for the front join left available. Baste it to the neckline and close the shirt at its intended overlap.
Check that the two ends sit at equal heights before enclosing the inner edge. Test the buttonhole through the same layers, then use the pattern's positions with the front aligned. Finish the hem and remove loose threads that could irritate the skin.
Frequently asked questions
Why is the pocket tilted?
Lay the front flat and compare the transferred placement marks, centre line and pocket opening. Adjust the basting before trimming the pocket or sewing it permanently.
What should I check when trying it on?
Sit, reach forward and bend your elbows. Check the opening, underarms and cuffs for pulling or rubbing, then check the bound edges again after the first wash.