Choose fabric and joint supplies
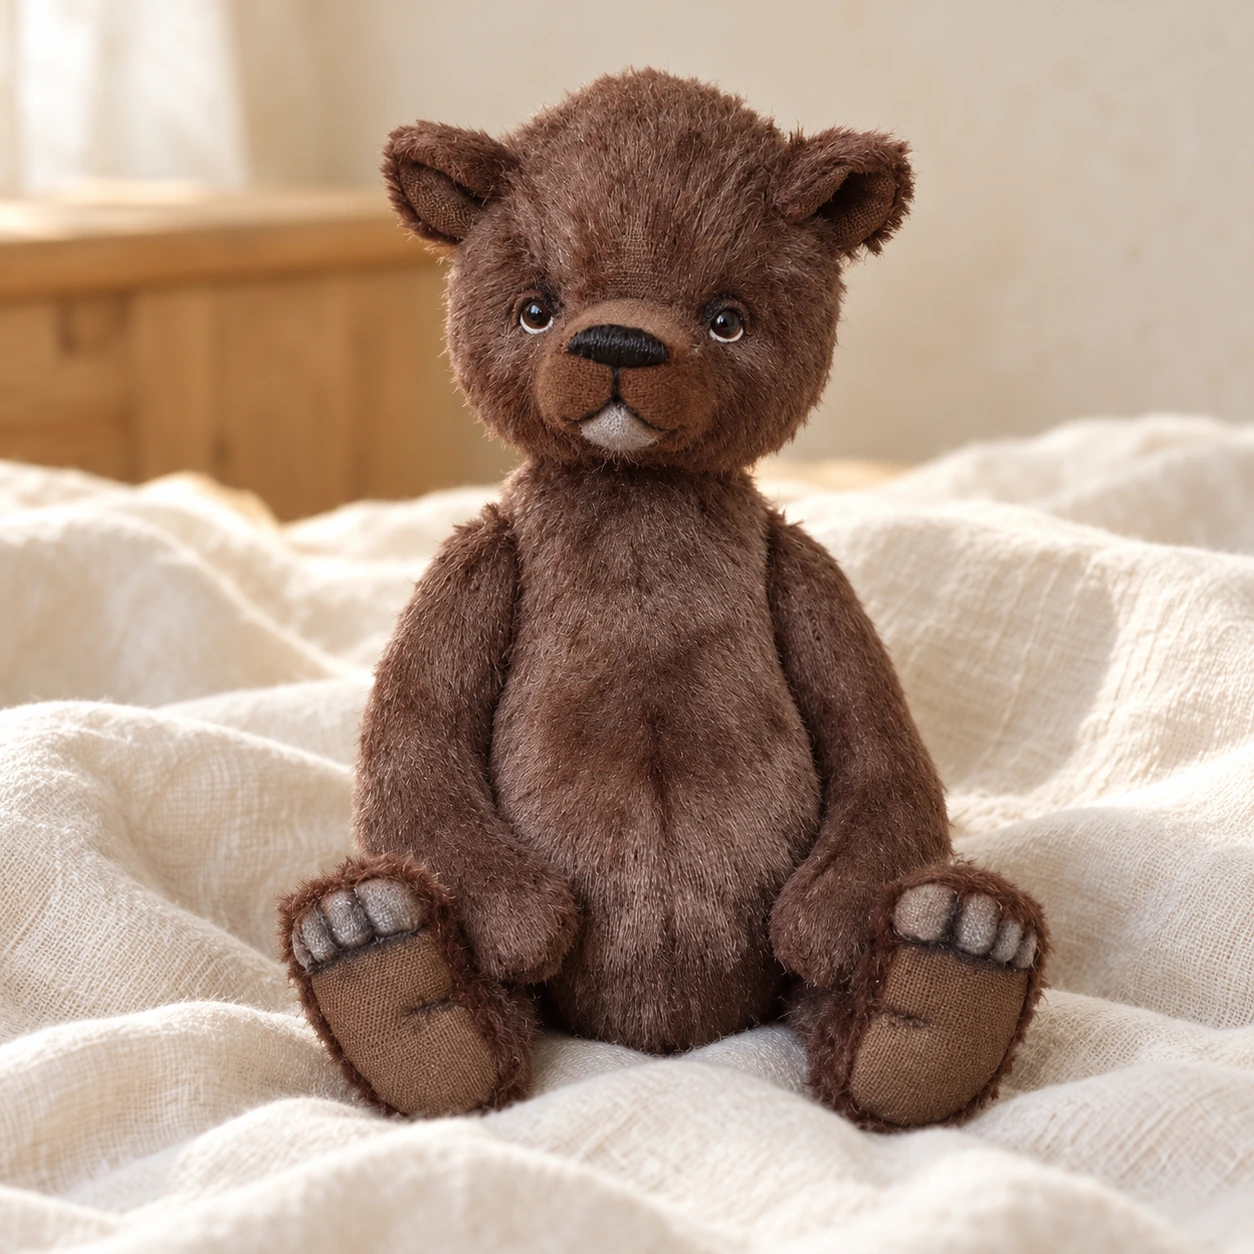
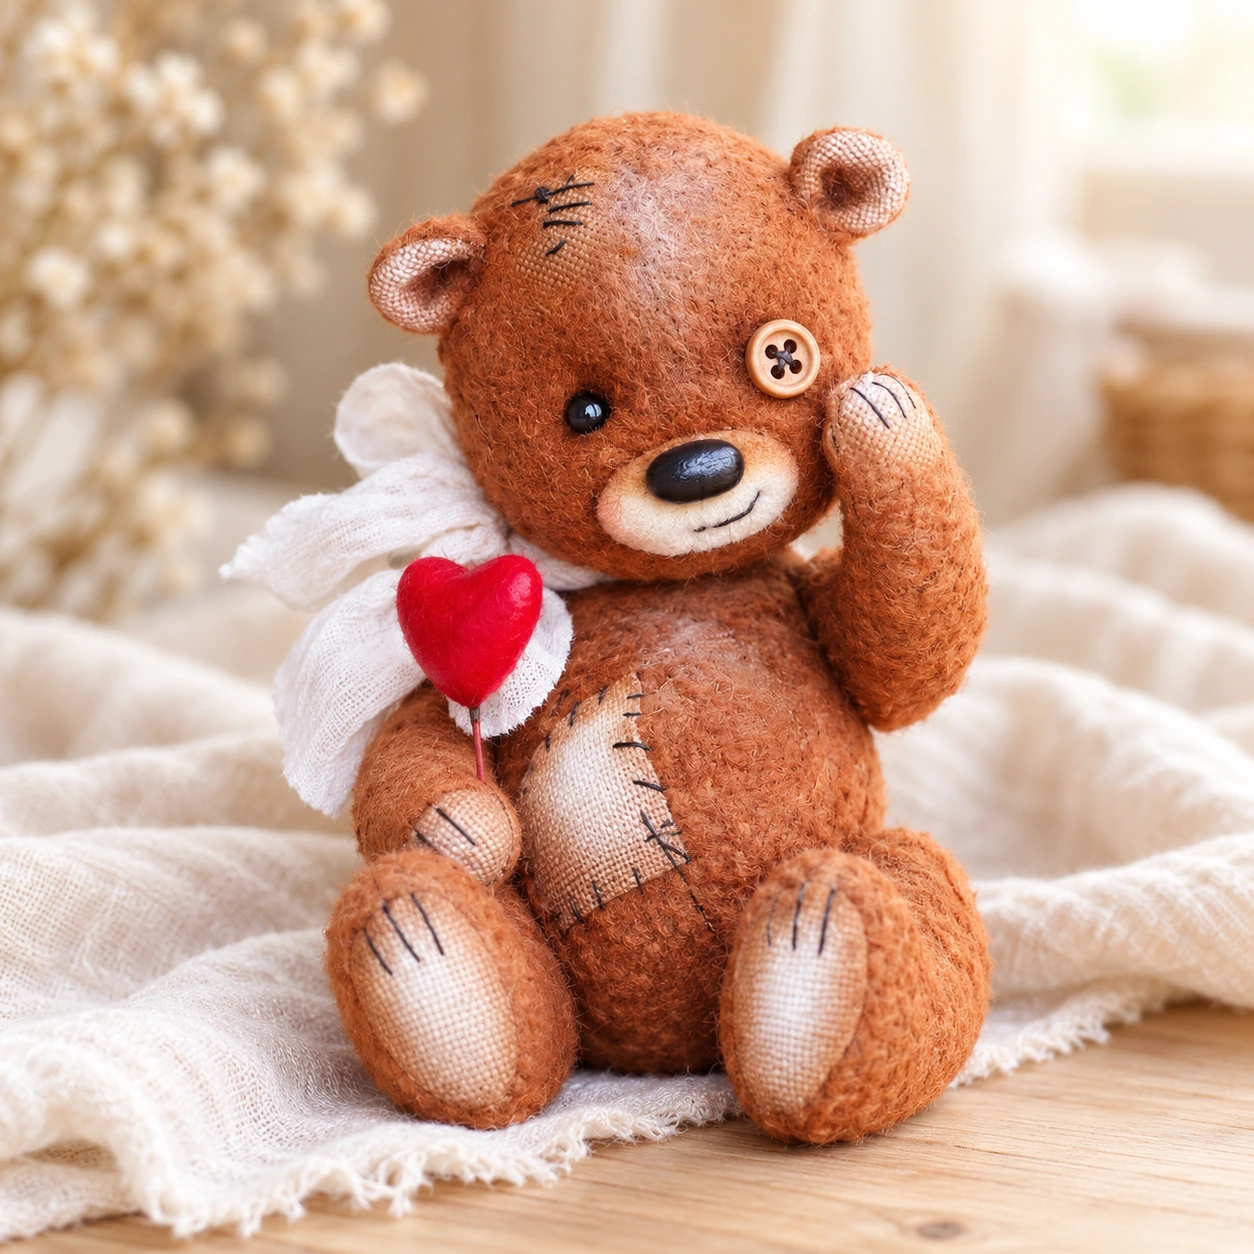
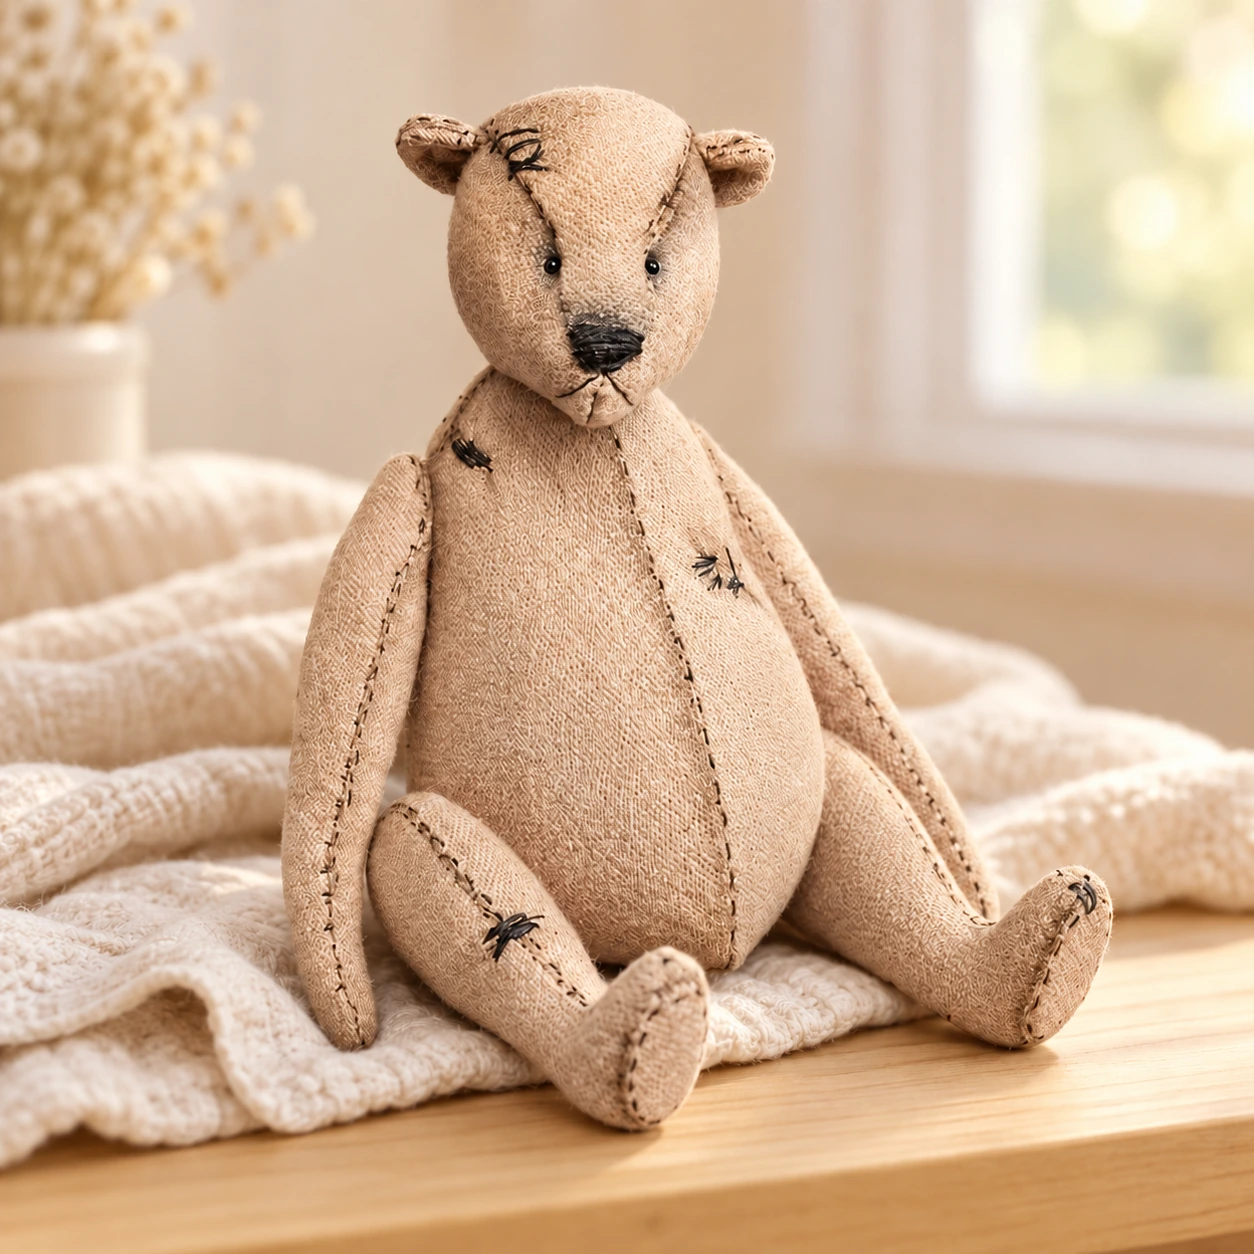
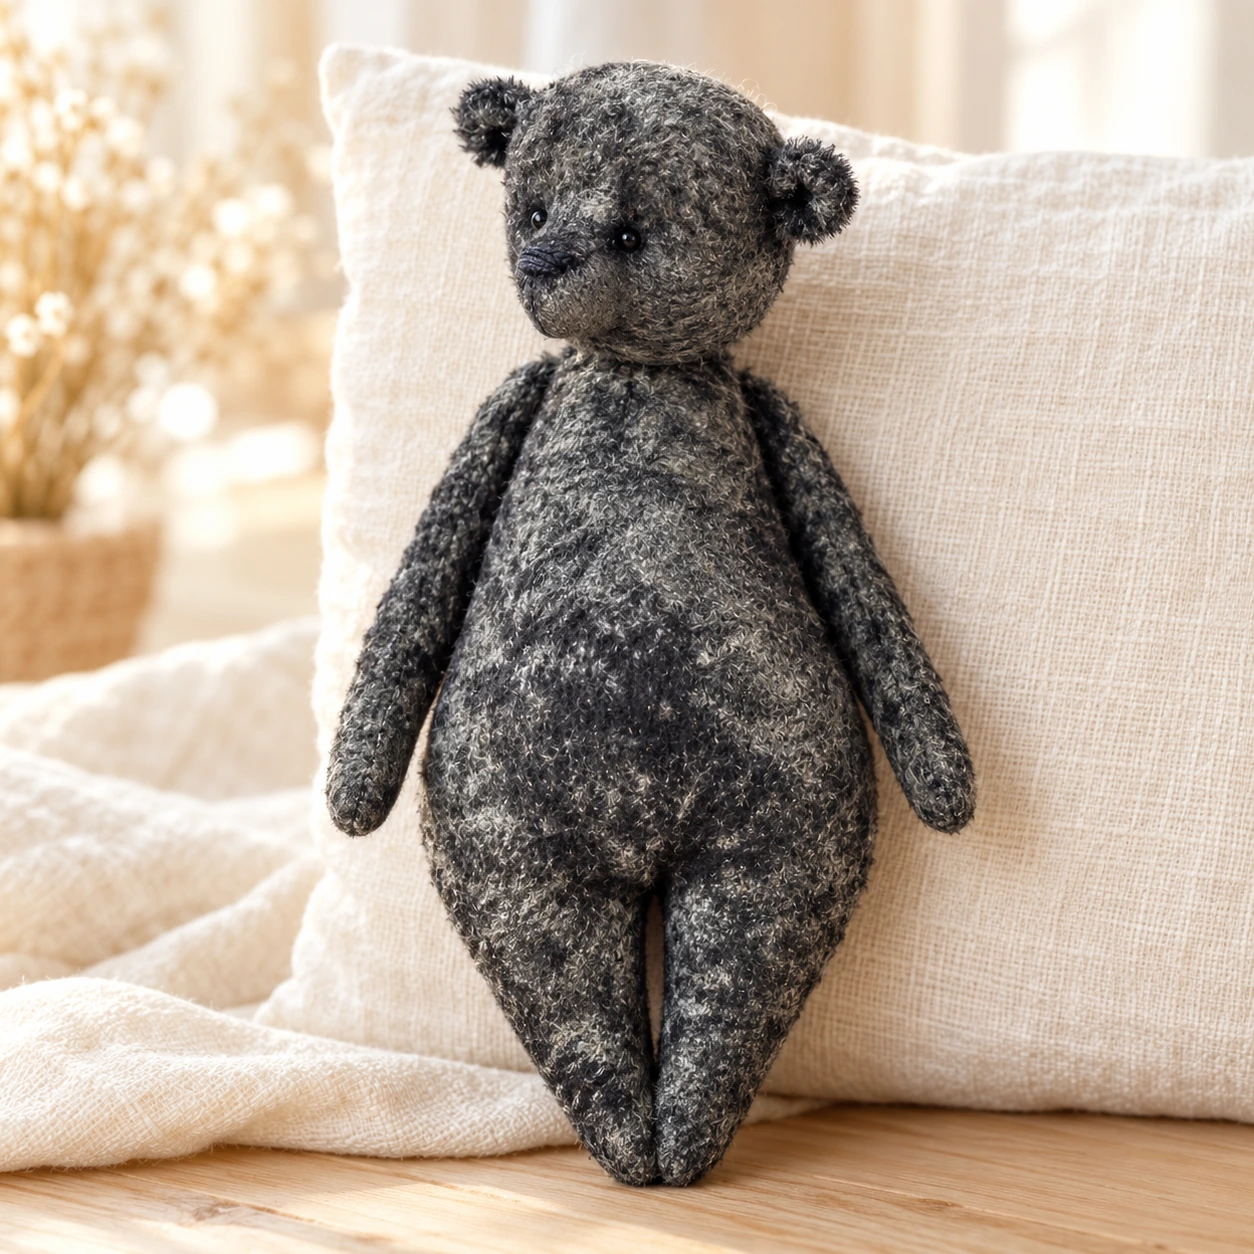
For small ears and muzzles, consider how much of the shape a long pile will cover. Little Charcoal's notes call for 6 mm plush or viscose. A smooth woven fabric gives Patch Detail a different, clearer surface for visible stitches. Before buying a large piece, fold and pinch a sample into a small curved seam to see how bulky it becomes.
Check the backing as well as the pile. A stretchy backing can move while you trace and sew. Lay the fabric relaxed, wrong side up, and mark the nap direction before arranging the templates. Check each pattern arrow against that direction; turning a piece upside down to save fabric can make its surface look different. For long-pile fabric, cut through the backing carefully instead of shearing across the pile. Shannon Fabrics' cutting tips explain this approach for their plush fabrics.
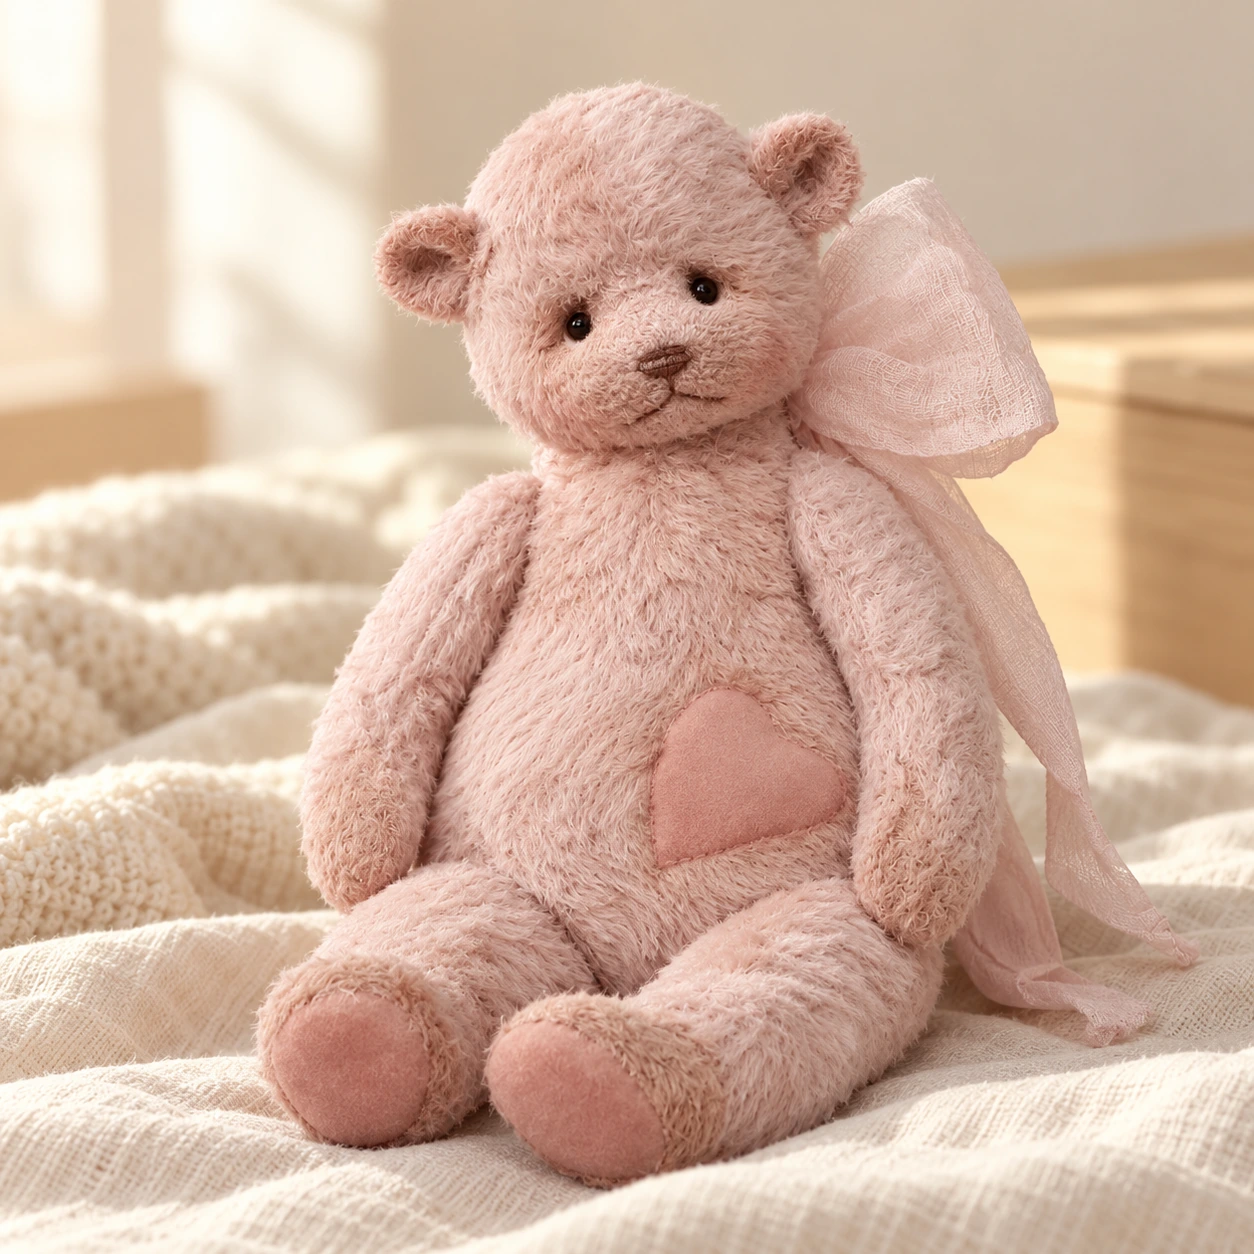
Lay out every copy you need, including mirrored partners and any separate pads, before measuring fabric length. Allow room for the seam allowance you will add. Keep contrast fabric for pads or a heart beside the main fabric so those pieces are included in the plan.
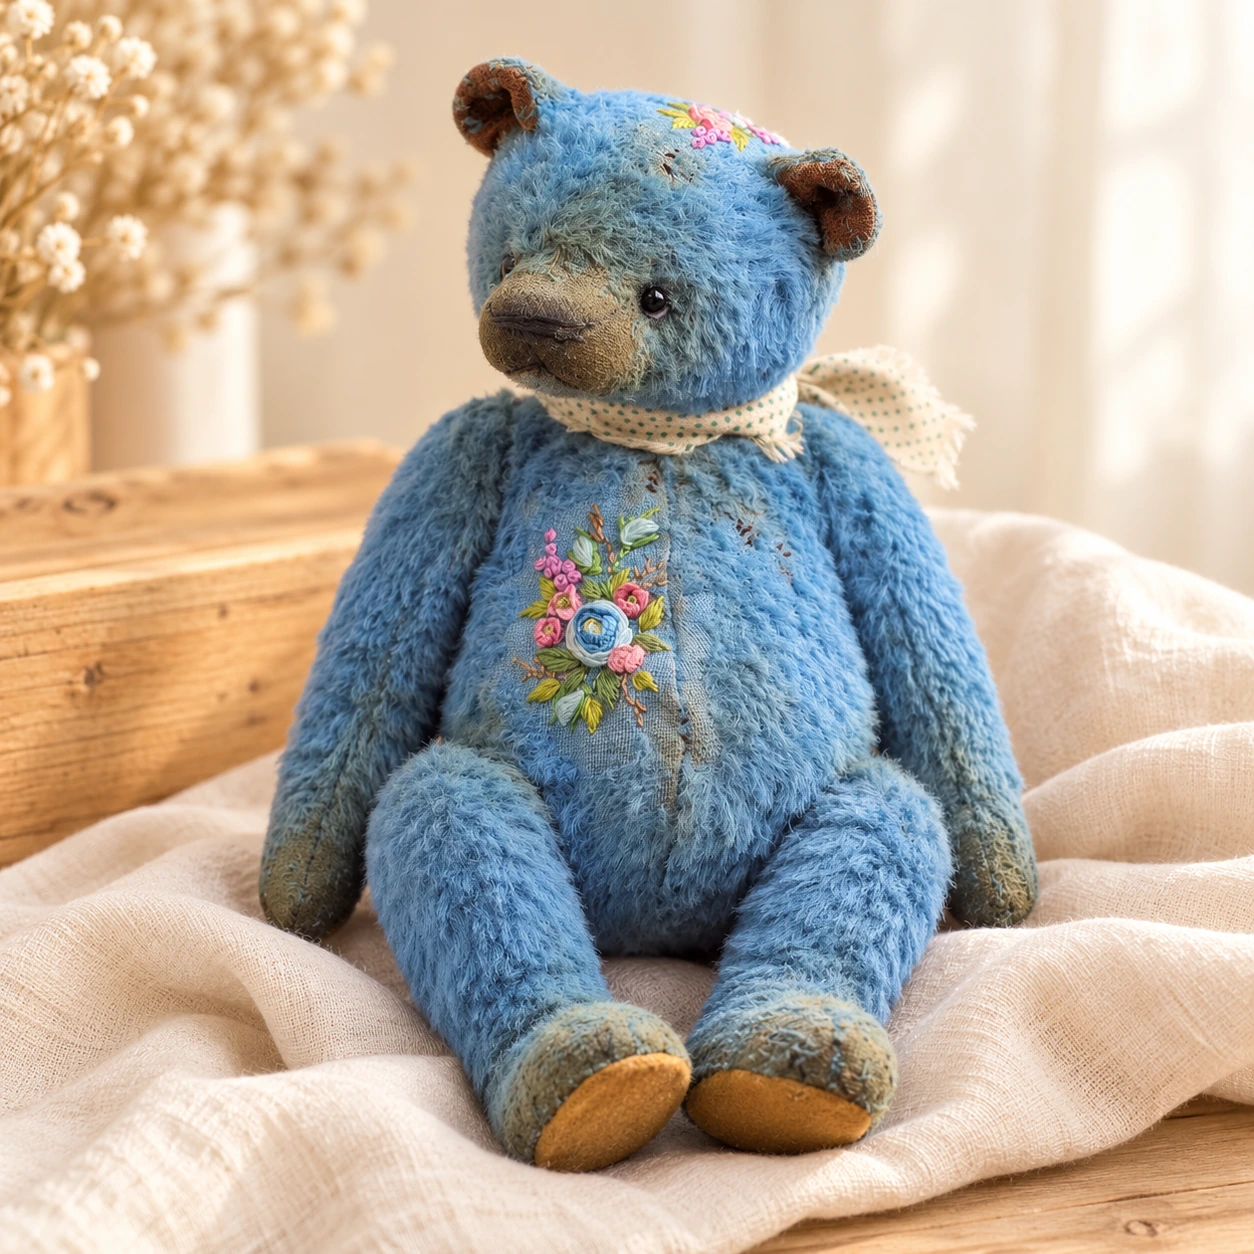
A plush surface and soft filling can still belong to a jointed bear. Little Charcoal lists three cotter pins and six 15 mm discs for the head and arms; Floral Blue marks different disc sizes on its head, arm and leg pieces. Match hardware to the selected pattern and working scale. Gather the jointing instructions for that system before sewing or closing the openings needed to fit it.
Before you print and cut
1. Check the scale first
Open the PDF in a viewer with print controls and select the paper size shown in the file. Start with Actual size or 100%. Do not use Fit to Page. Floral Blue includes a 5 cm reference line: measure the printed line with a ruler before cutting. If the line is wrong, adjust the print scale and check again; use the same setting for the entire set.
For a file without a reference line, keep a note of your chosen print setting and make a fabric trial before committing special cloth or buying joints. A bear's height also depends on its construction and stuffing; use the printed pieces to plan the project you will actually make.
2. Separate the seam line from the cutting line
Floral Blue and Heart-Belly explicitly exclude seam allowances. Trace their outlines, then mark the cutting line outside them using the allowance chosen for your fabric and sewing method. Keep the original line visible for matching seams. Read the allowance notes for every other pattern before adding or trimming anything; do not carry one bear's setting across the whole collection.
3. Pair the pieces before lifting the paper
Transfer the piece name, cutting quantity, nap arrow, matching marks and joint points to the wrong side. For mirrored pieces, turn the paper template over for the opposite side. Lay the two cut partners right sides together: their outlines and matching marks should meet. Keep each named group together, with its paper template, until you start sewing.
A cutting checklist for Long-Limbed
Seven paper shapes produce nineteen fabric pieces in TED-T07. The arms and legs each need four pieces, with two mirrored; the head and body each need two, with one mirrored. There are also four ears, two foot pads and one head gusset. Count the fabric pieces, not just the paper shapes.
Put the single gusset beside the two head sides, keep the foot pads with the legs, and mark left and right groups. Check that the pile direction still follows the arrows after mirroring. Once the count, scale and seam allowances are settled, gather the sewing and jointing instructions you will use for the chosen bear and begin with its first assembly step.
Common questions
Are these teddy bear sewing patterns available as PDFs?
Yes. All eight downloads include English and Simplified Chinese PDF pattern files. Choose one language for your working set and keep the complete file together. The individual product page lists the files and any finished-reference photographs included.
Should I choose a jointed bear or a soft sewn bear?
Choose by the construction you want to learn. A jointed bear uses its specified connecting hardware; a sewn-limb design needs its own attachment method. Look for those instructions before buying supplies. Soft plush describes a fabric feel, so do not use the photograph alone to decide how the limbs attach.
Which one should I choose for my first teddy?
Compare the work you already know with the pattern's pieces. Separate foot pads add curved seams; split head sections add matching points; joints add hardware fitting. Choose a shape you like and pair its templates with instructions that explain any unfamiliar operation. Use inexpensive fabric for a first trial of the head and body.