
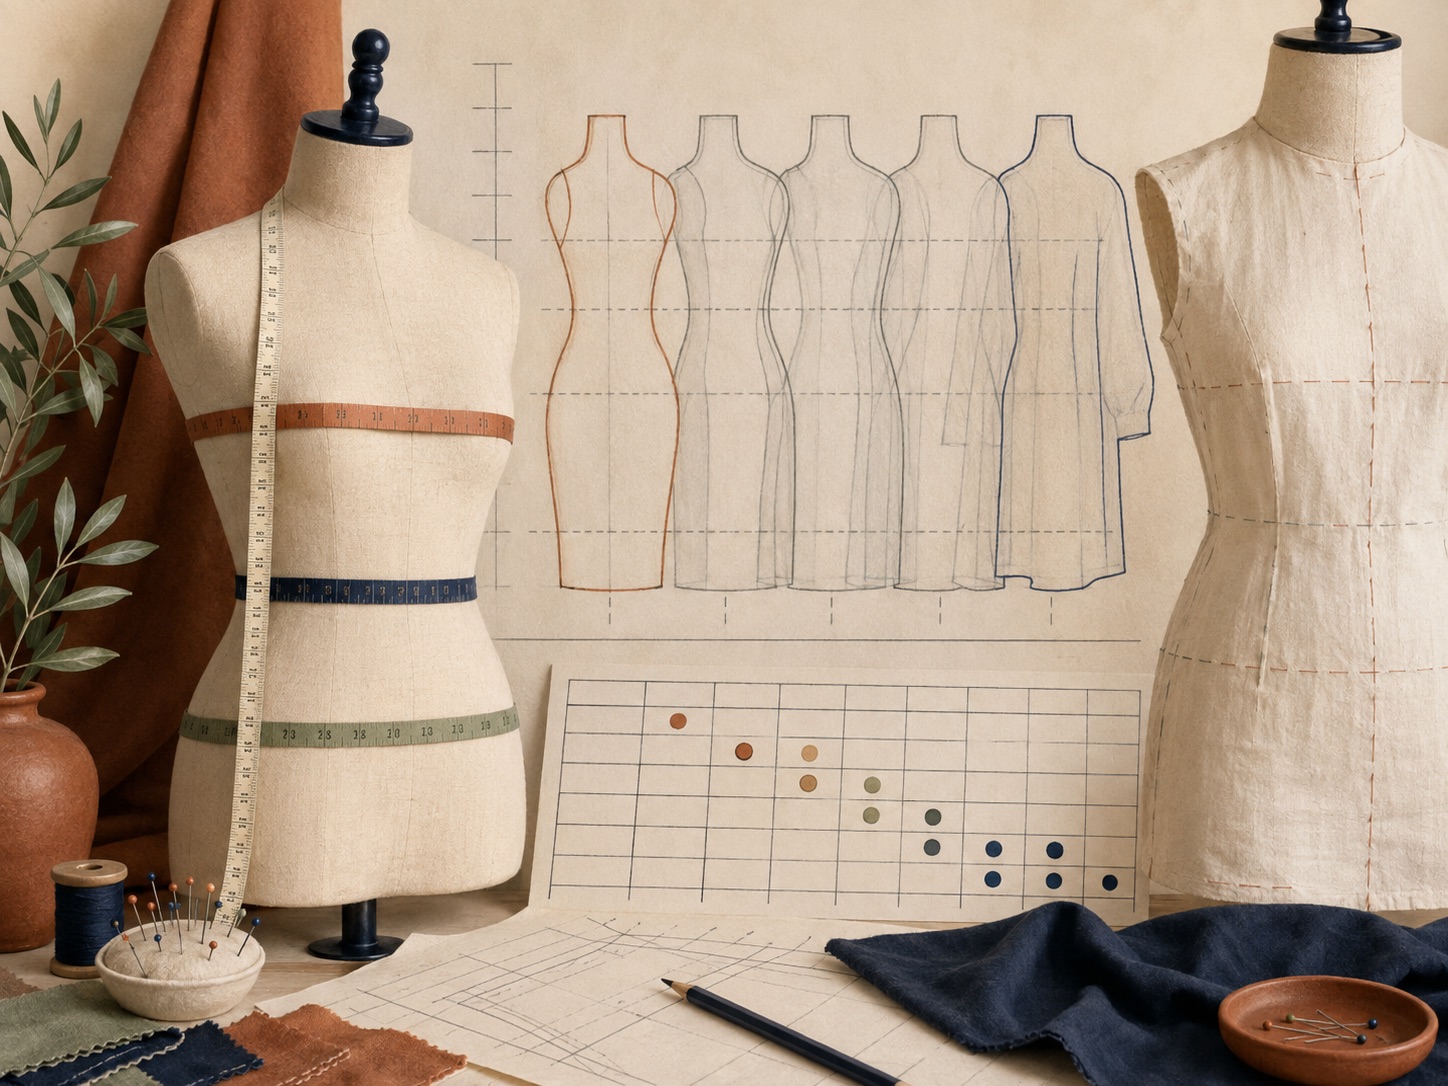
Take the measurements the pattern asks for
Measure over the underwear or layers you intend to wear. Keep the tape level and comfortably against the body. Record the date and units. For trousers, waist and hip alone may not answer questions about rise, thigh or sitting room; use the measurements and fitting method supplied with that pattern.
Find out which measurement the designer uses to select the starting size. Some upper-body patterns use full bust, while others also use high bust and a separate cup choice. Follow that method before deciding whether to blend sizes.
Calculate ease at the same point
Subtract your body measurement from the corresponding finished-garment measurement. For example, a hypothetical 100 cm finished bust on a 92 cm body gives 8 cm of total bust ease.
That 8 cm includes room for movement and the space used to create the shape. You cannot label all of it “design ease” without knowing the pattern's intended wearing ease. Do not compare a flat half-width with a full body circumference, or a waist measurement with a hem opening.
Compare two real charts
For the comparisons below, use 84 cm as the reference body bust. The linked product pages display finished-garment measurements; use your own body measurement when calculating your fit.
- 2510 gathered dress: size M, displayed finished bust 100.1 cm. With an 84 cm body bust, total bust ease is 100.1 − 84 = 16.1 cm.
- 2525 drop-shoulder sweatshirt: size M, displayed finished bust 119.9 cm. With an 84 cm body bust, total bust ease is 119.9 − 84 = 35.9 cm.
The same M label can describe very different shapes. Calculate each difference using your own measurement, then check the shoulders, hips and length before selecting the size.
These calculations use the centimetre values displayed on the linked product charts, checked on 10 October 2026. Their conversion from rounded inch values explains the decimal places; keep the displayed units consistent when repeating the calculation.
Check more than the bust
Compare shoulder position, waist, hip and finished length where the chart provides them. Then consider the style: a dropped shoulder is meant to sit beyond the natural shoulder, while a fitted shoulder is not. Choosing several sizes smaller to remove volume can also change the neck, armhole and pocket positions.
Adjust length at the pattern's alteration lines where supplied. Increasing the size just to gain length also increases widths. For a fitted garment or an expensive fabric, make a test garment with similar behaviour and check sitting, reaching and bending before cutting the final cloth.
Read negative ease with the fabric requirement
A finished measurement smaller than the body can be intentional in a stretch garment. It works only with the specified stretch and sufficient recovery. A non-stretch substitute cannot provide that movement. Test the fabric using the stretch and recovery checks.
Frequently asked questions
What if my measurements fall into different sizes?
Start with the pattern's recommended controlling measurement. Use its guidance for blending or fitting other areas, keeping paired seams and notches consistent. Test a close-fitting result before cutting the final fabric.
Can I choose a child's pattern size by age alone?
No. Check current measurements as well as height. Also check whether a chart gives body measurements, flat garment widths or full garment circumferences before comparing numbers.