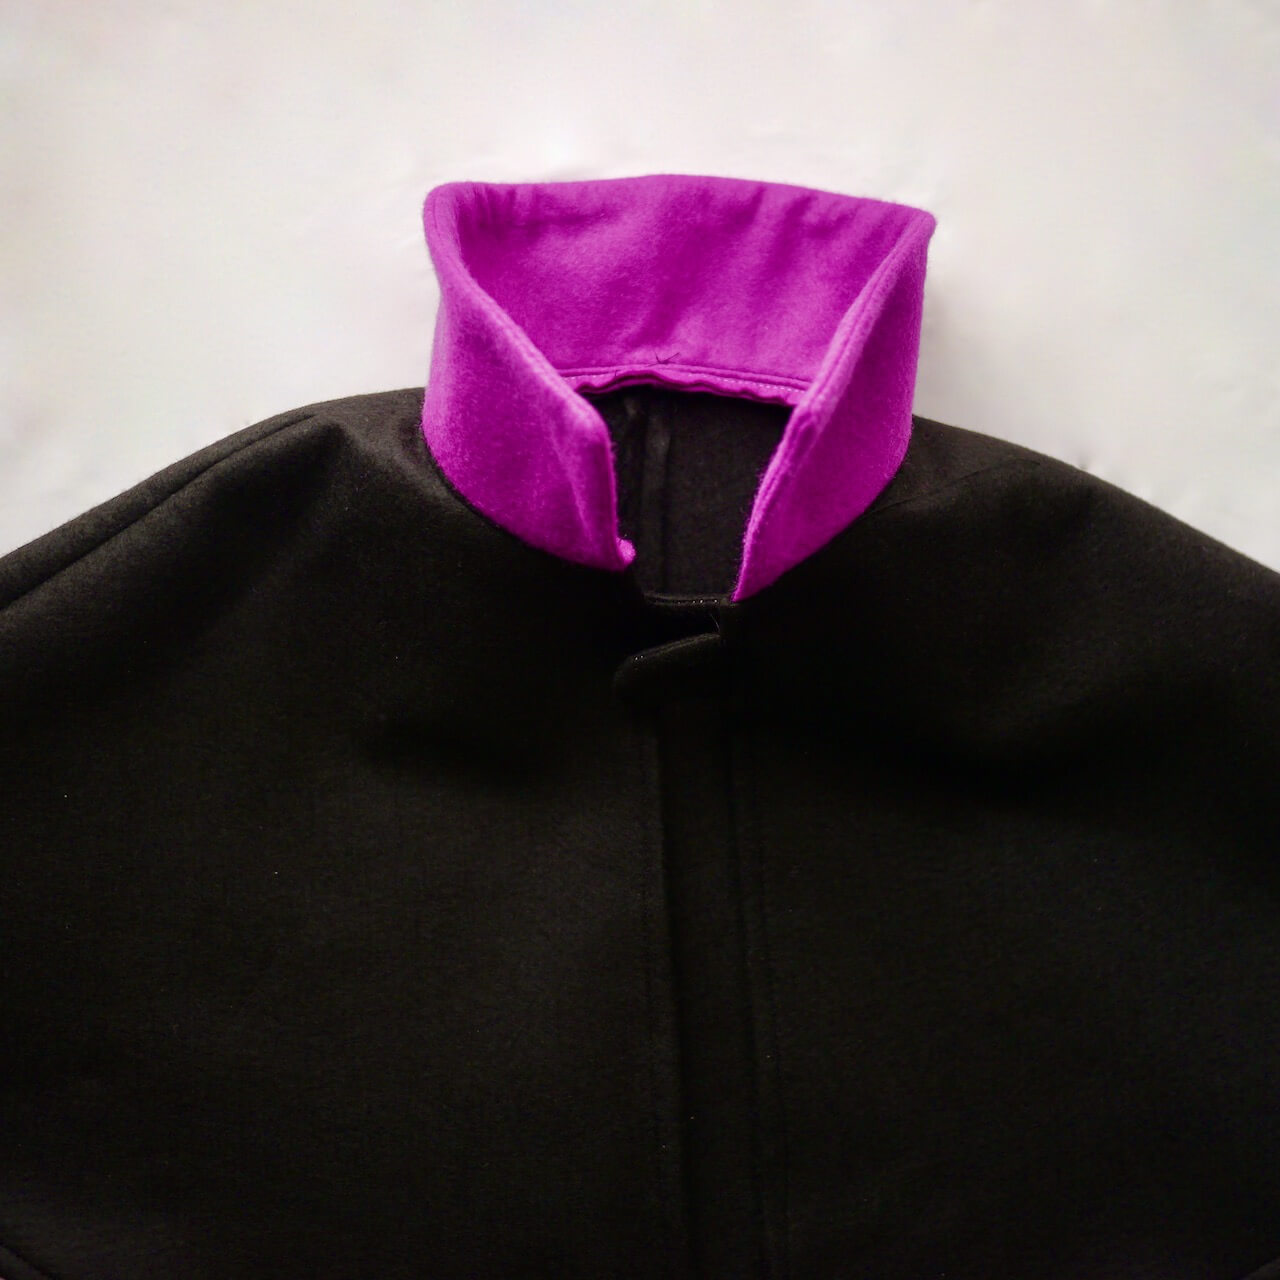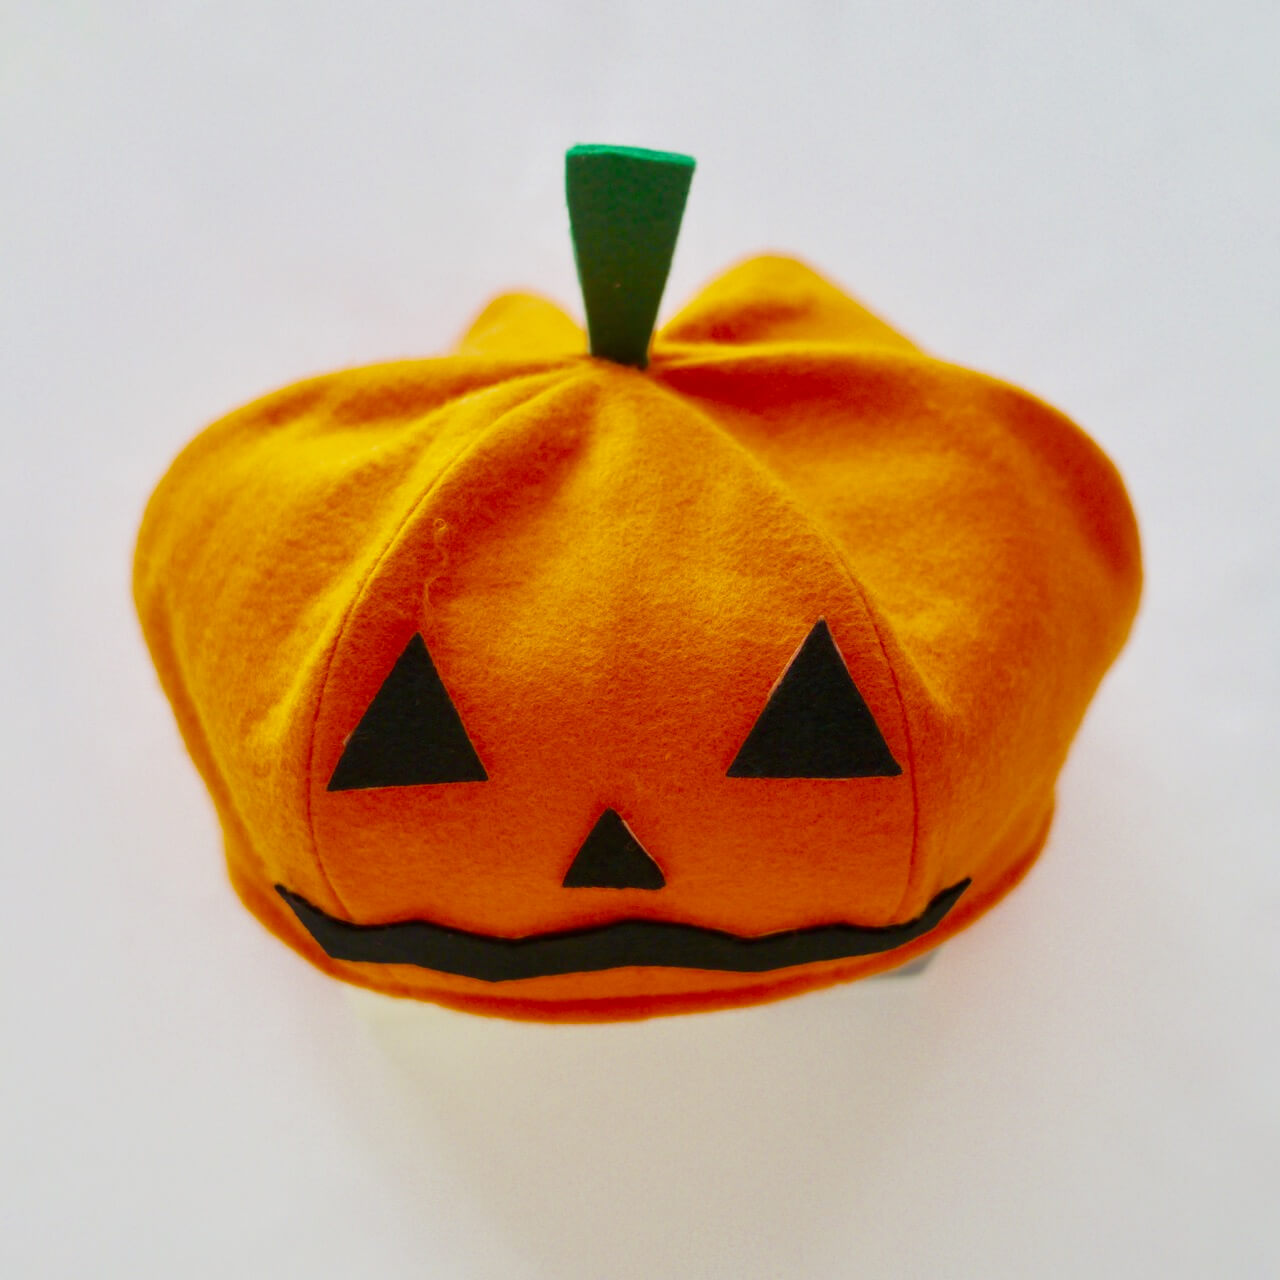
Before the first stitch
- Main felt for one crown and two brim layers; contrasting fabric or felt for the band and optional decorations.
- The original material list has three 60 × 60 cm (23.62 × 23.62 in) felt sheets and one 60 × 60 cm (23.62 × 23.62 in) band sheet. The layout picture uses a 70 × 60 cm (27.56 × 23.62 in) area. Lay out every selected-size piece before buying or cutting; check the width you need before cutting.
- Matching thread, scissors, pins or clips and fabric-compatible adhesive for the band and decorations.
Piece checklist
- Crown: cut 1 main fabric on fold
- Brim: cut 2 main fabric on fold
- Band: cut 1 contrast fabric on fold
- Optional star or crescent decoration
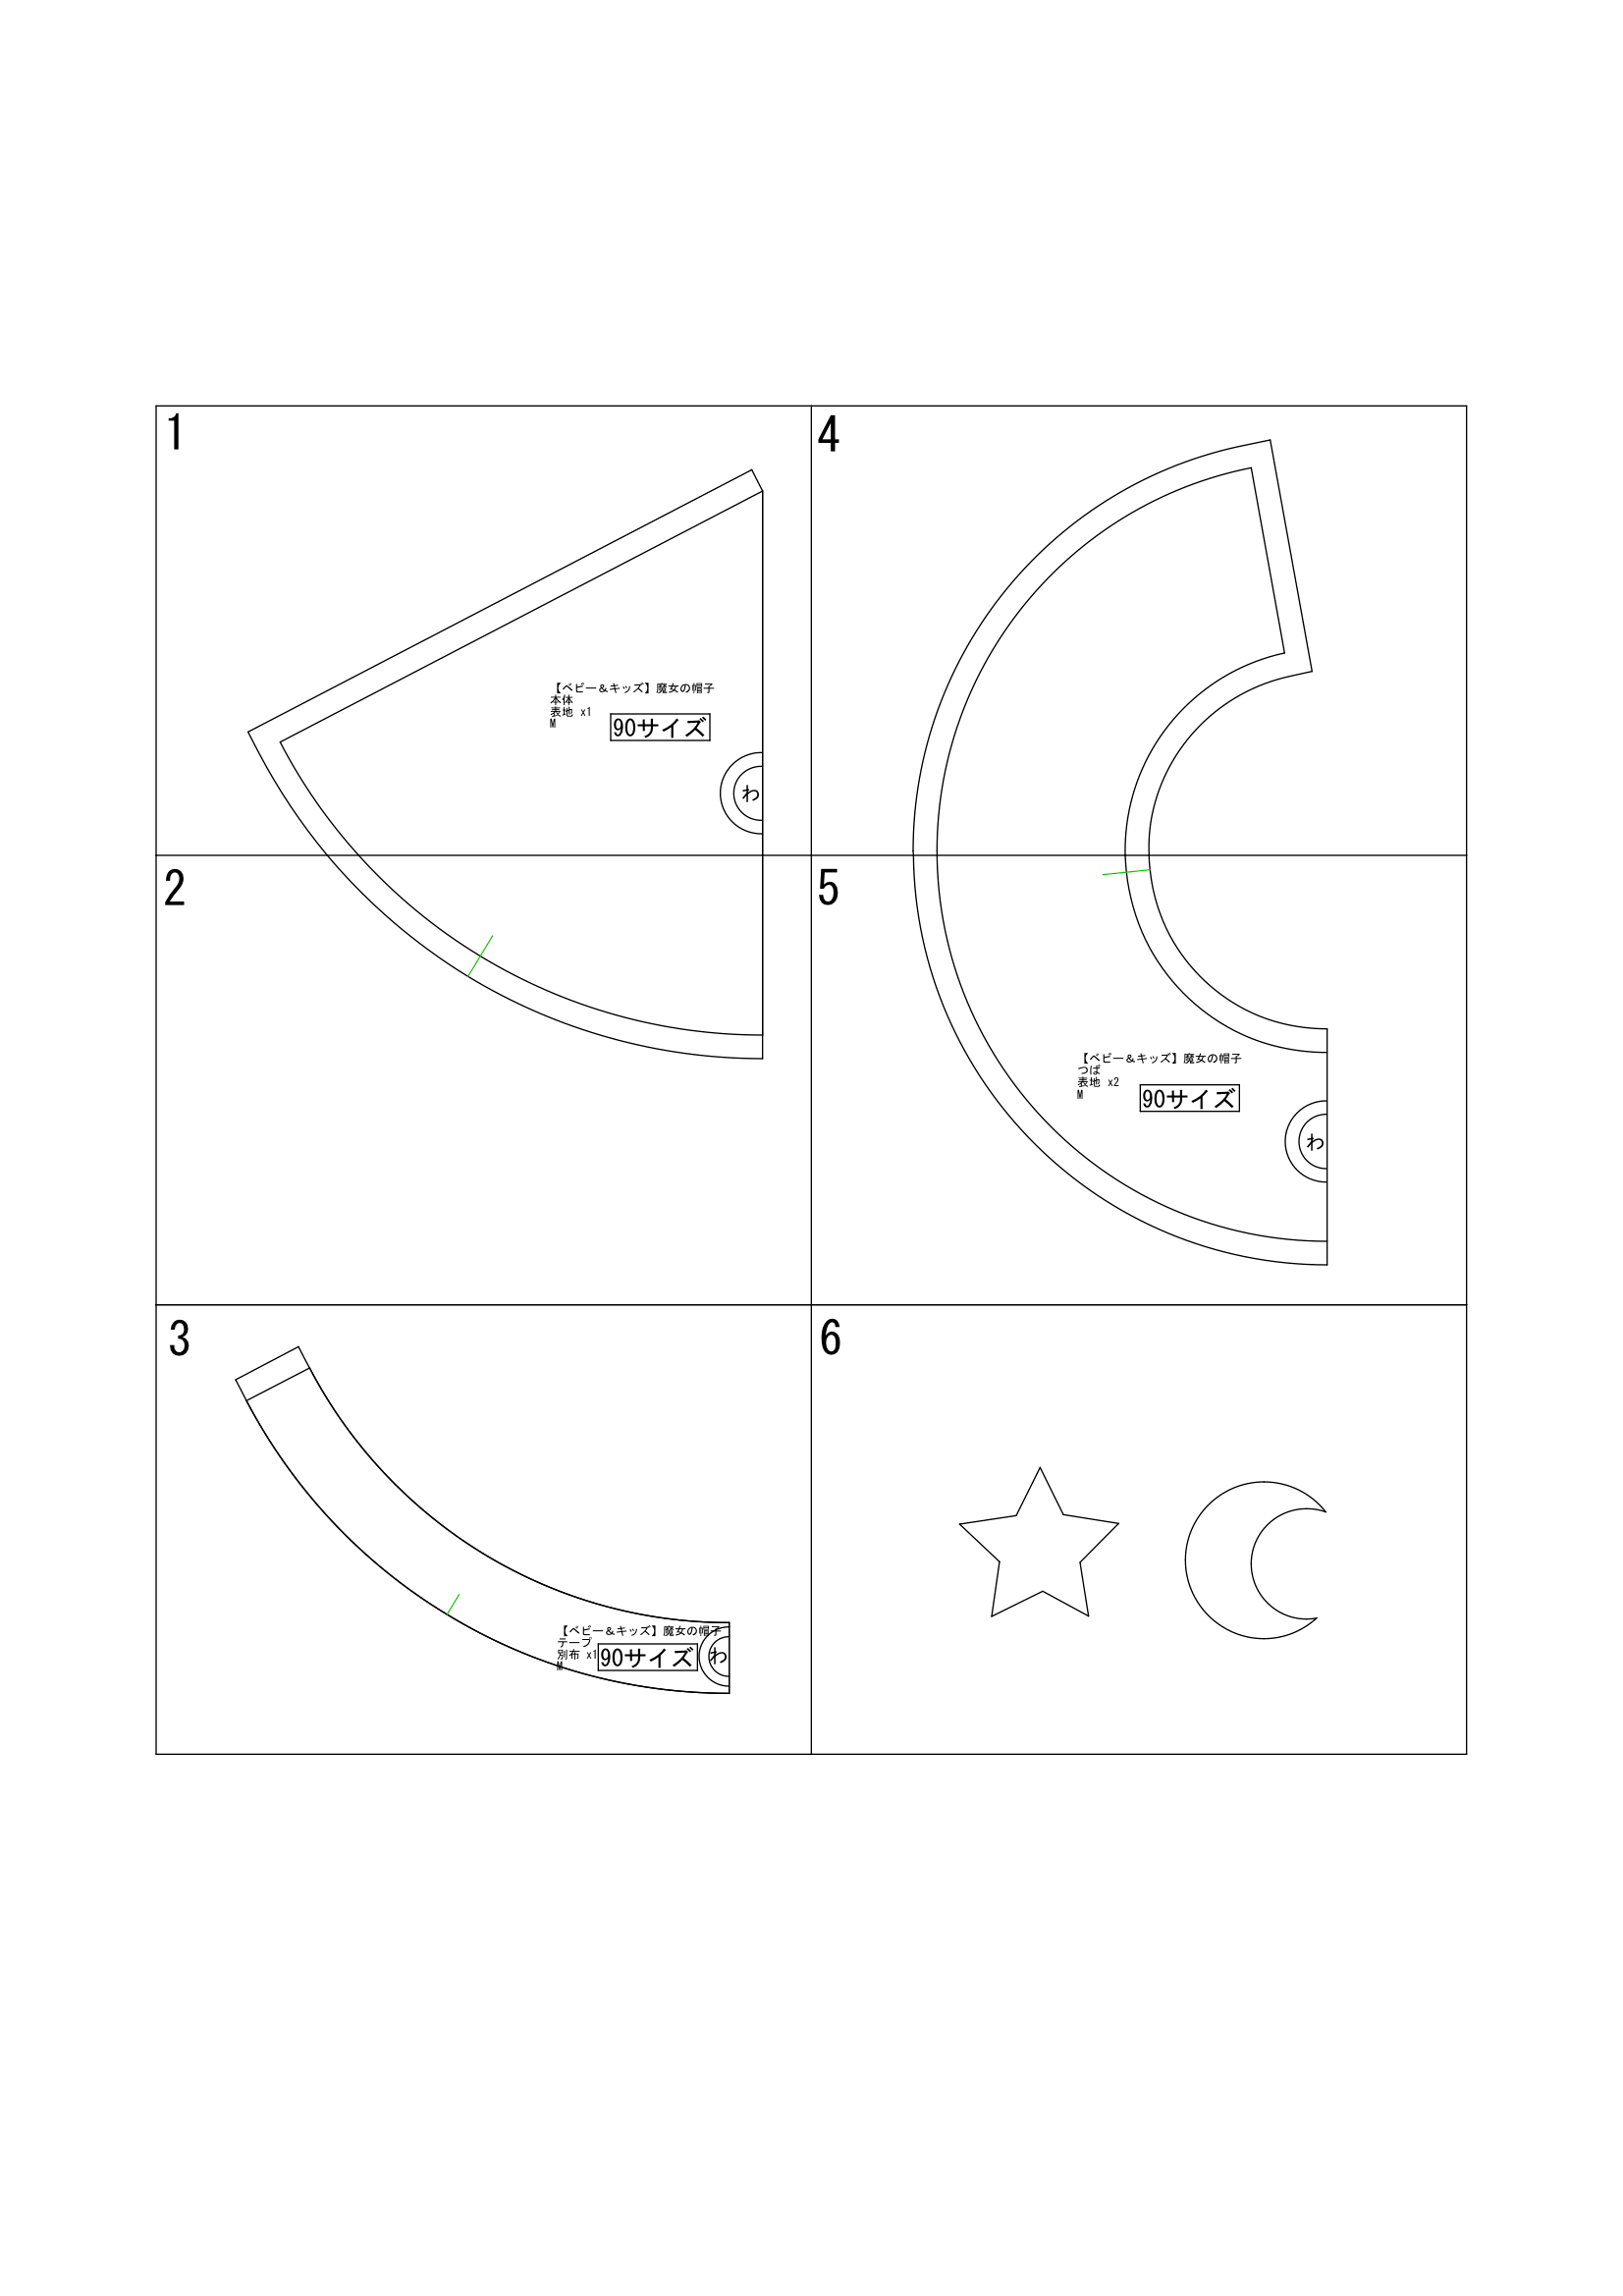
Print and assemble the pattern
Print on A4 at actual size / 100%, with page fitting disabled. First print a calibration page and check that its square measures 5 × 5 cm (1.97 × 1.97 in). Print the remaining pages only after checking the scale. Keep every outline, notch and fold mark.
Choose one complete six-page size set: 80, 90, 100, 110 or 120. Check the crown opening on your printed pattern when choosing a size. Arrange pages 1–3 down the left and 4–6 down the right. Crown: pages 1–2. Band: page 3. Brim: pages 4–5 for 80/90/100; it extends onto page 6 for 110/120. Page 6 also contains separate star and crescent templates. Follow the lines on your chosen size; the overview picture shows size 90.
1. Join each brim ring
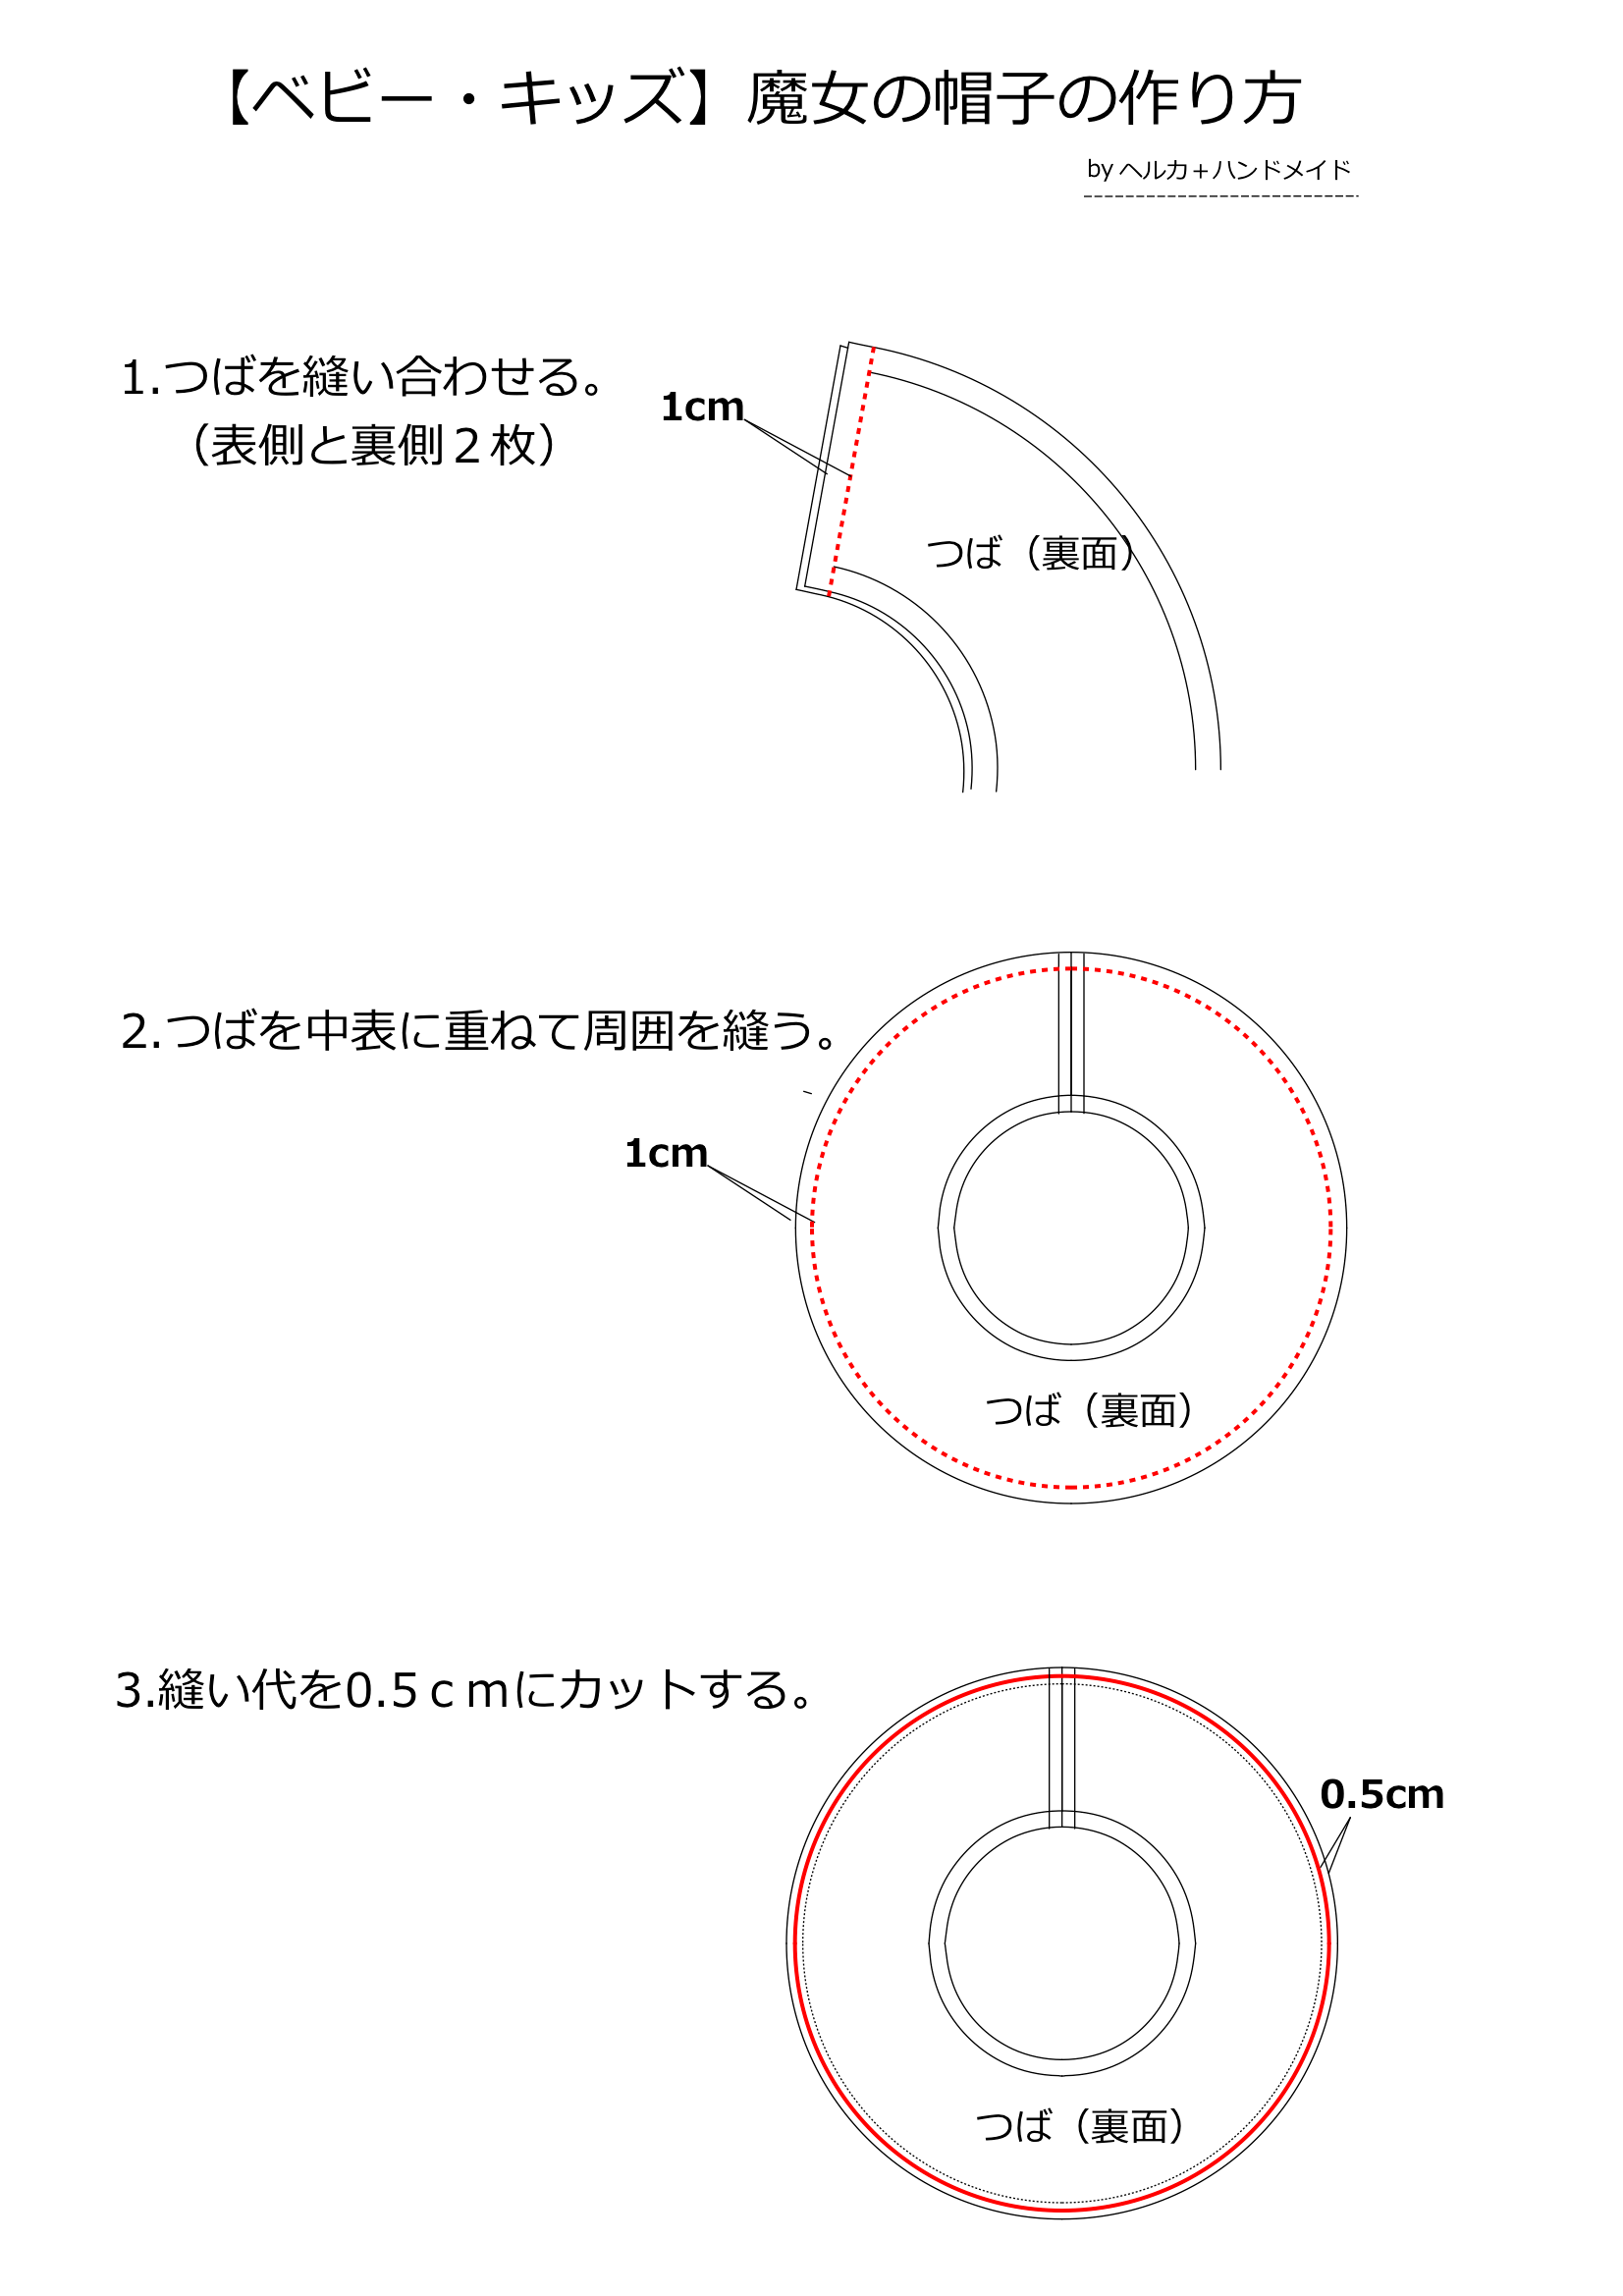
Sew the short ends of each brim piece with a 1 cm (0.39 in) seam to make two rings.
2. Sew the brim outer edge
Place the brim layers right sides together and sew the outer edge with a 1 cm (0.39 in) seam; leave the inner circle open.
3. Trim the brim allowance
Trim the outer seam allowances to 0.5 cm (0.20 in).
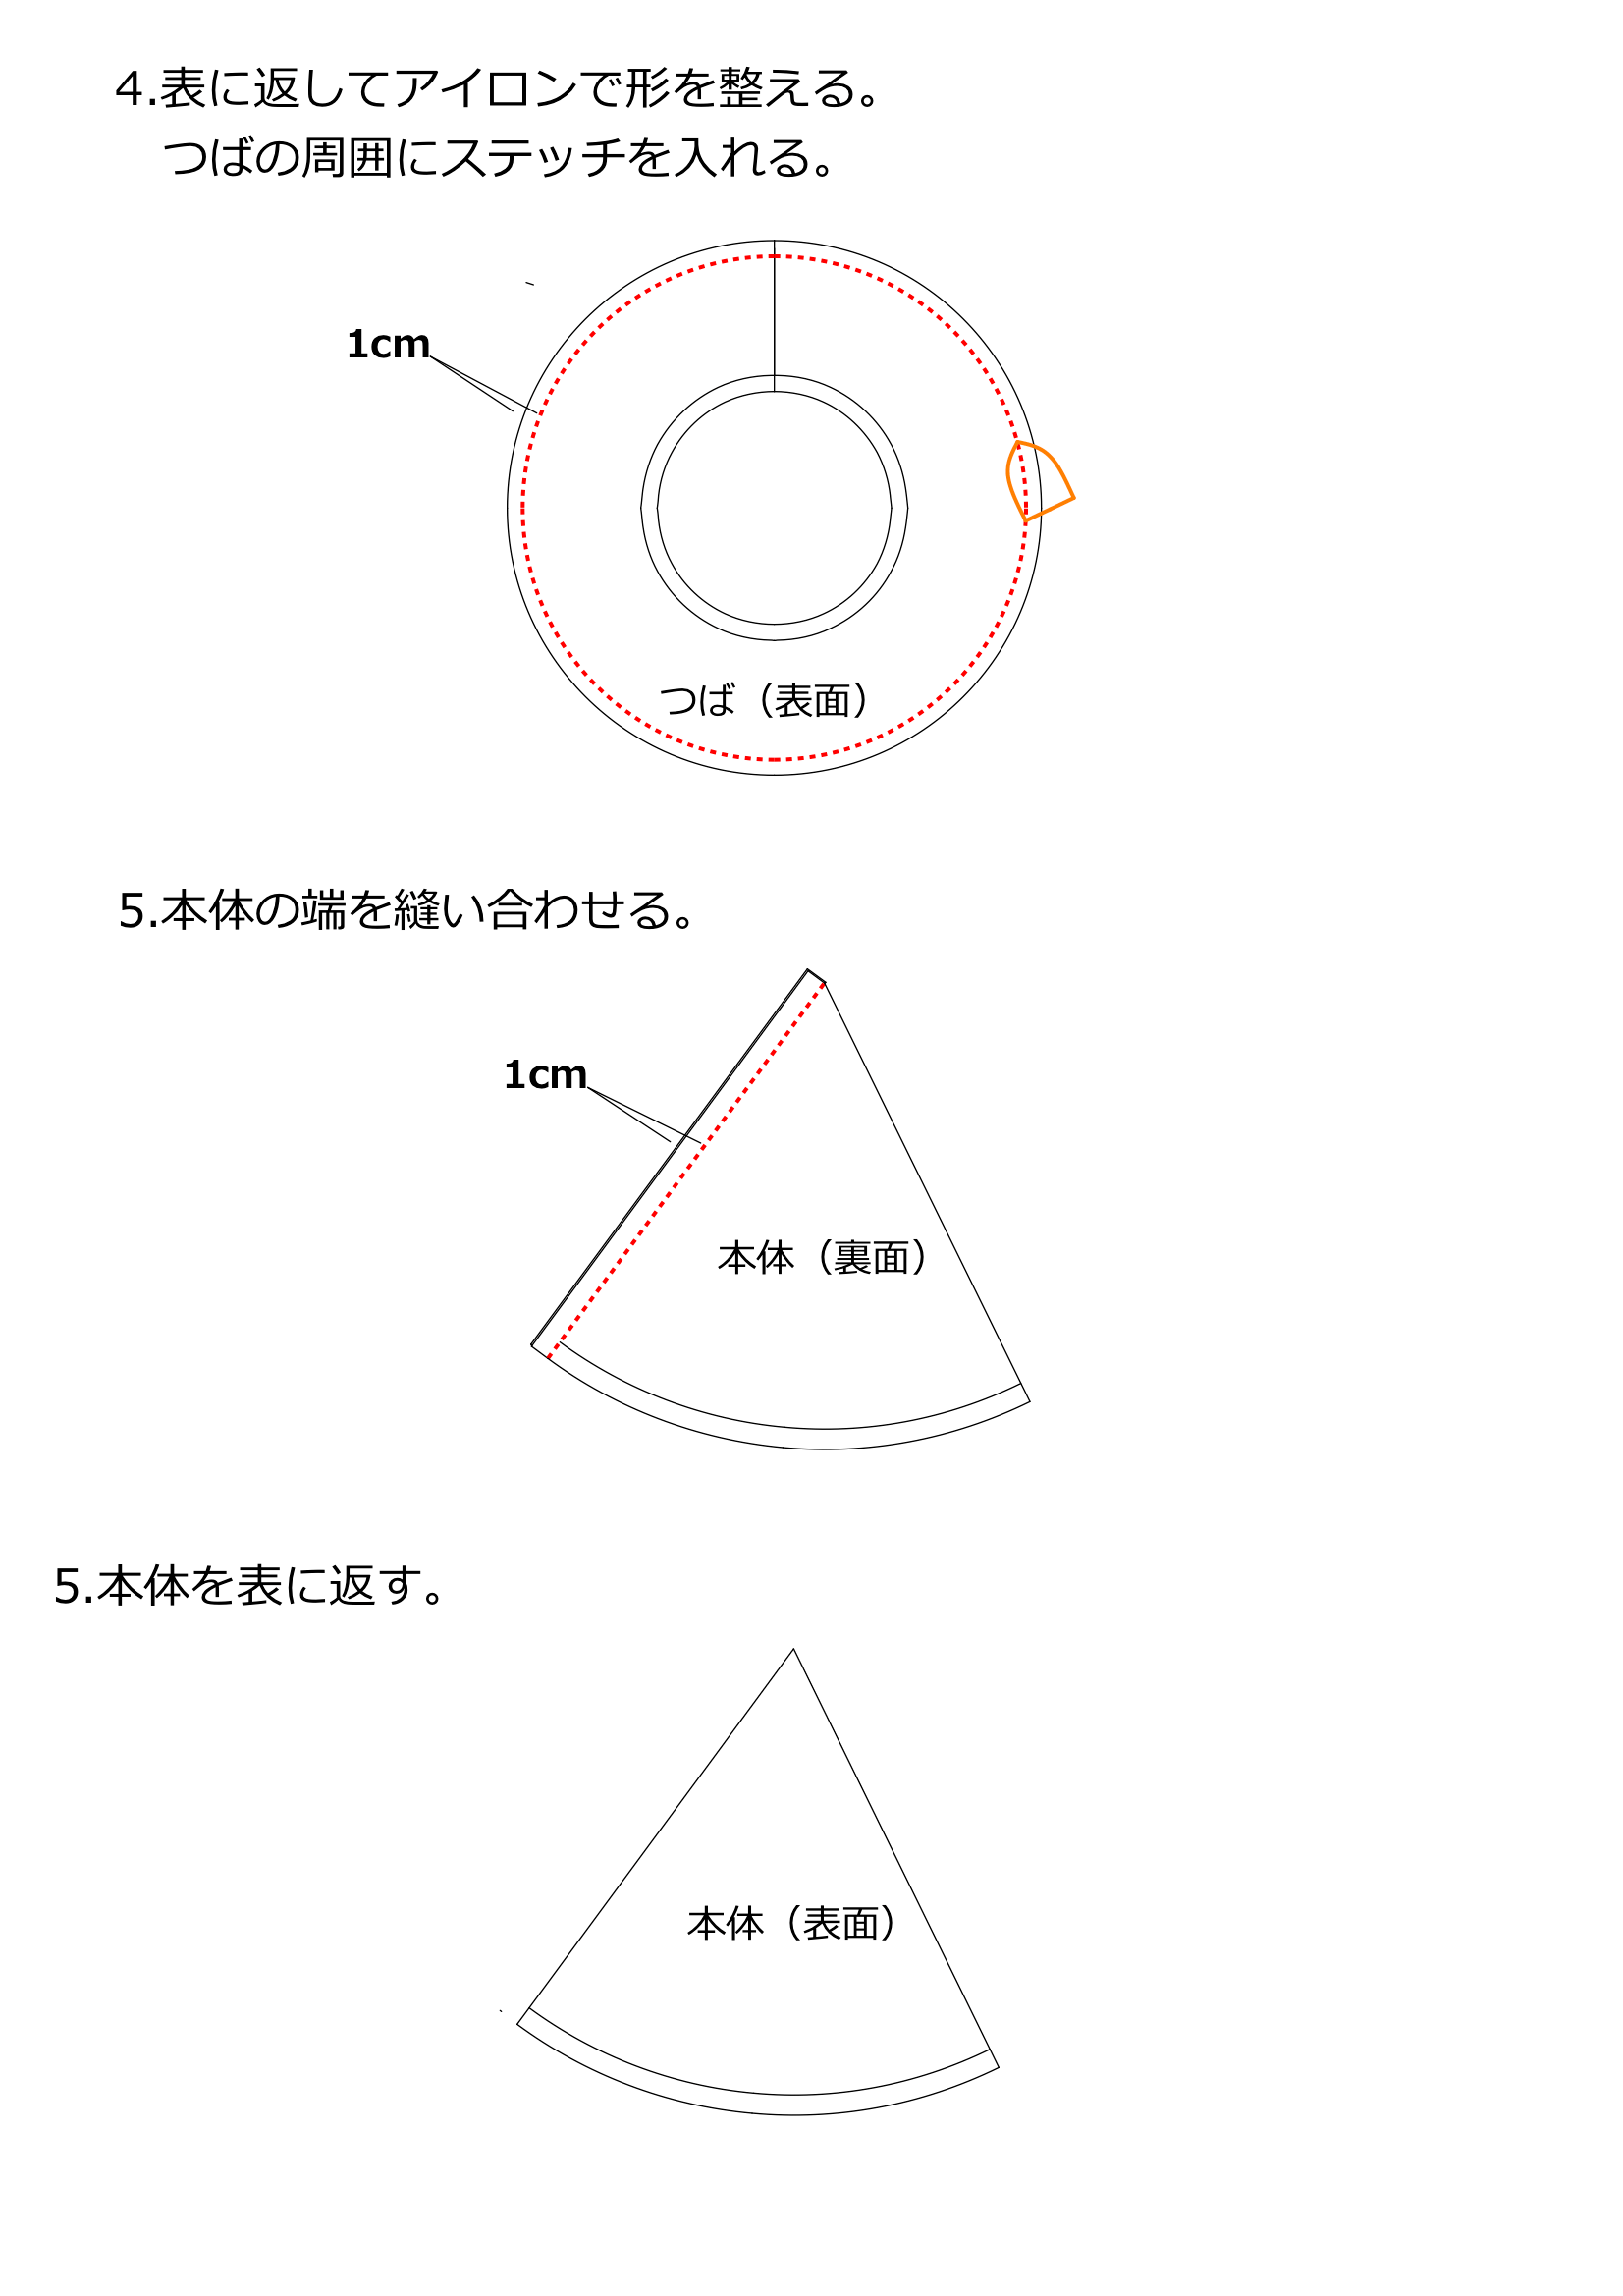
4. Turn and topstitch
Turn right side out and press; topstitch 1 cm (0.39 in) from the outer edge.
5. Sew the crown seam
Sew the crown side seam with right sides together and a 1 cm (0.39 in) seam.
6. Turn the crown
Turn the crown right side out.
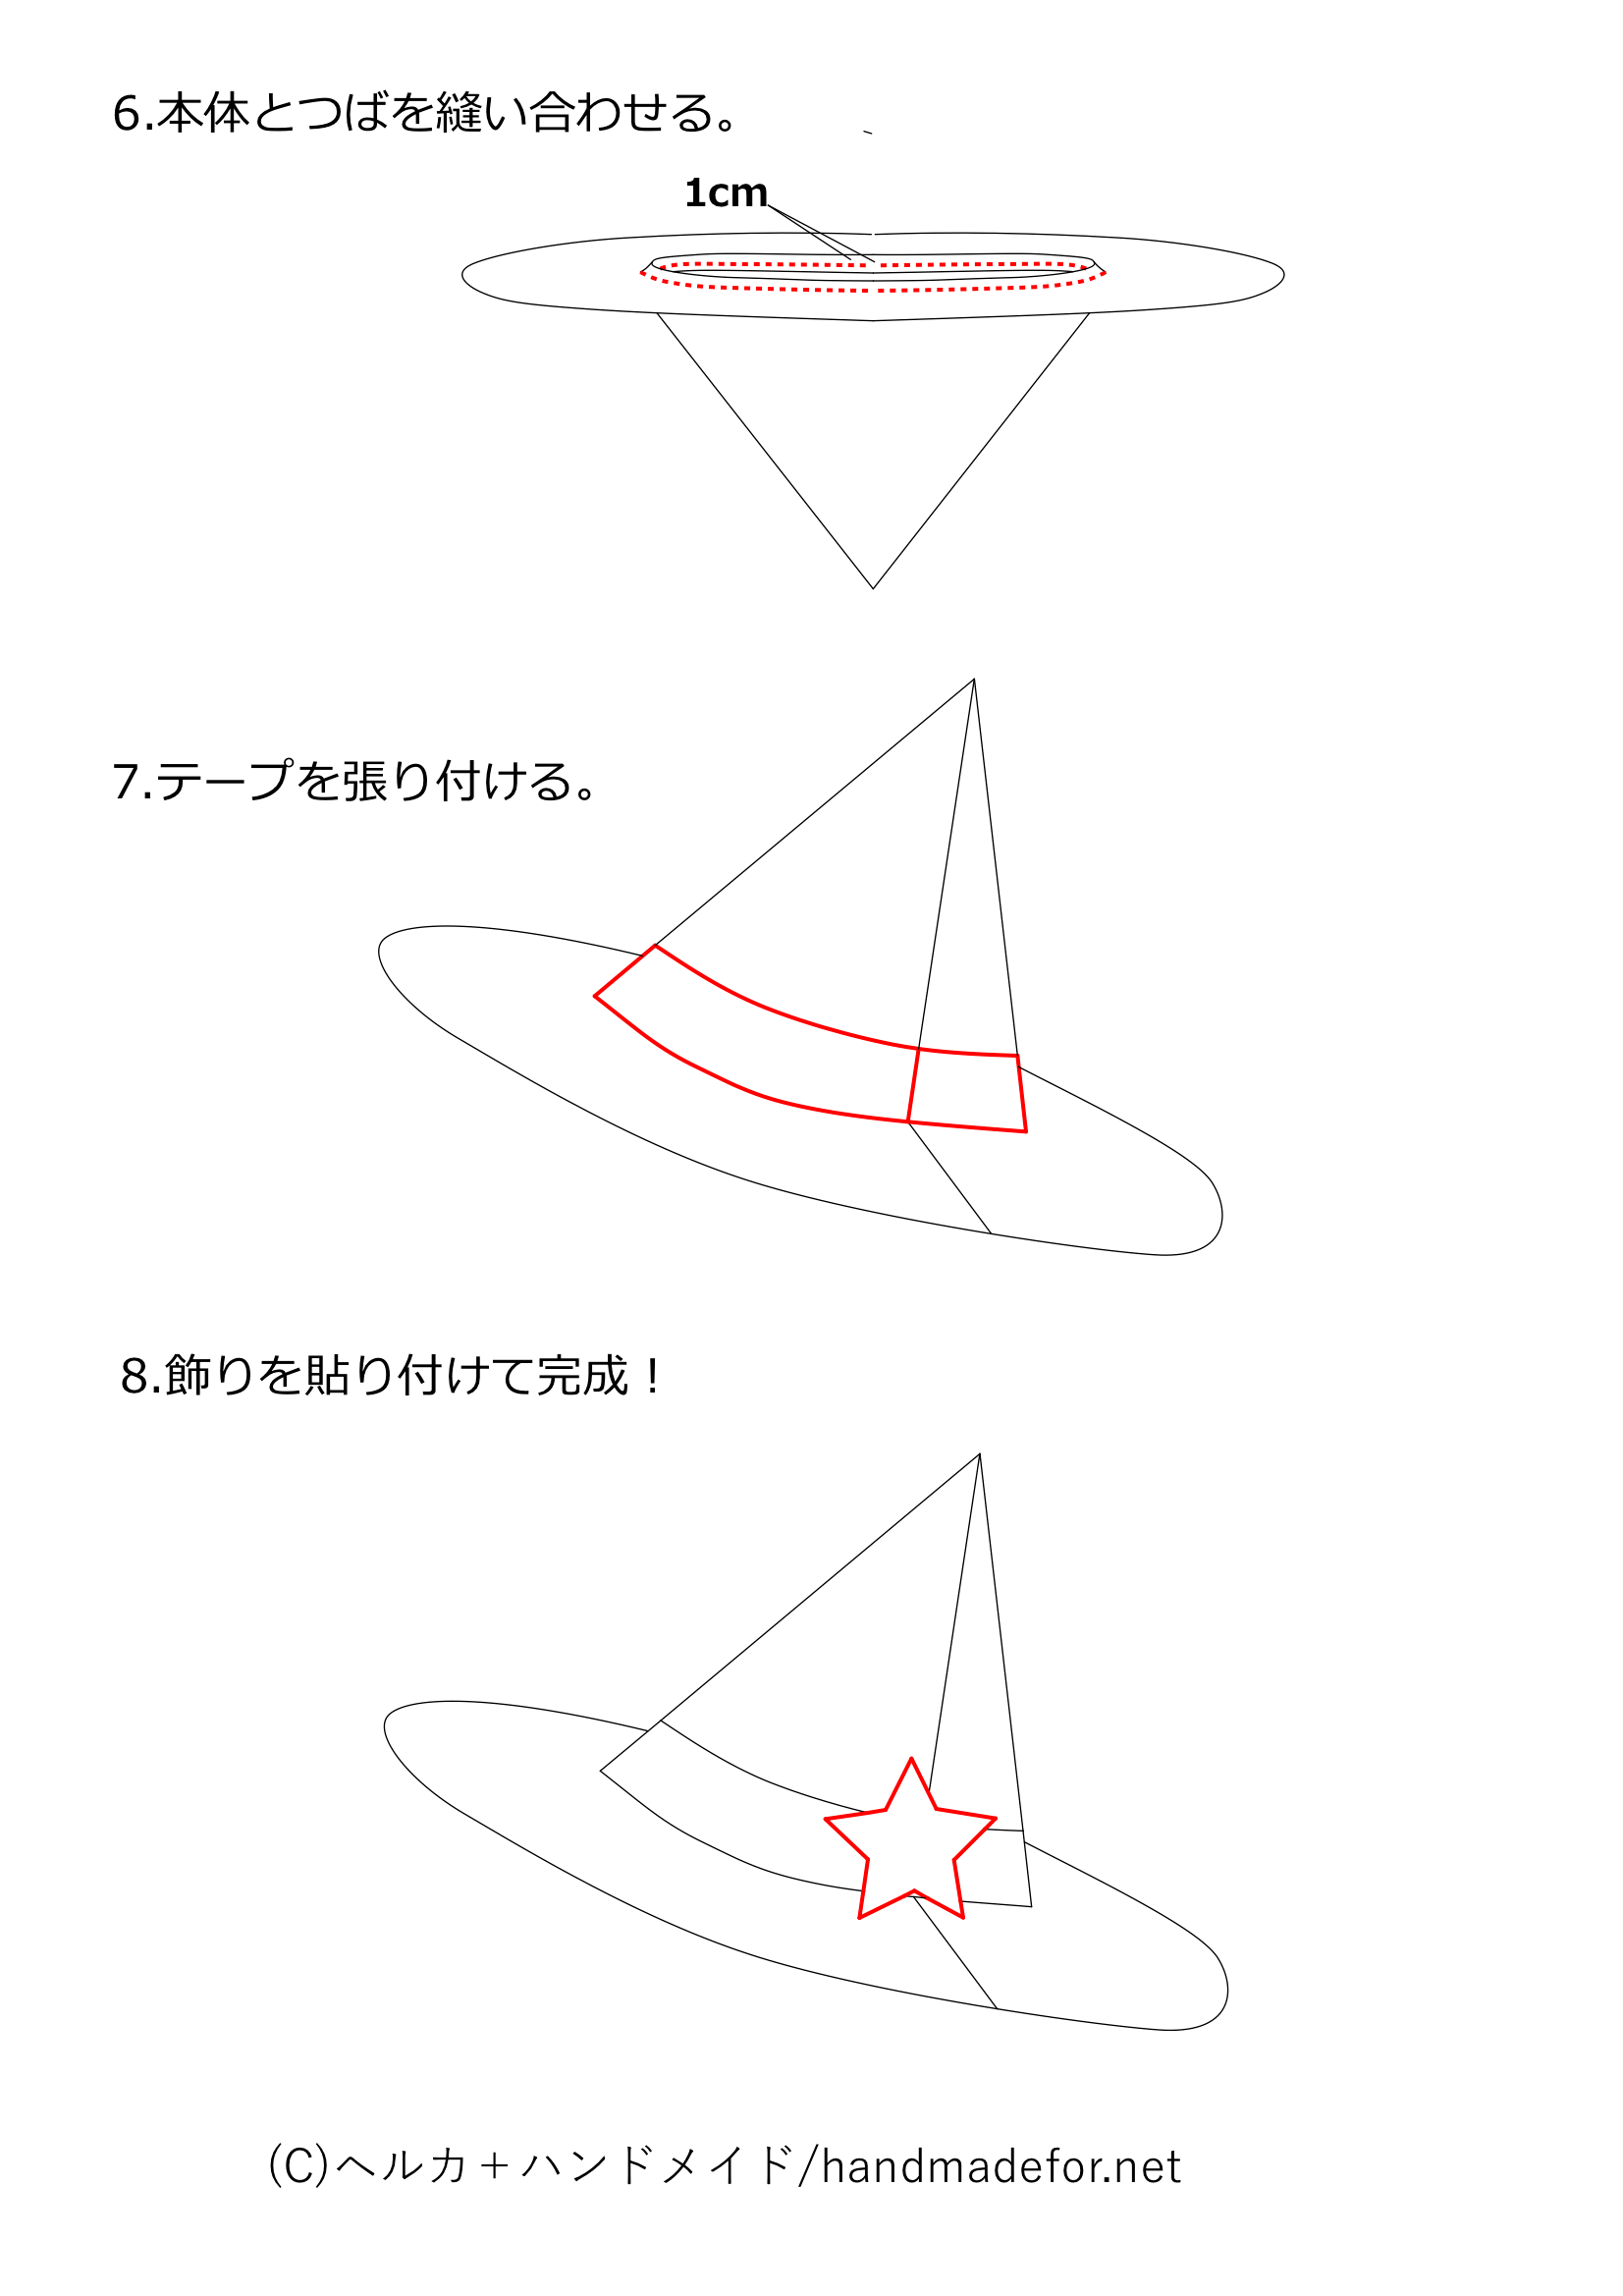
7. Join crown and brim
Match the joining marks and sew the crown to the brim opening with a 1 cm (0.39 in) seam.
8. Attach the band
Attach the decorative band.
9. Add the decoration
Attach the star or crescent decoration to finish.
Final checks
Check that seams and decorations are secure and the turned edges lie smoothly. Felt edges do not require overlocking.
Original pattern and diagrams: Helka Handmade. Tutorial adapted by Patternly, with permission.